Using split screen functionality in Windows allows you to be more productive by setting multiple app windows side-by-side, a feature known as Snap layouts in Windows 11. You can either utilize pre-defined layouts or drag windows to specific areas on your screen to enhance your multitasking capabilities. In this article, we will explore various methods to effectively use split screen on Windows 11.
Method 1: Use Snap Layouts to Split Screen on Windows 11
The simplest way to initiate split screen on Windows is through the Snap layouts feature introduced in Windows 11. This tool offers several pre-defined layouts for arranging one or more application windows. Follow these steps:
- Access Settings > System > Multitasking.
- Enable the Snap Windows toggle to activate this feature.

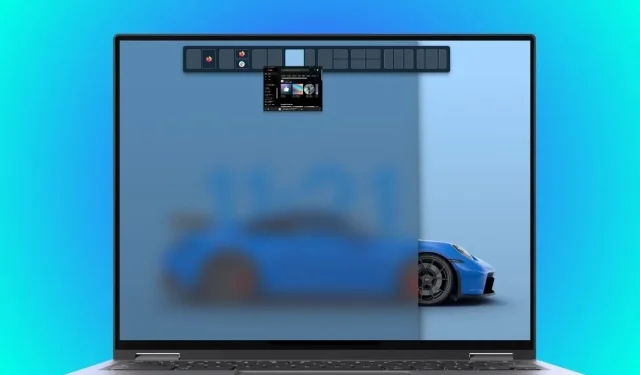
- Hover over the maximize button on any window to display the available snap layouts.

- Select one of the shown layouts, and your active window will snap into place.

- You can also see currently active apps, allowing you to quickly snap your active window for efficient multitasking.
- To resize windows, hover over the borders and drag to adjust the dimensions.

The various snap layouts available based on screen space include:
- 50-50
- 75-25
- 50-25-25
- 25-50-25
- 33-33-33
- 25-25-25-25
Method 2: Drag and Drop App Windows
Dragging a window to the edges of your screen will activate the window snapping feature. Here’s how to achieve a 50-25-25 split:
- Click and drag a window towards one side of the screen to activate snap mode.

- After positioning a window to occupy 50% of the screen, select another app for a 50-50 arrangement.

- Then drag the second window to the top to create a 25% space and select a final window for the remaining 25%.

- You will now have a split screen layout of 50-25-25 achieved through drag-and-drop.
Method 3: Drop Windows to the Snap Bar
You may notice that certain layouts, such as 25-50-25 and 33-33-33, cannot be configured by the drag-and-drop method. For those layouts, follow these steps:
- Click and drag a window until a shadow appears at the top of your screen.
- Drop the window onto the shadow to reveal all available snap layouts.

- Select one of the snap layouts to drop your window into a highlighted area.
- Choose additional windows as needed for completing your layout.

Method 4: Enter Split Screen Using Keyboard Shortcuts
Utilizing keyboard shortcuts in Windows is a quick way to activate features like the window snapping tool. Here’s how:
- Press the Windows + Z keyboard shortcut to display available snap layouts.

- Each snap layout features an assigned number; pressing the corresponding number initiates a split screen.

- Press a number again to determine the position for the window you are snapping.

That concludes the guide on how to utilize split screen on Windows 11. The split screen feature is incredibly beneficial, especially in Windows 11, making multitasking smooth, organized, and less overwhelming.
As a side note, the live wallpaper used in the screenshots is sourced from Wallpaper Engine, and the screenshot tool is ShareX, which we elaborated on in our Record Screen on Windows 11 guide. Do you have any other tips for snapping windows in Windows 11? Feel free to share in the comments below.
Leave a Reply