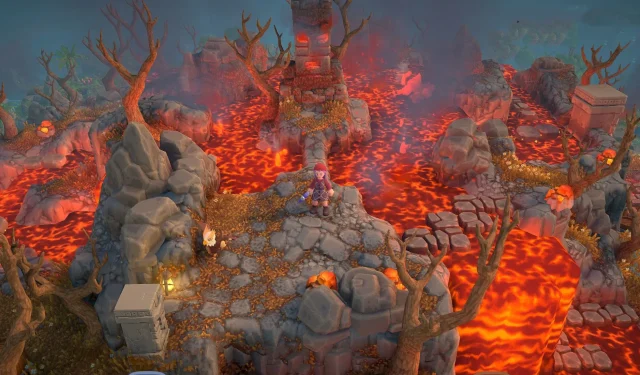
In Luma Island, every biome is distinct and features a unique area crucial for comprehensive exploration. For example, the Forest biome has the hidden Beach, the Mountain boasts its peak, and the Jungle culminates at the Volcano. As the final biome you need to conquer, reaching the summit of the Volcano presents a significant challenge.
Navigating your way to the starting point is an adventure in itself, compounded by the swirling pools and rivers of lava that you must traverse to reach the summit. The stepping stones you encounter move intermittently, making it imperative to stay agile. Falling into the lava pit is a definite risk if you’re uncertain about your route. This guide will illuminate the best ways to ascend to the Volcano’s summit in Luma Island.
How to Reach the Volcano’s Peak in Luma Island
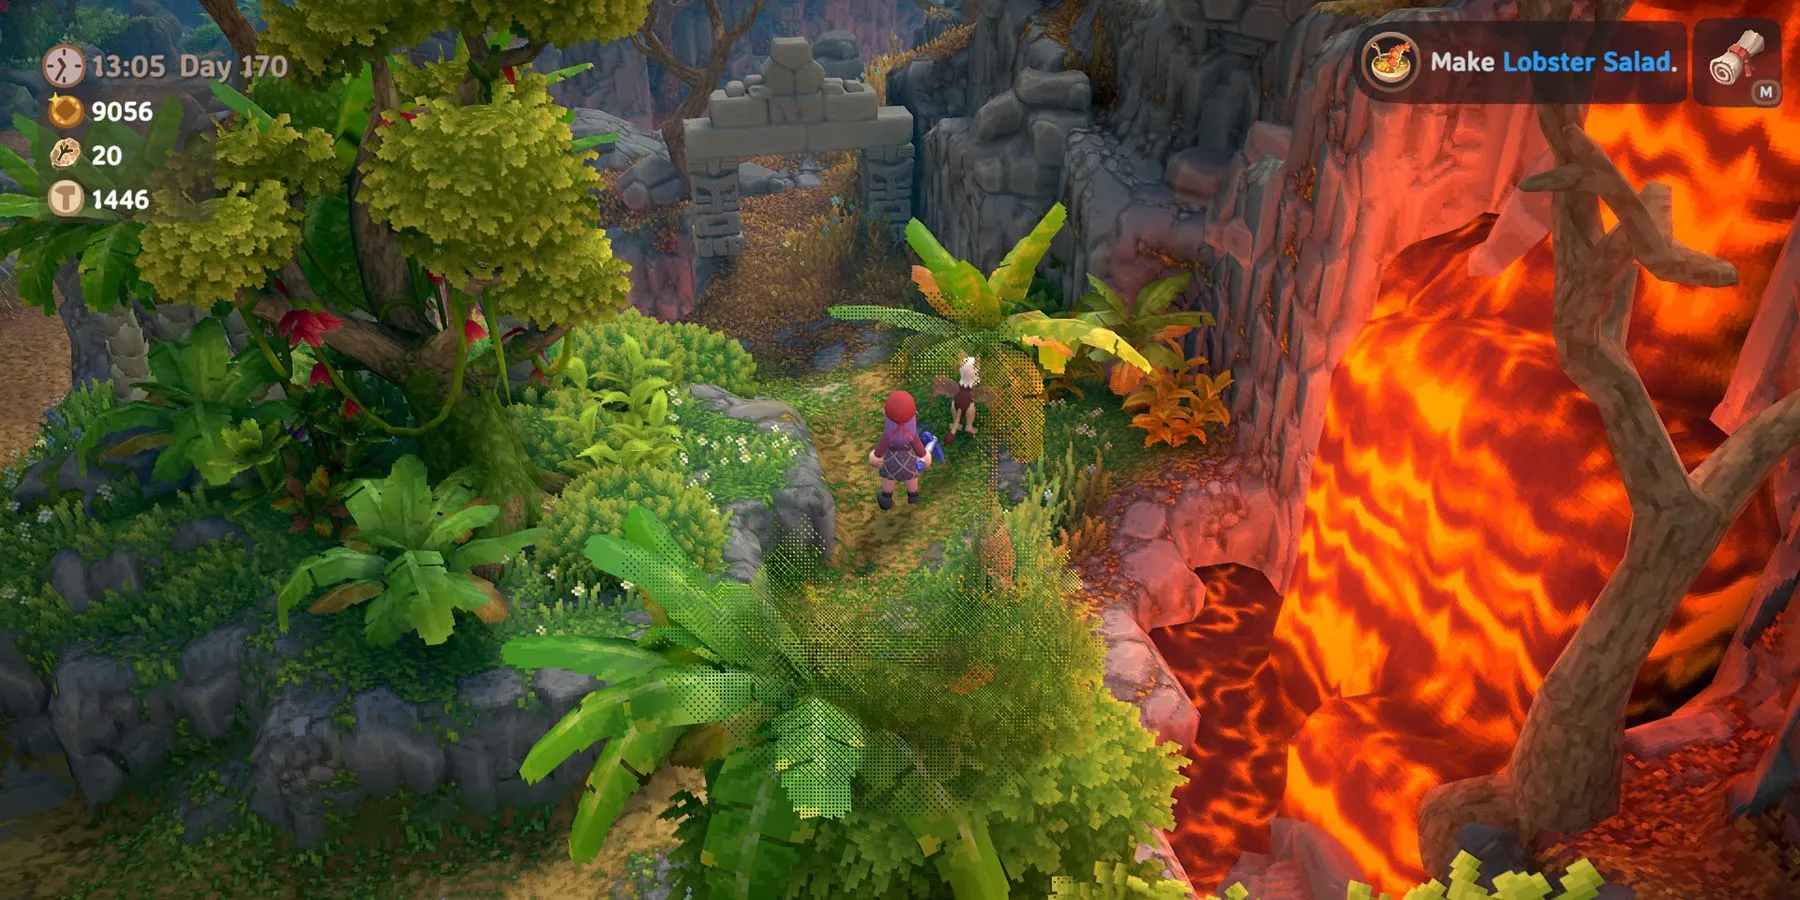
Your ascent begins on the Western side of the Volcano. Start your journey by crossing a muddy river and ducking under a stone arch, which may require some preliminary exploration of the Jungle. Upon arrival at the waypoint, you’ll encounter a large, flowing lava waterfall alongside fragmented stones that will serve as your path across the lava river. Quickness is key here, as the stones will merge with the lava shortly after being stepped on.
Once across, you’ll follow a generally straightforward path to the summit. However, be prepared to navigate multiple lava rivers, as the stone pathways become increasingly intricate at higher elevations.
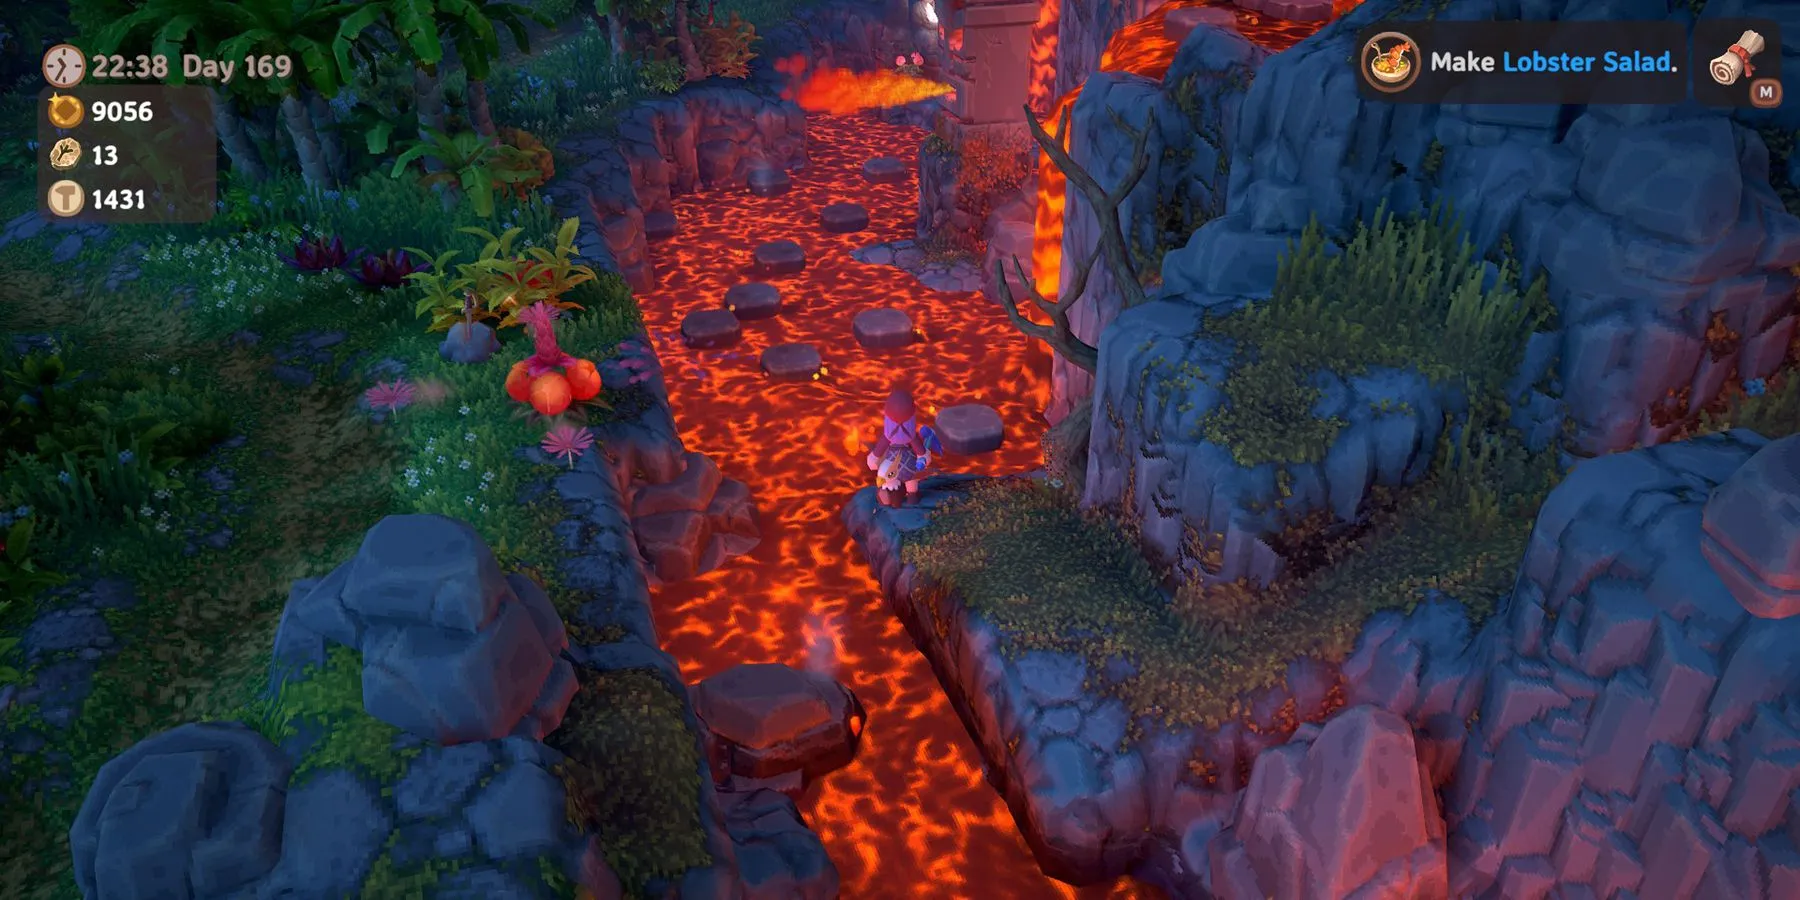
After the initial lava river, a subsequent one awaits, requiring careful hopping across shifting stones:
- Step onto the first moving stone and wait for it to connect with the second one, making it accessible.
- The second stone touches three others; navigate to the one nearest to the flowers.
- Wait for the left stone to connect with a small patch of solid ground adorned with a fire-breathing statue before proceeding to it.
- Next, walk onto the stone adjacent to this statue to advance.
- This stone will contact two additional stones; step onto the one closest to the rock wall to progress.
- Upon reaching broken stone fragments, quickly veer right away from the offering statue and continue upward.
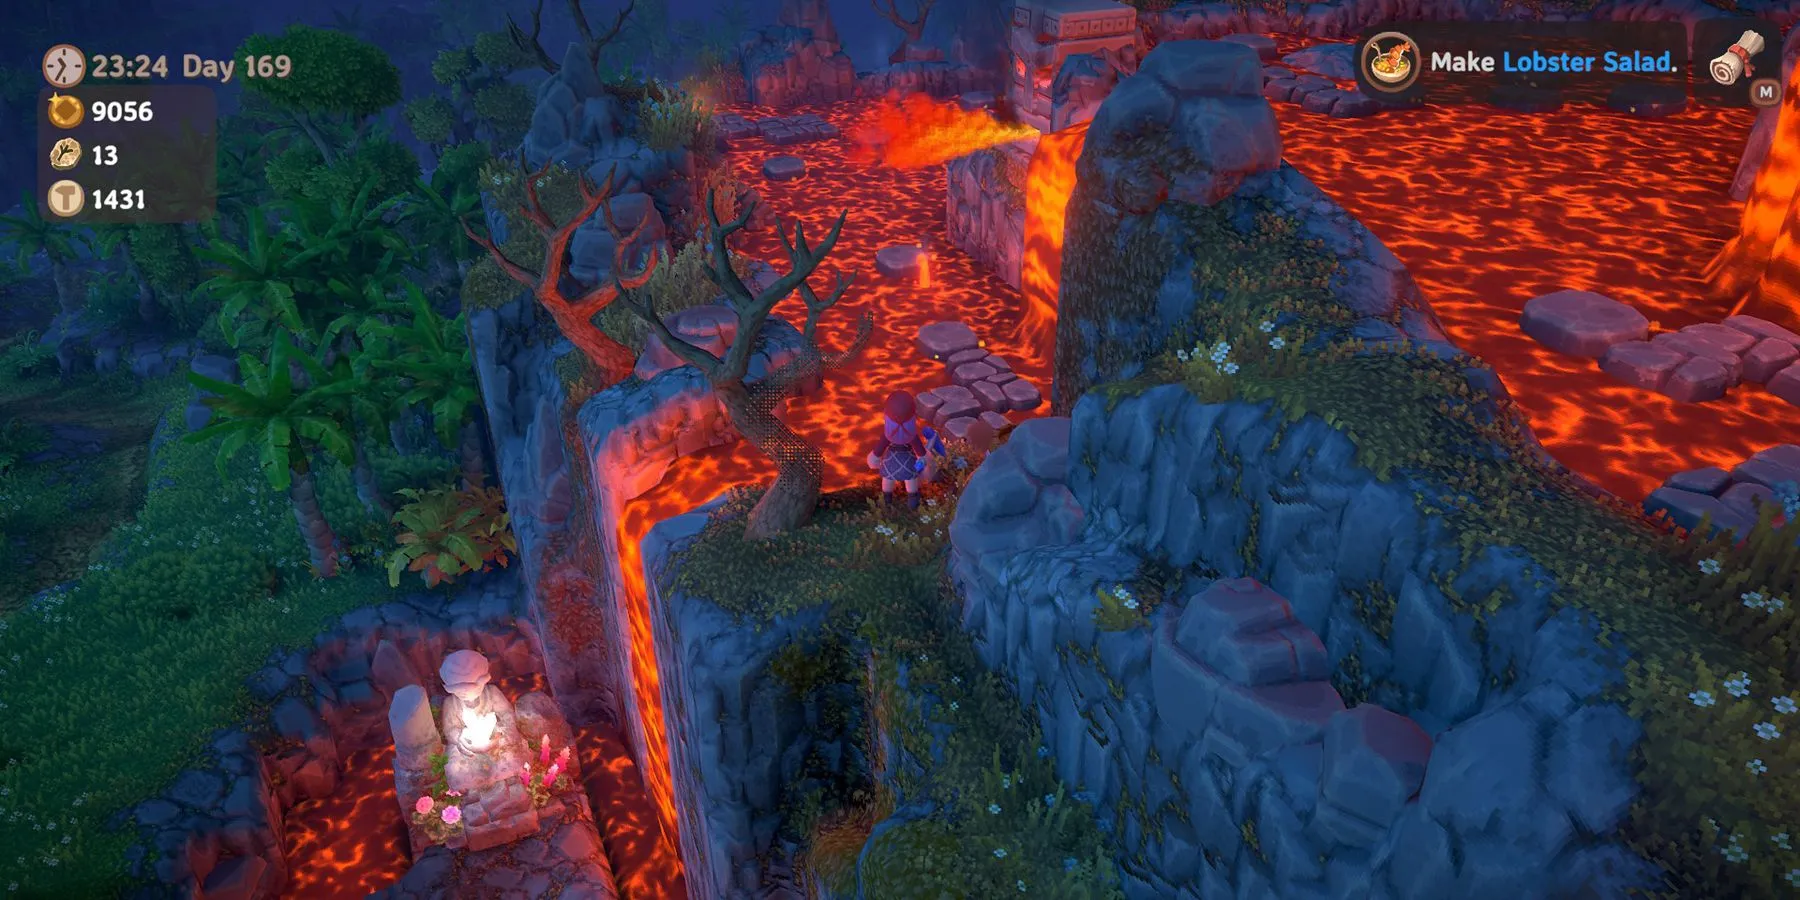
After traversing this river, you can explore to the right for a chest, but to continue your ascent, head the opposite way towards the lava river flanked by two fallen trees. Here’s how to navigate this section:
- Swiftly cross the fragmented stones to reach the first moving stone.
- Wait for the moving stone to reach solid ground across the river before hopping off.
- Locate the second moving stone and step onto it once on solid ground.
- Continue following the moving stones until you reach the opposing hillside and disembark onto solid ground once more.
- As you traverse the broken stones, ensure you time your jumps to not miss the final moving stone at the river’s end.
- Climb onto the moving stones until you reach the concluding set of broken stones.
- Time your jump to climb over the last broken stones to reach the final moving stone at the river’s terminus.
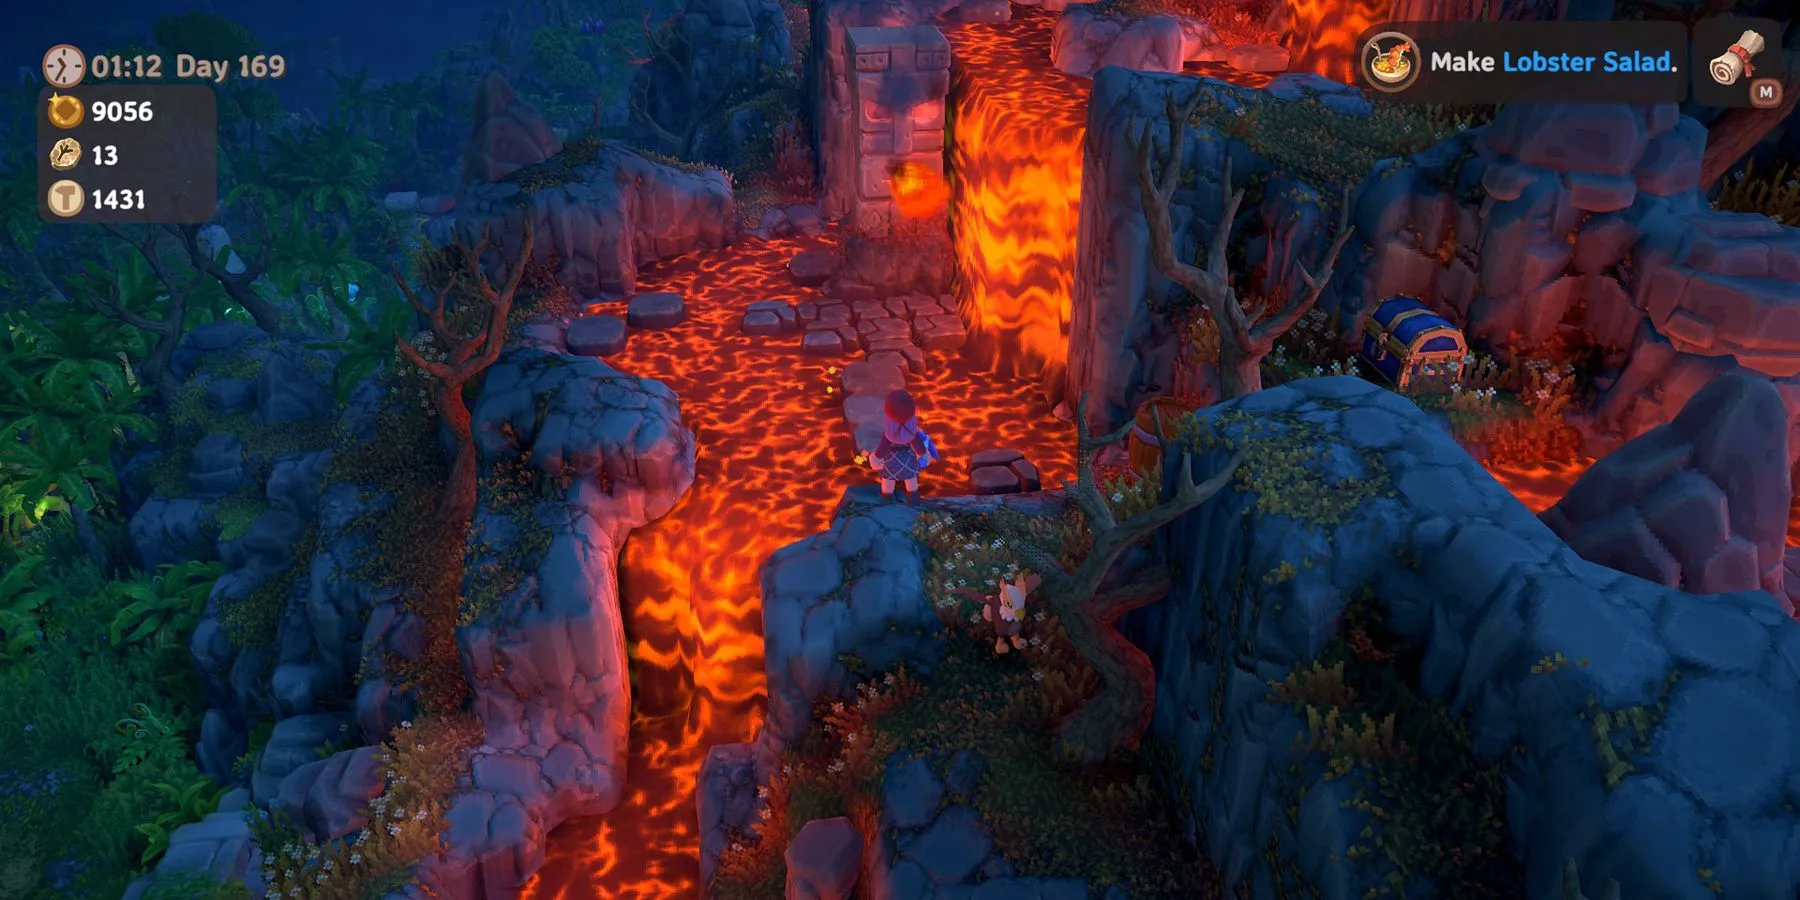
Pursuing further, you’ll encounter a smaller lava river just over the hill. Follow these steps to cross it:
- Rapidly cross the broken stone to access the first moving stone.
- Utilize the next two moving stones to reach the broken stones on the opposite side.
- Time is of the essence as you aim for the next moving stone that becomes visible beyond the broken stone pathway.
- Exercise patience; you may remain on the moving stones until you’re ready to jump off.
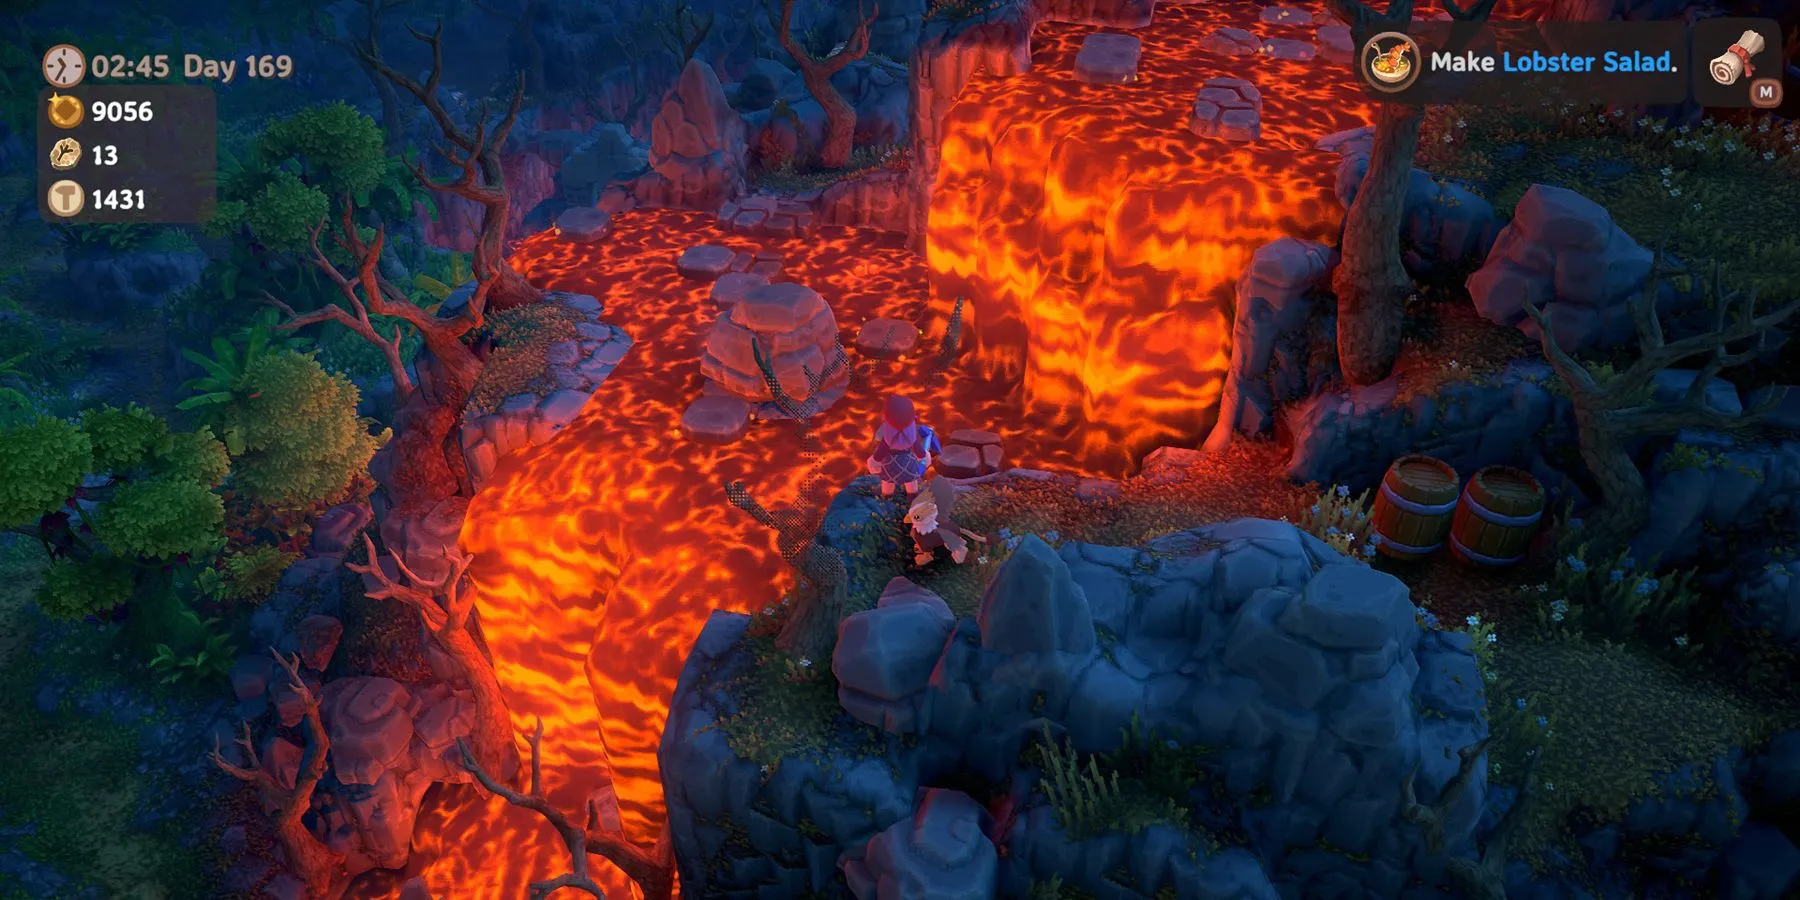
Once you’ve successfully traversed this river, continue upward until facing yet another smaller river which contains a significant boulder. Here’s your guide for crossing:
- Start on the first moving stone that circles past the large boulder in the middle.
- You’re able to access the second moving stone from the first; however, if you prefer caution, you can break the boulder to create stable ground.
- Utilize the second moving stone, but promptly transition to the third as it passes by with no stops.
- Careful timing is necessary to reach the next moving stone after crossing broken stones.
- The final moving stone will be available for only a moment; anticipate this to hop on it quickly.
- Cross the last few fragmented stone pieces to reach solid ground beyond.
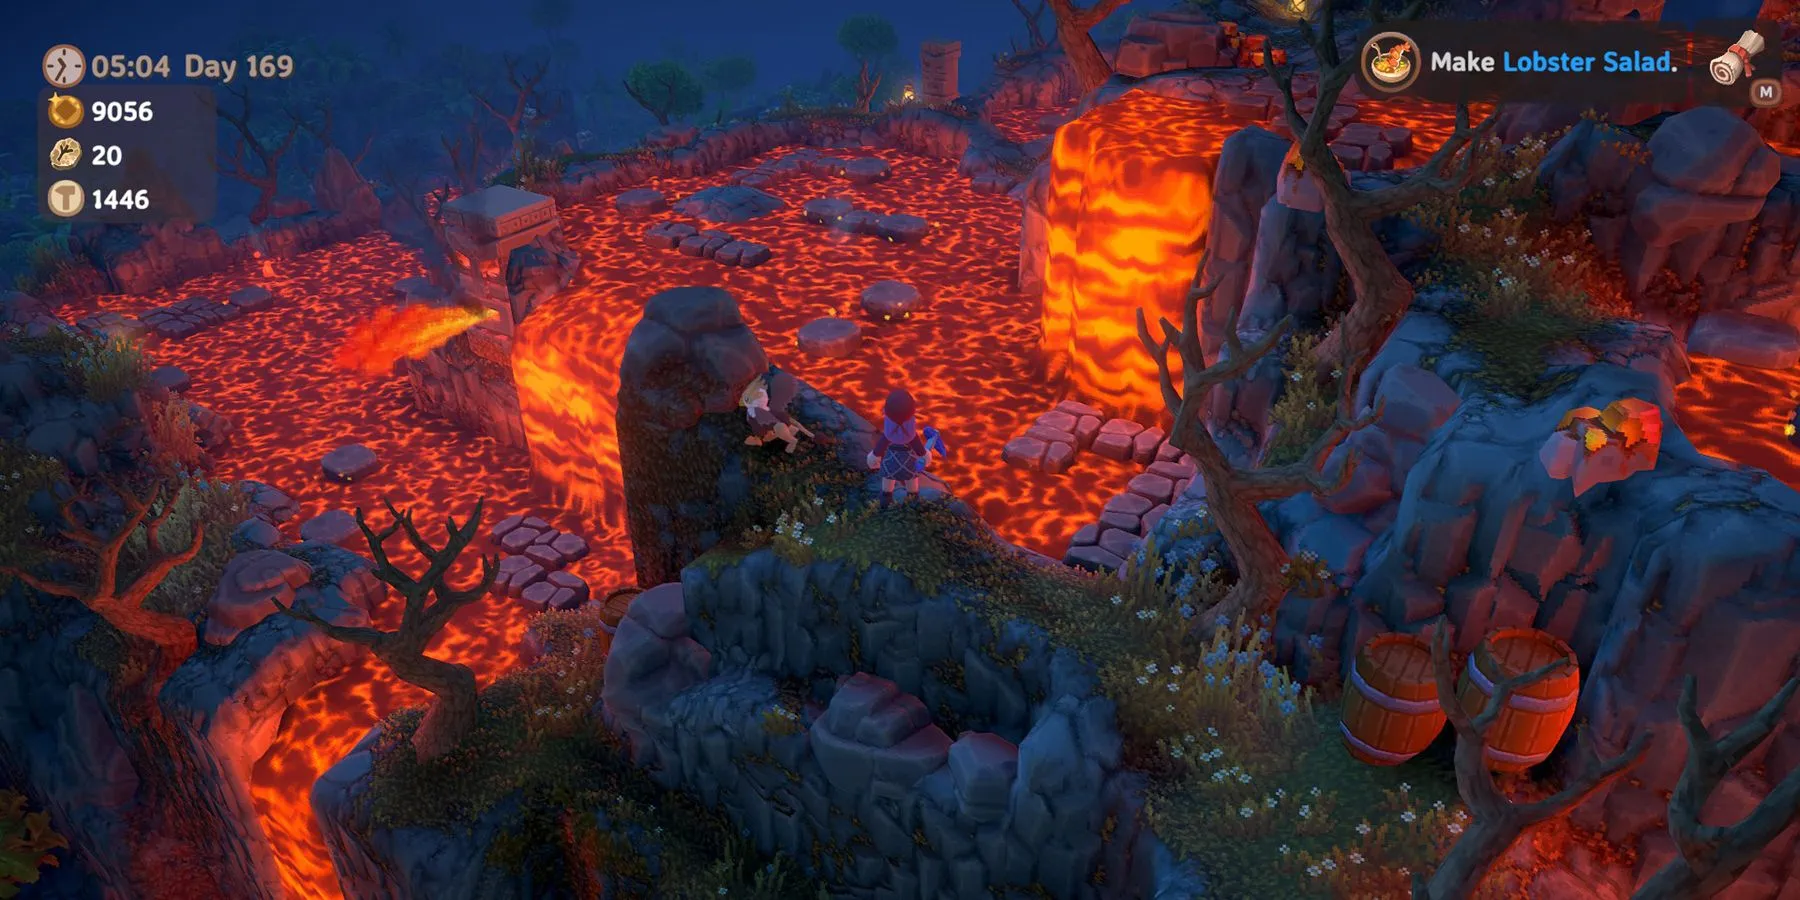
The next two lava rivers are relatively simpler to navigate as they present a more direct route across a series of broken stones and moving platforms. However, the seventh lava river comes with its own set of challenges:
- Identify the first moving stone which halts at the end of the extended broken stone path—timing is crucial to avoid lava.
- Jump to the second moving stone when the first lands beside it.
- Timing is once again key as you navigate across broken stones to reach the next moving stone—leap only when you’re confident.
- Your remaining journey comprises a predictable path to the opposite riverbank.
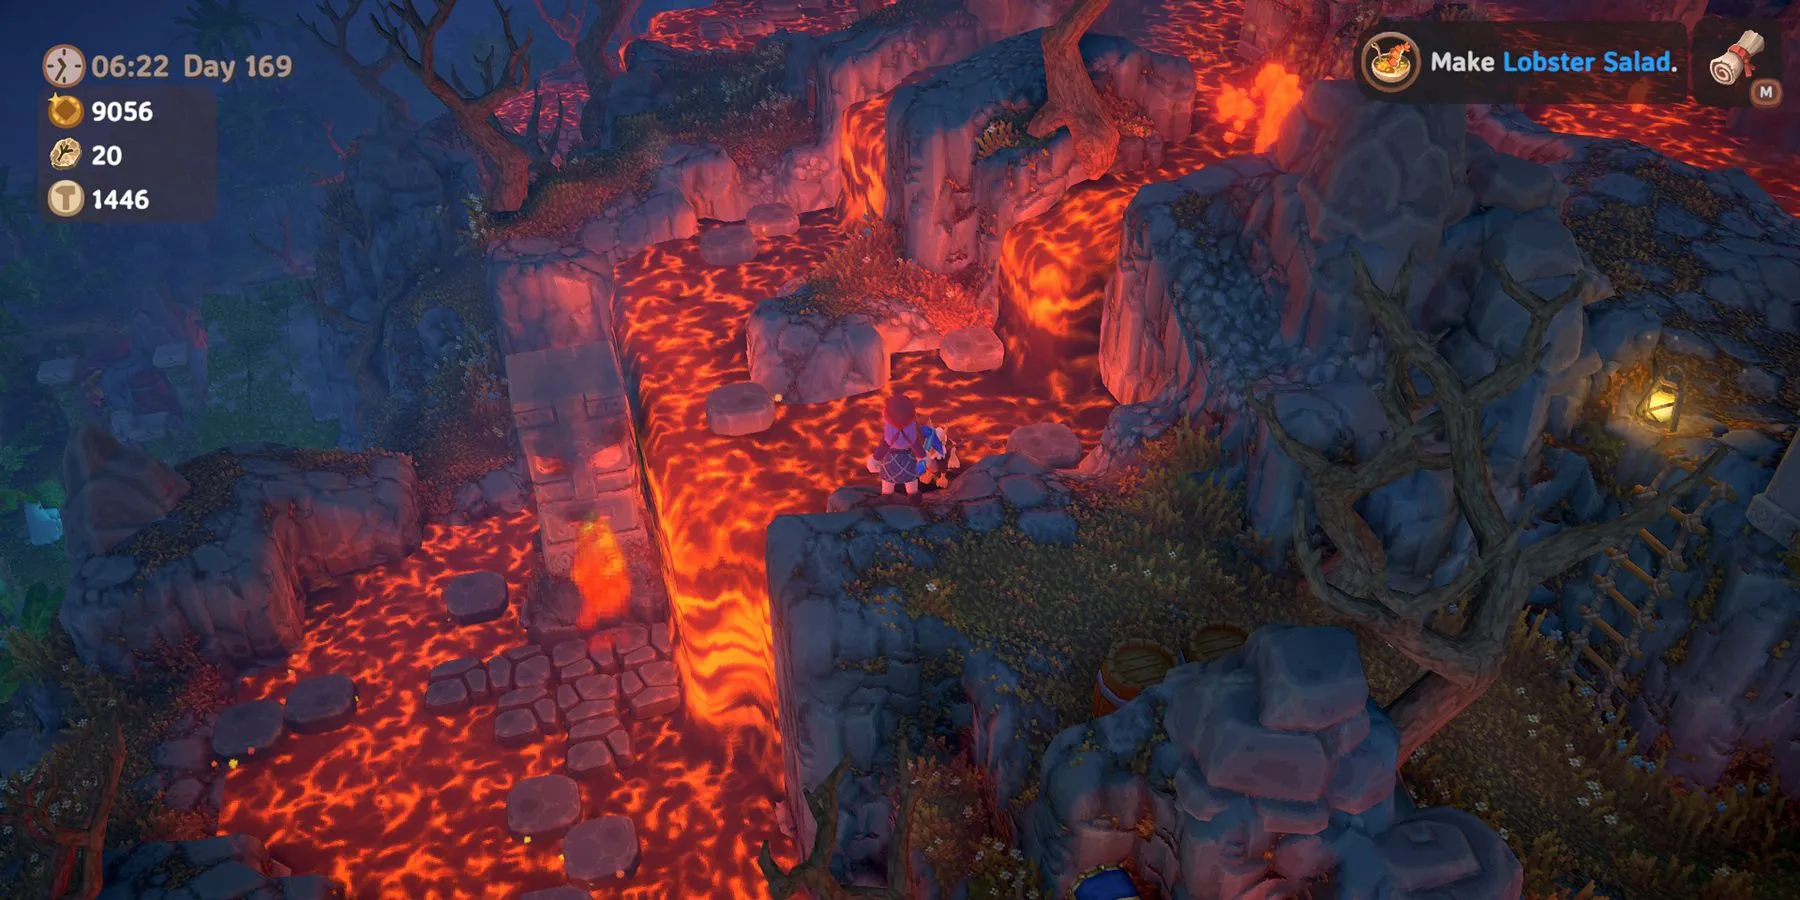
Your next undertaking involves manipulating stationary stones to cross a new lava river:
- Step briefly on the first stationary stone to allow it to drop into the lava. Quickly return to solid ground.
- With the stone now repositioned, step on it again and swiftly transition to the first moving stone.
- When this moving stone stabilizes, hop onto it.
- Before stepping onto the second moving stone, retrace your steps slightly to connect with the second stationary stone across from the first.
- Return to the ground, leveraging the newly positioned stone to reach the next moving one.
- Trace the moving stone’s pathway to solid ground beyond this pool.
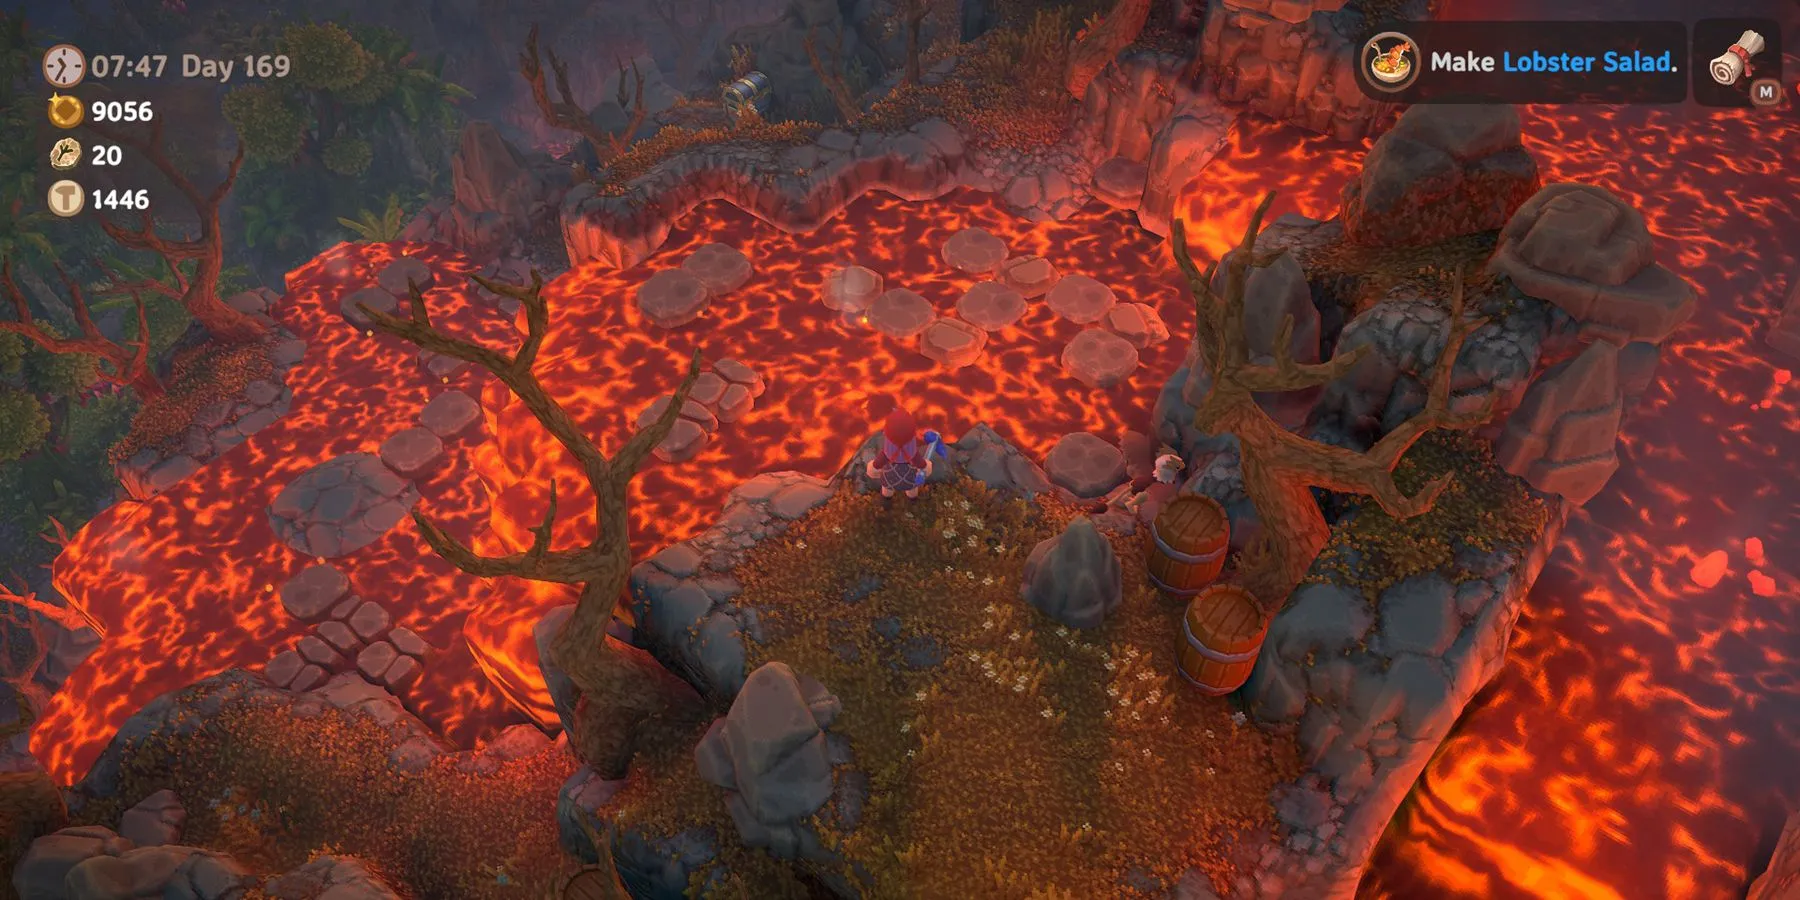
You will encounter a mixed challenge at the next puzzle station:
- Step on the first stationary stone and promptly hop off to shift its position.
- This stone should now align near a short broken stone pathway. Time your jump to access the first moving stone.
- Hold for a moment, then briefly step onto the second stationary stone to alter its position. Reboard the first moving stone you just exited.
- Jump onto the small ground patch located in the middle of the lava pool.
- In front of you, stones will periodically sink into the lava; time your movements to hop on the next stationary stone close to the lava waterfall.
- Follow the previously established pathway to reach the far side of the pool.
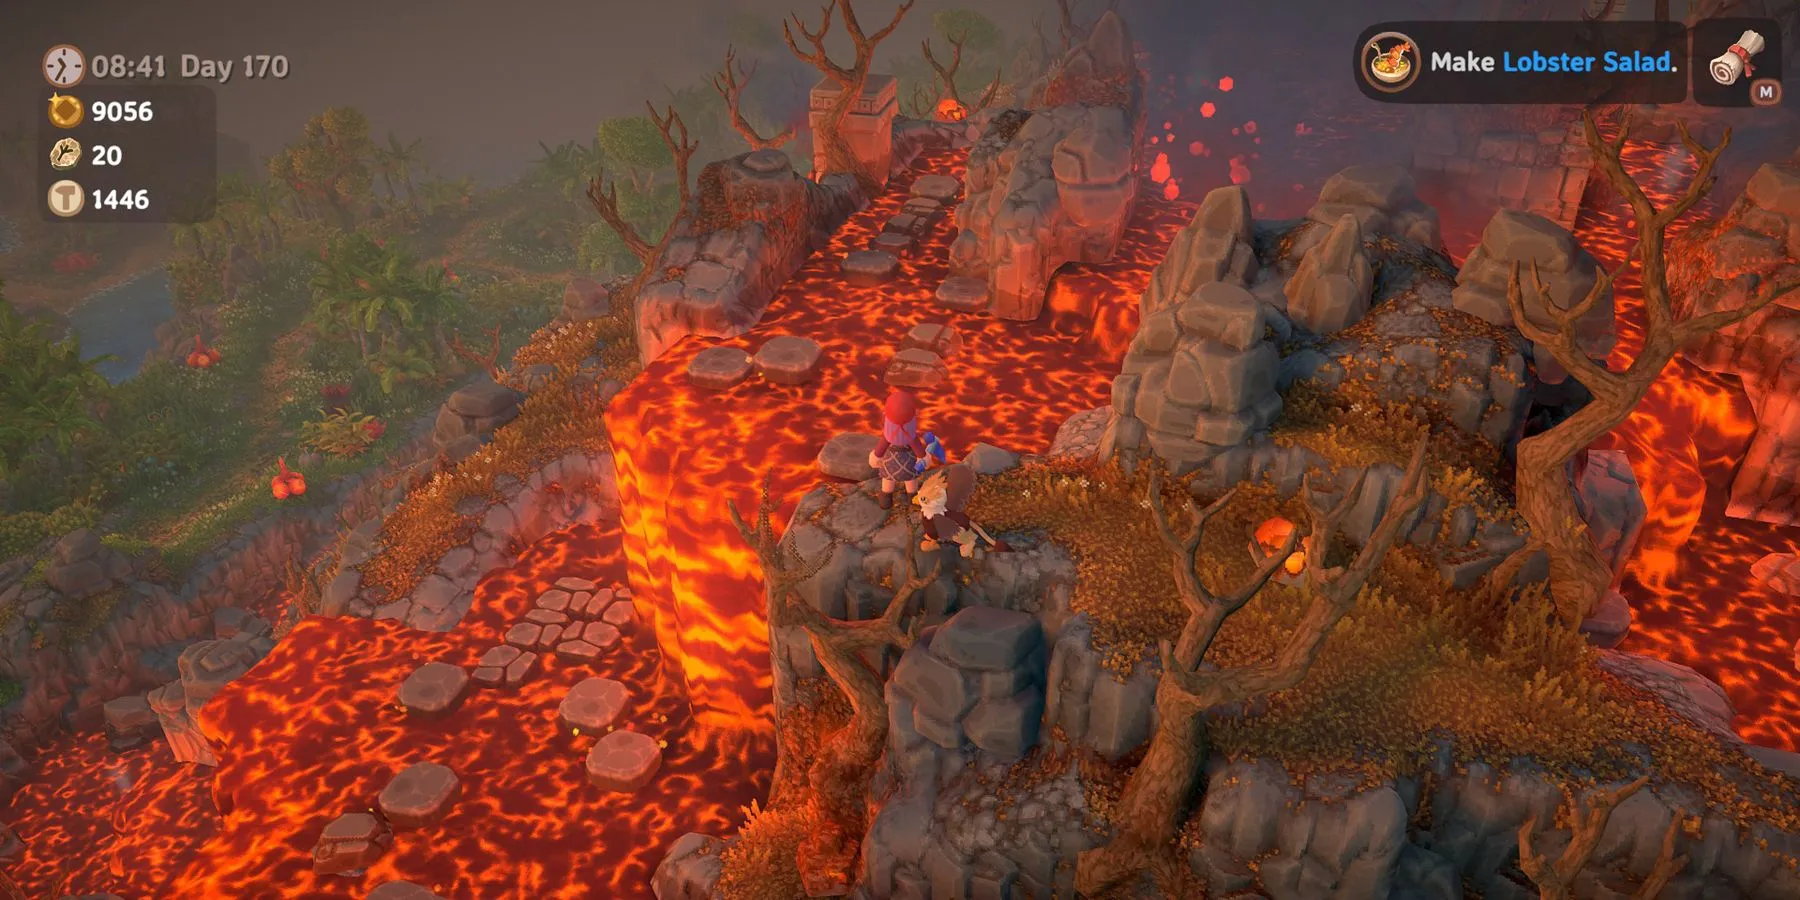
Upon reaching the subsequent lava river, commence with another stationary stone and navigate once more to progress:
- Quickly step on and off the first stationary stone to shift its position.
- Guide it closer to the lava waterfall to ferry yourself across the sinking stones to secure resting rocks on the other side.
- Cross the rocks and promptly alter the final stationary stone at your pathway’s end.
- Employ this altered stone to swiftly hop onto the first moving stone.
- Before advancing to the second moving stone, wait for your current one to reach the middle stationary stone across the pool. Adjust its position by hopping on then off.
- Now, you can merely follow this path to safety on the other side of the lava pool.
After crossing this final river alongside one last bridge of broken stones, you will have successfully summited the Volcano in Luma Island. At the top, a treasure chest awaits containing a Luma Egg along with the schematic for constructing the Castle. Similar to the schematics acquired from other biomes, the Castle can be built on your Farm, enabling swift travel to the Jungle. The descent is greatly simplified by multiple ladders along the path; just be on the lookout for them as you navigate your way back down.


Leave a Reply ▼