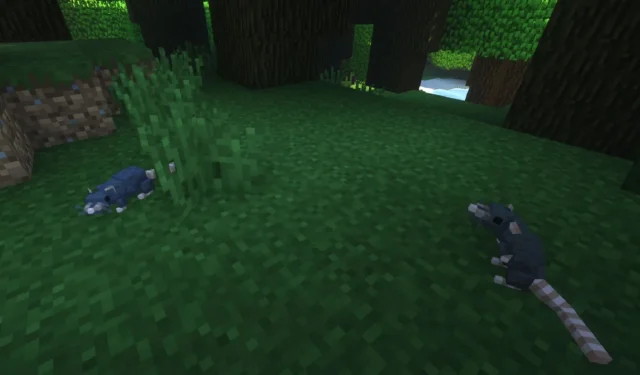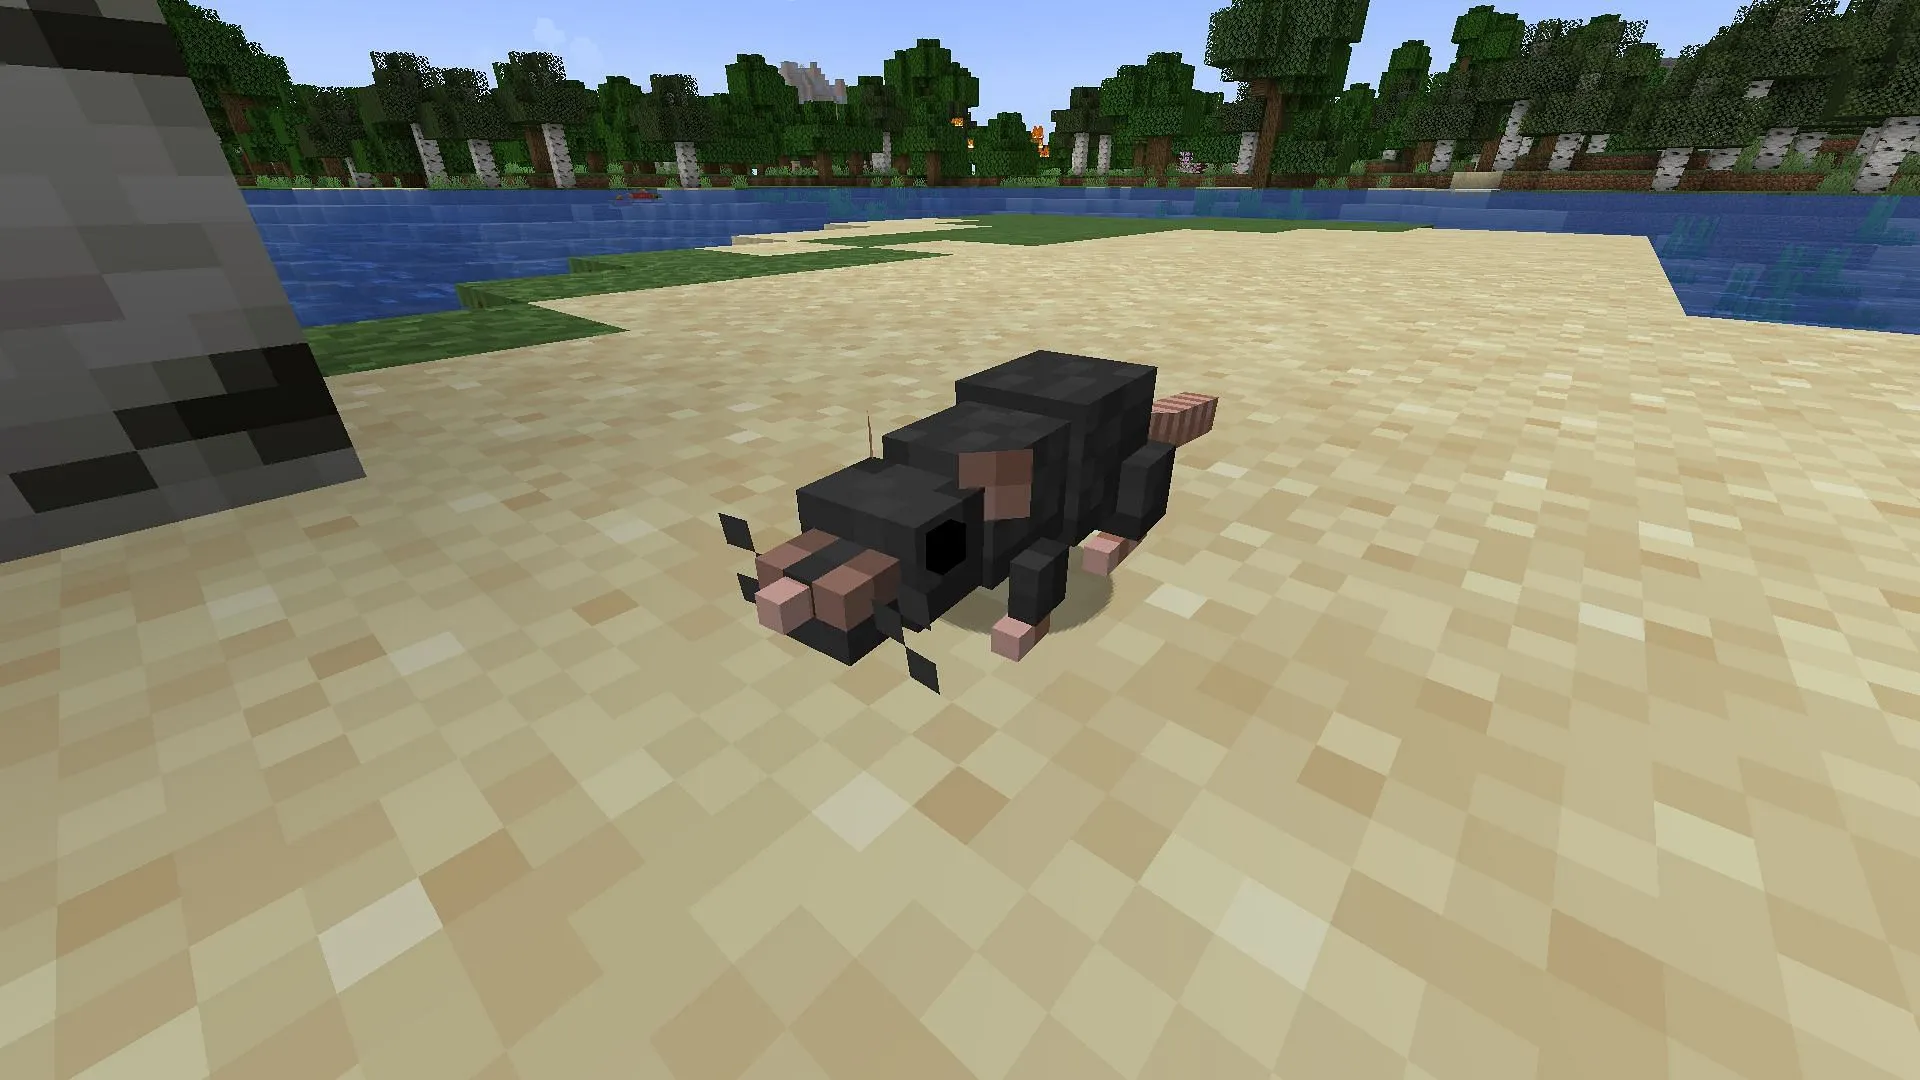
The Rats mod for Minecraft, developed by community member Alexthe666, brings charming rat mobs to Mojang’s popular sandbox game along with extensive content focused on these little creatures. Though these new mobs can cause some trouble for players, they can also be tamed and given commands to perform various tasks. Additionally, there are new adversaries introduced who have taken control of the plagued rats.
Given the depth of this Minecraft mod, it’s beneficial to learn how to install it for your Java Edition client and familiarize yourself with some basics to optimize your experience once the mod is up and running.
How to Install the Rats Mod for Minecraft

To install the Rats mod for Minecraft: Java Edition (please note this mod does not support Bedrock Edition), you need to utilize either the Forge or NeoForge mod loader. If you’re installing a mod for the first time, follow these steps. The instructions below focus on the Forge loader, but the NeoForge process is quite similar:
- Go to this link, select a Minecraft version (the Rats mod supports 1.12.2, 1.15.2, 1.16.5, 1.19.4, and 1.20.1), and click the installer button to download a. jar file for the mod loader. After a brief wait, skip the AdFocus page and click the download button again to get the. jar file, then run it.
- Make sure the “install client”option is checked, then click the Proceed button. You will be notified once the mod loader is installed.
- Visit this page, click the download button, select the game version that matches the one you downloaded Forge for, and download the Rats mod’s. jar file.
- Go to this link and download the Citadel library corresponding to the same Minecraft version you used for the Rats mod and Forge.
- Launch your Minecraft Client, select Java Edition, then click the Installations tab above the game art. Hover over the Forge installation and click the folder icon to open your game’s root directory.
- In your root directory, find or create a folder named ‘mods’ and place the. jar files for the Rats mod and the Citadel library in this folder. Finally, return to your launcher and run the Forge installation you created for the Java Edition.
Tips to Get Started with the Rats Mod in Minecraft

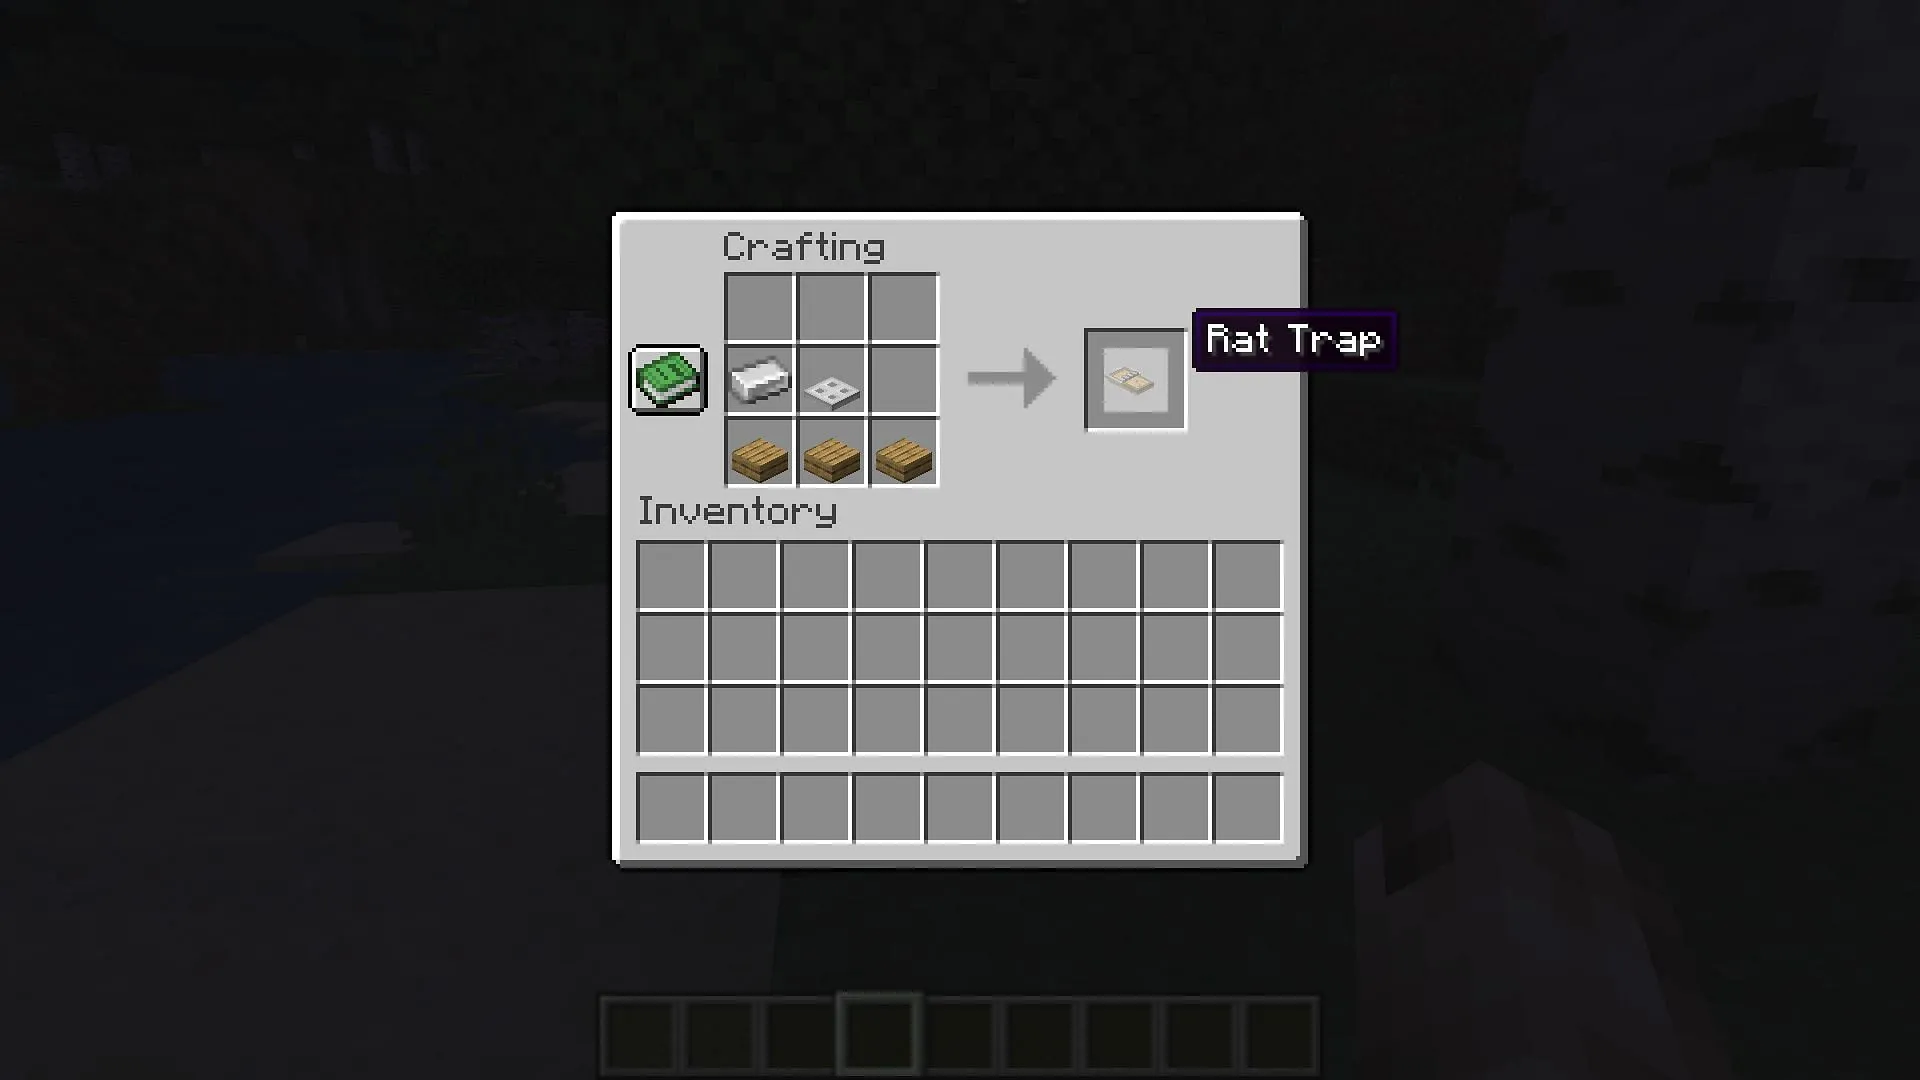
Once you have installed the Rats mod, rats will begin to spawn in your Minecraft world, especially at night. To thwart their entry into your shelter (unless made of stone), it is advisable to craft rat traps using an iron ingot, three slabs, and an iron trapdoor. You can build multiple traps if desired.
You’ll need cheese to attract rats to your traps (or tame them). To make cheese, place milk from a bucket into a cauldron. After a few seconds, the milk will curdle into cheese. Right-click the cauldron to retrieve a cheese block, which can be crafted into cheese slices suitable for your traps.
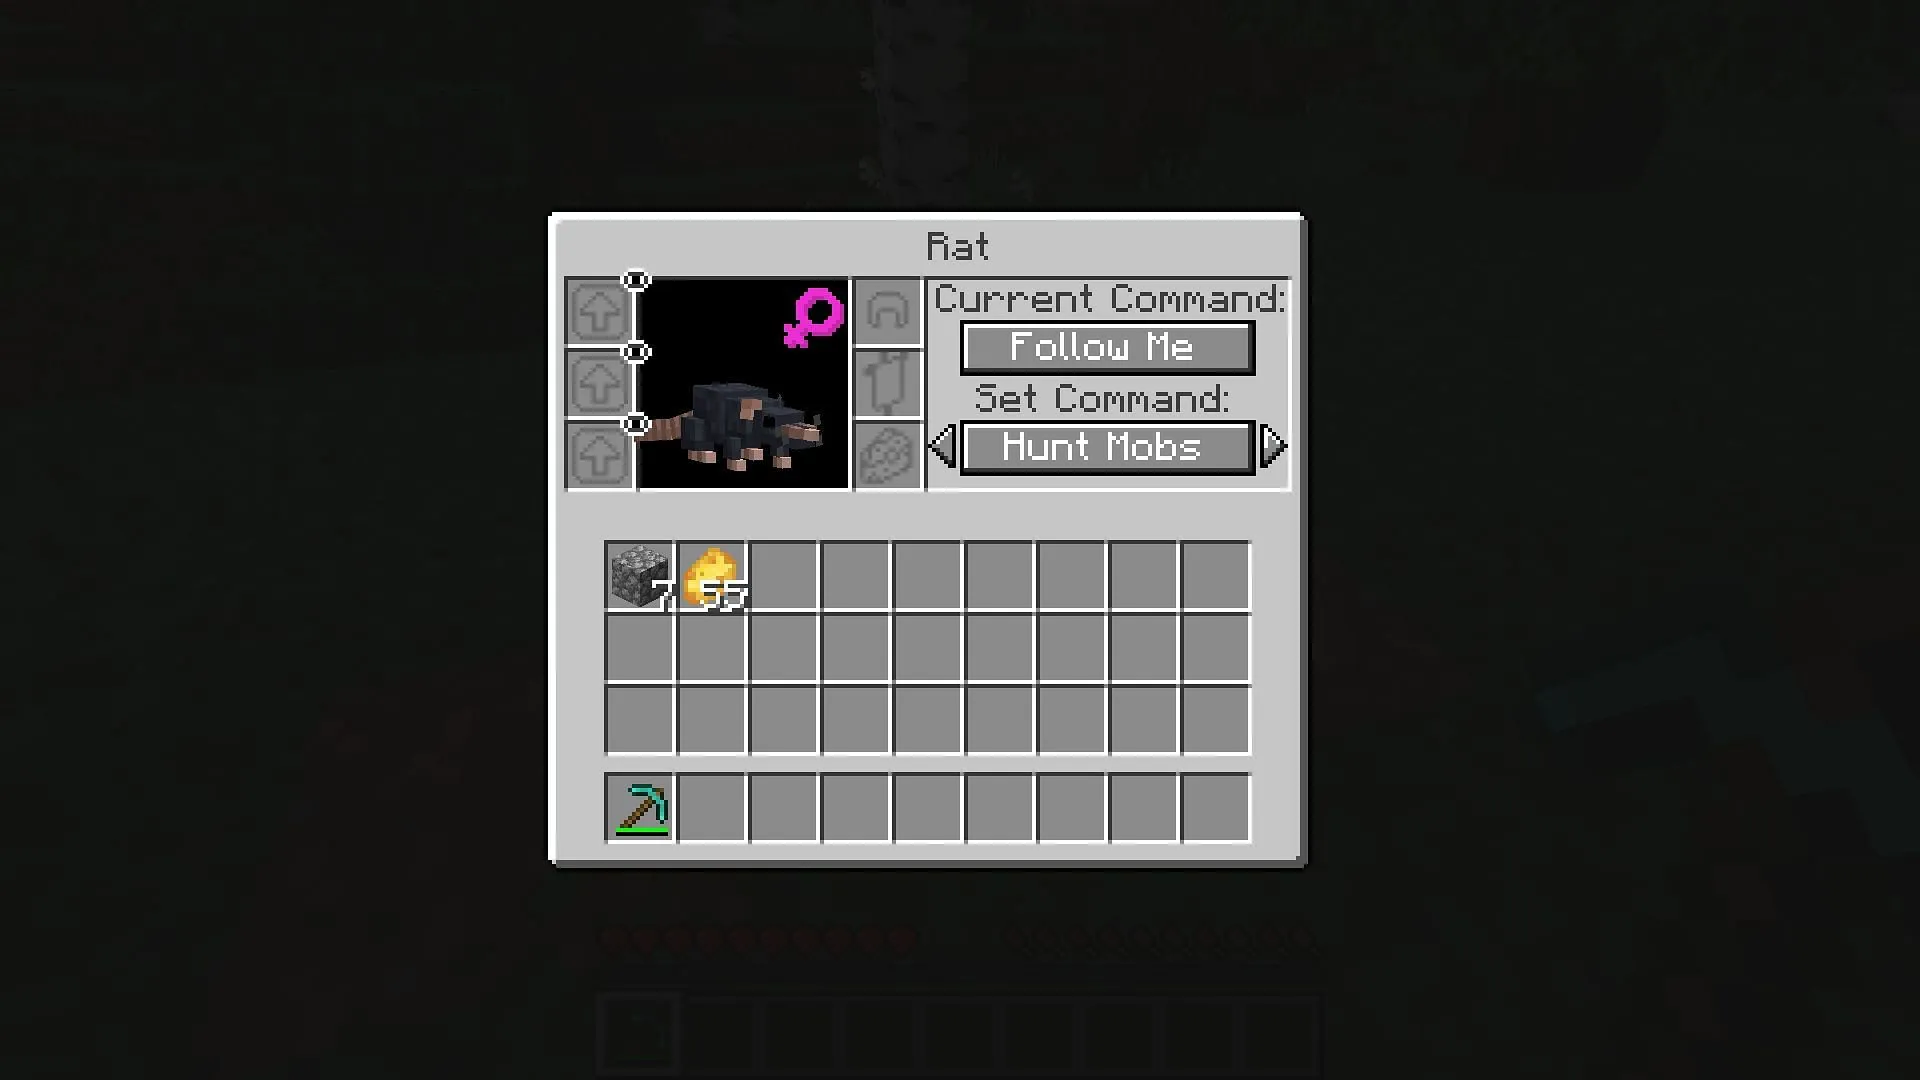
Taming a rat can be somewhat challenging, as these new mobs tend to flee when approached. However, corner a rat and drop cheese slices near it. With approximately 10-15 feedings, you can successfully tame a rat. After taming, you can access the rat’s inventory to provide upgrades (often crafted from cheese and diamonds), gear, and to issue commands.

This guide offers a foundation to get started with the Rats mod, but there is a wealth of discoveries waiting for you as you explore with it enabled. Moreover, the Rats mod has an official wiki page and a Discord server where you can ask questions or learn about crafting recipes and gameplay mechanics, making it a valuable resource.


Leave a Reply