Marvel Rivals marks an exciting addition to the PvP Hero Shooter landscape, offering a plethora of features designed to captivate players. With a comprehensive battle pass system and a vibrant in-game Store filled with nostalgic cosmetics, it’s crafted to keep players engaged and entertained.
Players can choose from various game modes, including a competitive option to truly test their skills. Yet, for those moments when relaxation is preferred, the custom game system provides a perfect alternative. In this guide, we’ll walk you through the steps to create your own custom game in Marvel Rivals, allowing you to play with friends, bots, or a mix of both.
Creating a Custom Game in Marvel Rivals

Follow these straightforward steps to initiate a custom game in Marvel Rivals:
- Open the game.
- Select the Play button located in the upper left corner of the main menu.
- Click on Change Mode positioned just above the Start button.
- Within the Rivalry tab, choose the Custom Game option.
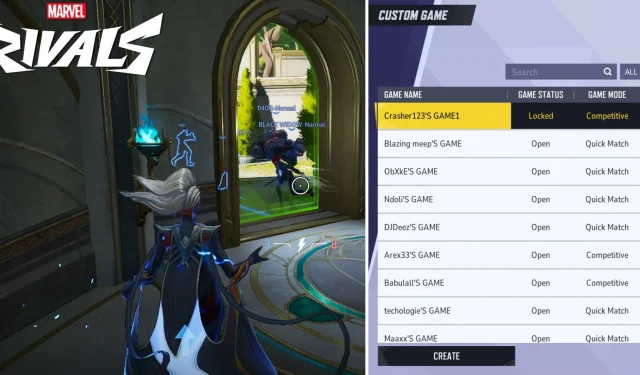
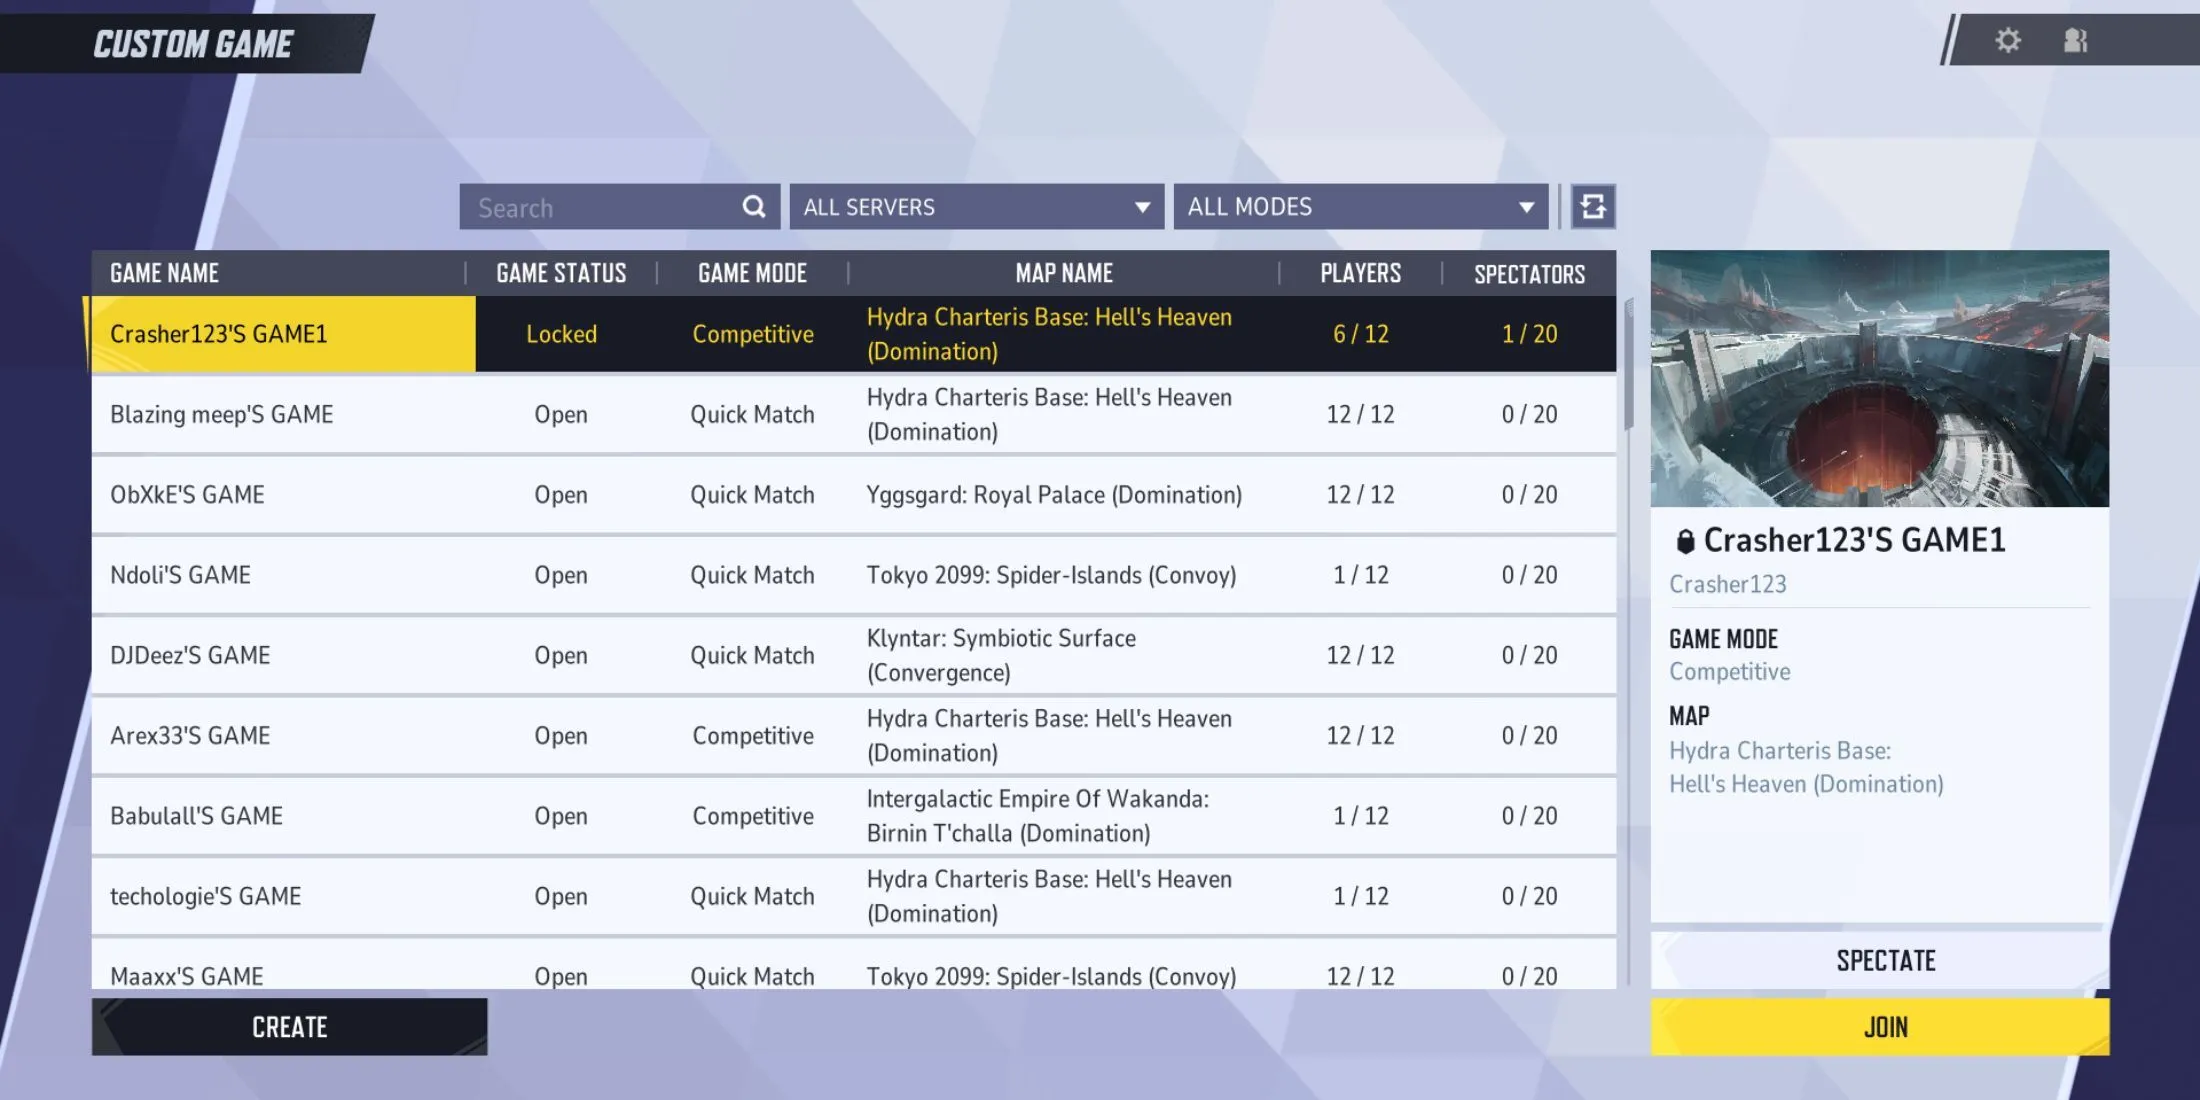
Upon doing this, you will see a list of currently active lobbies. You can either join or spectate these open lobbies. To create your own custom game, simply click the Create button below the lobby list. This action will guide you to a new area where you can invite friends, add bots, and adjust various lobby settings.
Inviting Friends to Your Custom Game

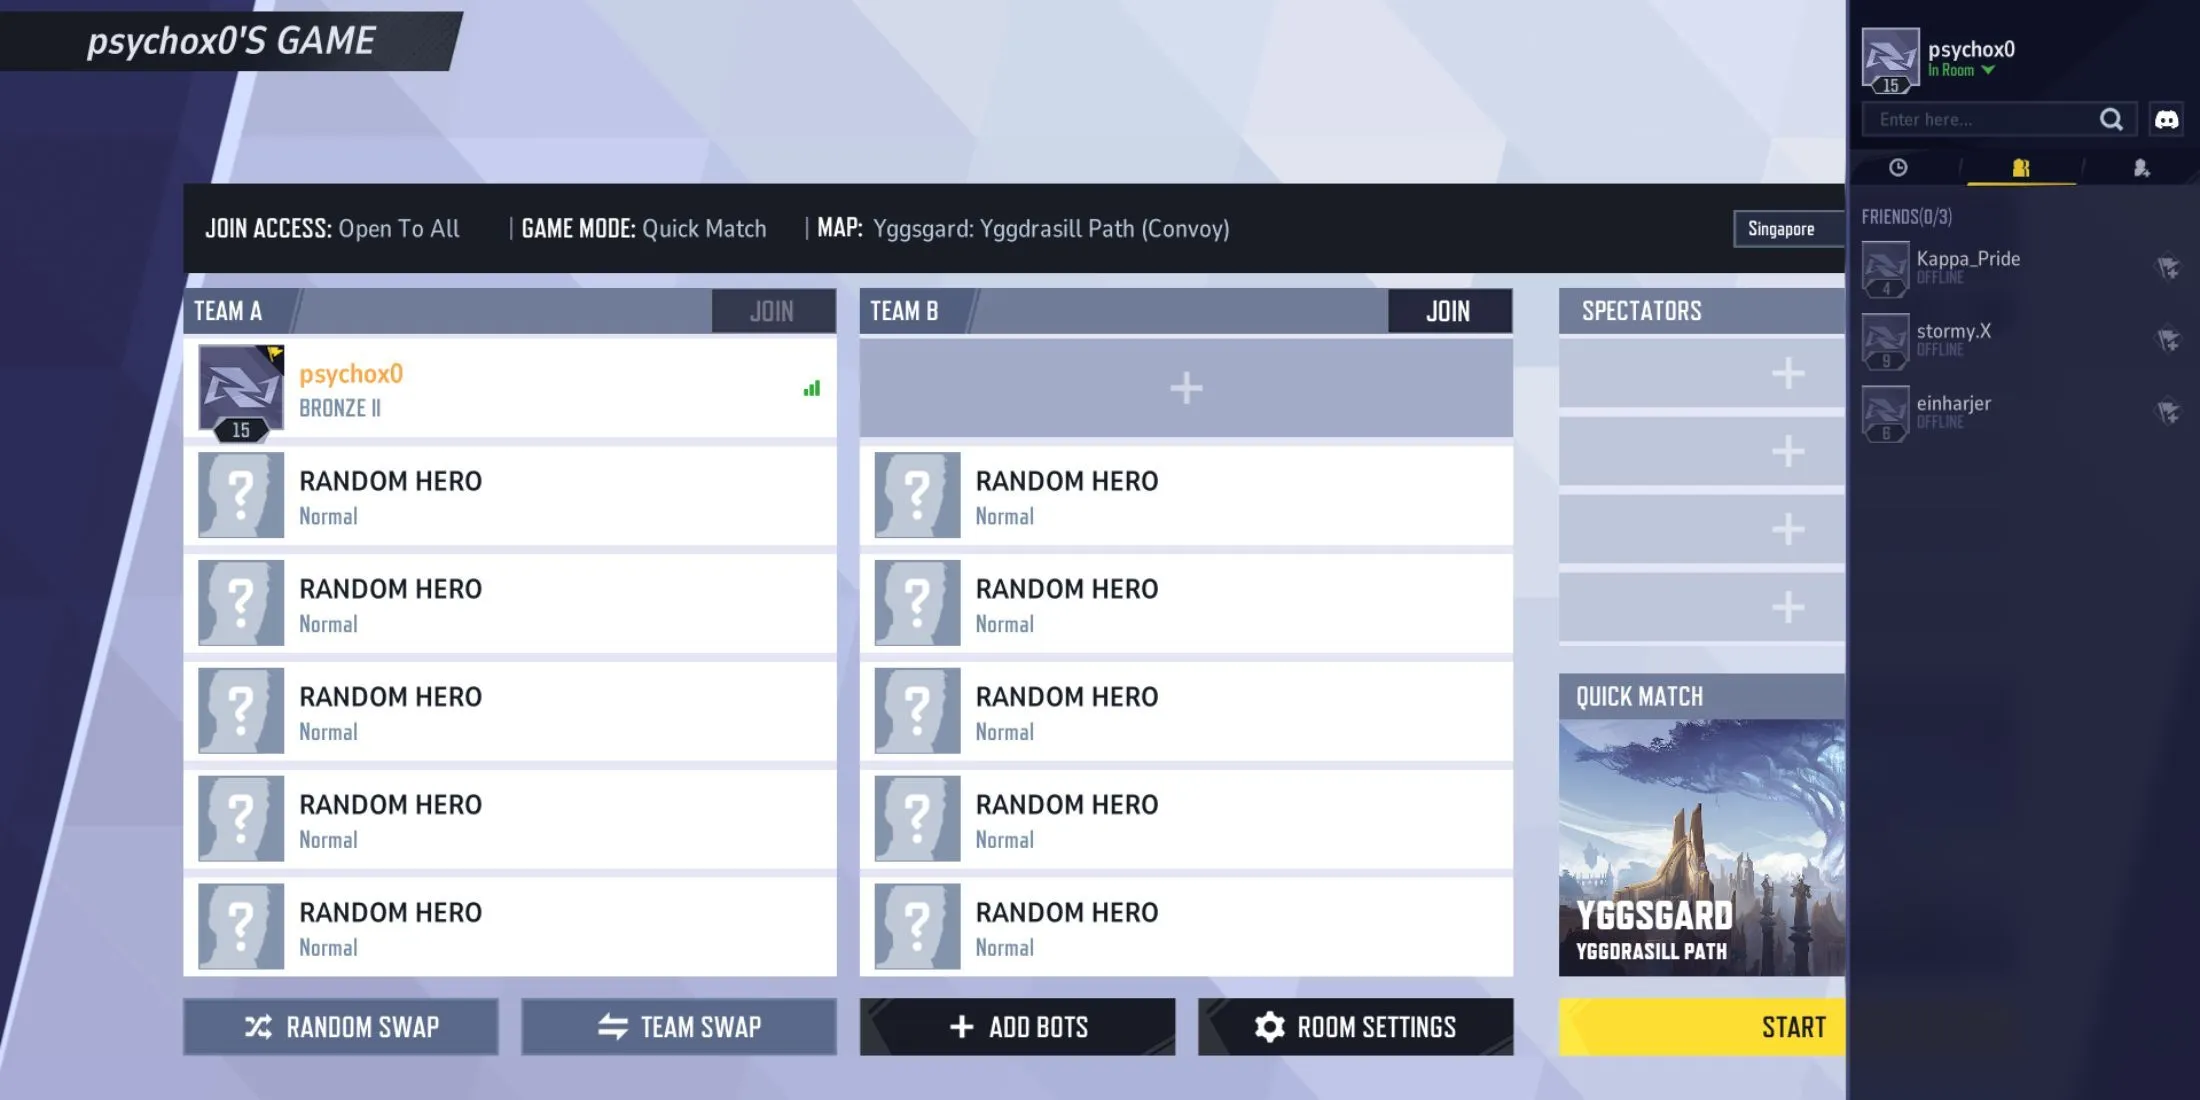
Once your custom game is set up, you can invite friends to form two teams. Click on any empty slot adorned with a plus sign to access your friend list and select who to invite into the lobby.
To shuffle players randomly among the teams, hit the Random Shuffle button as needed. If you wish to incorporate bots into your lobby, select the Add Bots option below the unfilled slots, where you can specify the number of bots to include, as well as their difficulty level.
Should you need to remove a player or bot from a team, right-click on the respective player’s slot and select Remove.
Adjusting Settings for Custom Games

Marvel Rivals empowers players with numerous customization options for their experiences in Custom Games. Your choices include:
- To change the server, click on the active server above the Spectators box. This reveals a list of servers along with latency information for each region. Select the most suitable server for all players and confirm your choice.
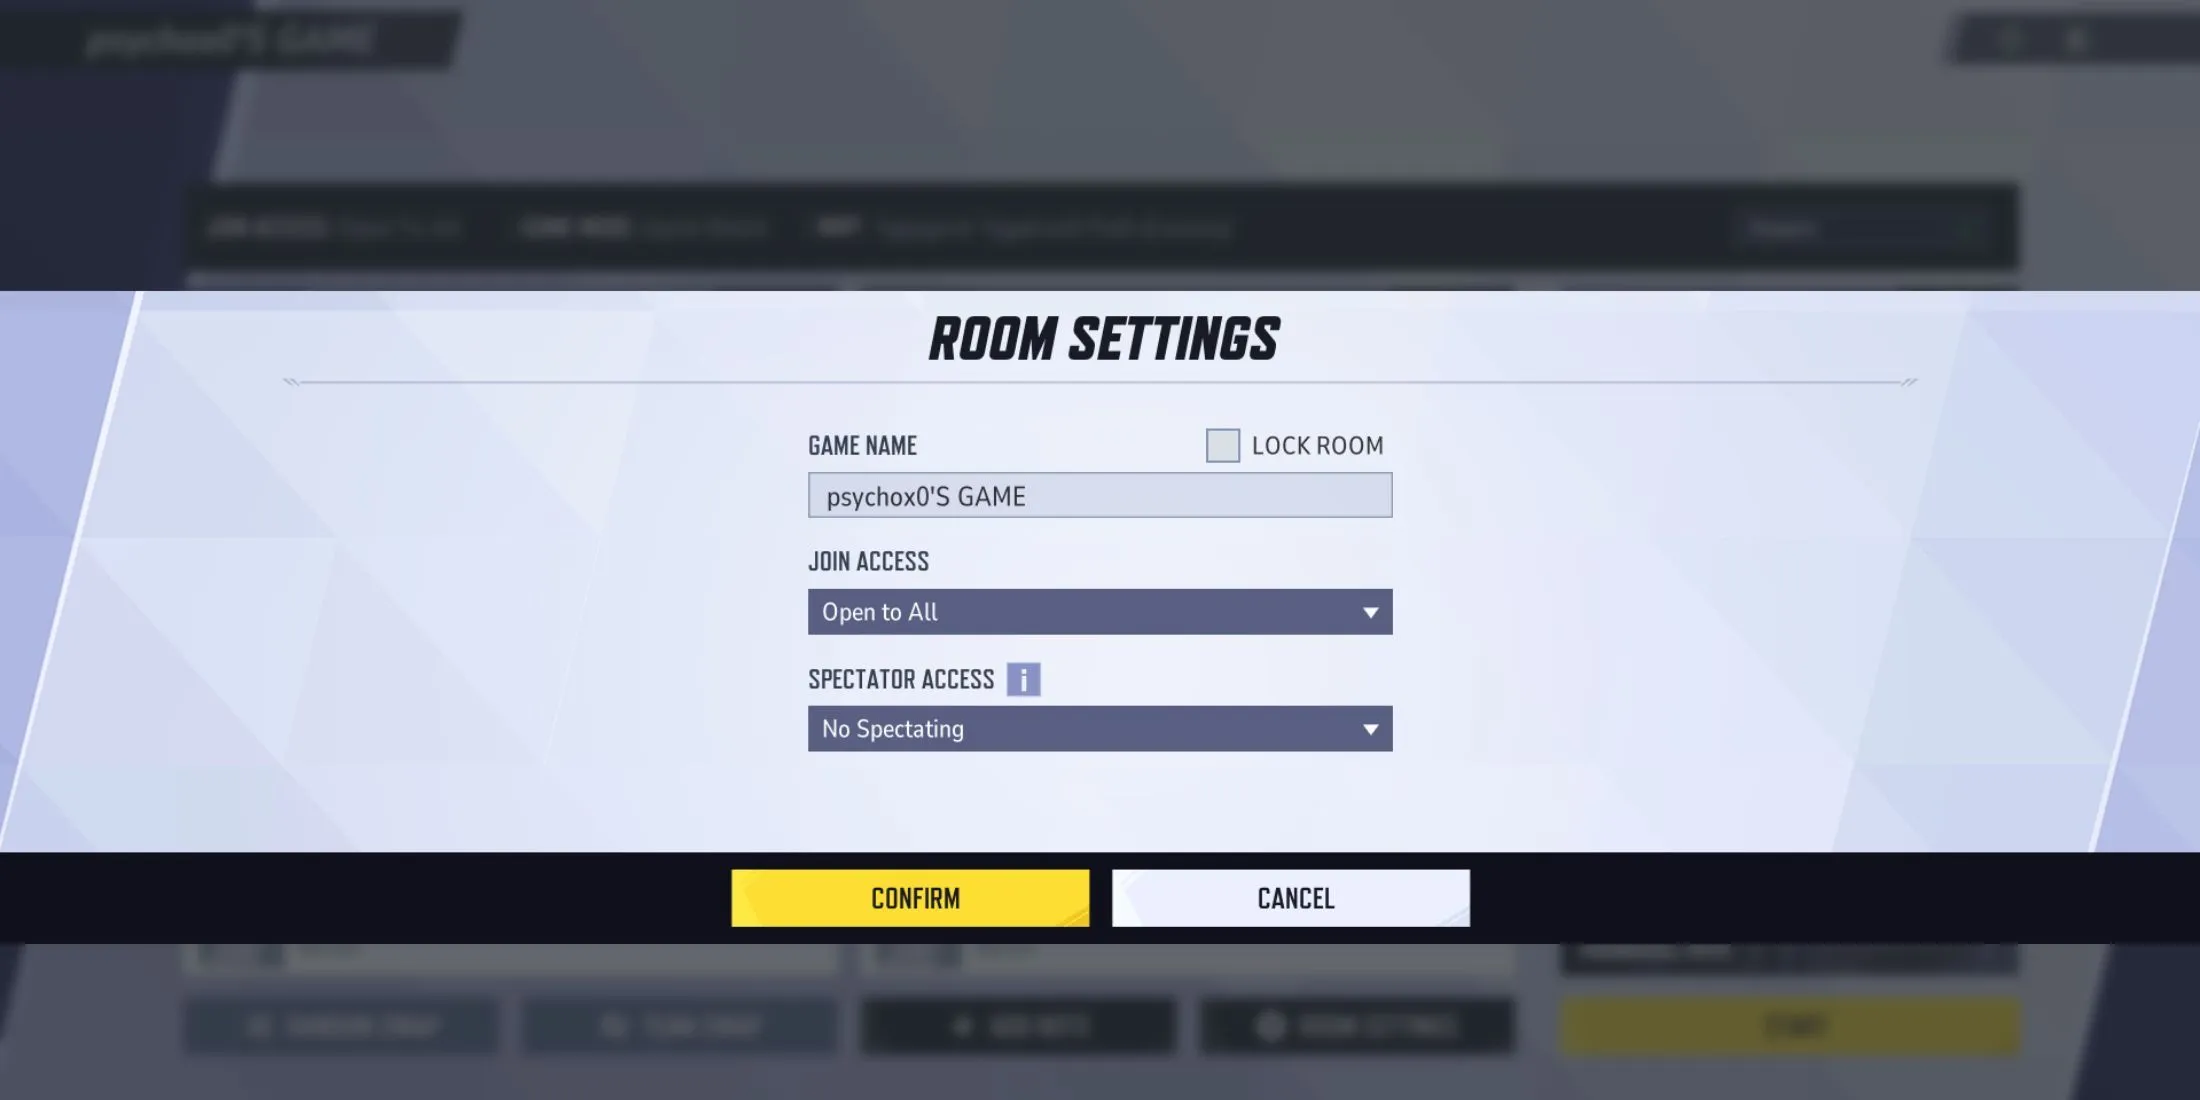
- To secure your lobby with a password, access the Room Settings menu, check the Lock Room box next to the Game Name, enter your desired password, and confirm.
- Adjust the Join Access setting to control who can join your lobby. The default setting is Open to All, but you can change it to Friends Only or Invitation Only.
- For spectator settings, you can allow Open to All, restrict to Friends Only, or choose No Spectating depending on your preference.
- If playing on a Competitive Map, implement a Ban/Pick system, with options such as Team Ban, Leader Ban, or No Ban/Pick.
- To select the Map and Game Mode, click on the currently active map above the Start button within the custom game room. Each map is linked to a specific game mode. Select your desired map and click Confirm to set it as active.
By enabling the Multi-Select Box in the Map menu, you can choose multiple maps to activate.
Utilizing Custom Games in Marvel Rivals is a fantastic way to warm up before competitive matches or to unwind while gaming with friends. It’s also a perfect platform for experimenting with different hero combinations or fine-tuning your PC’s settings without the pressure of an ongoing match.


Leave a Reply