Quick Links
In the vibrant world of Luma Island, Offering Crystals serve as crucial collectibles that unlock various shrines scattered across the game’s distinct biomes. These shrines not only hold numerous rewards, including coveted Luma Eggs and Ancient Books but also present a significant challenge when it comes to locating the crystals.
As players venture into advanced biomes like the Mountain, they may find the crystals cleverly camouflaged among cliff faces and tucked away in obscure locations. Tracking down all eight crystals required to access the shrine can prove time-consuming, especially considering the intricate paths that need to be navigated. However, this guide simplifies your search by detailing the locations of every Mountain Offering Crystal.
Mountain Offering Crystal #1 Location
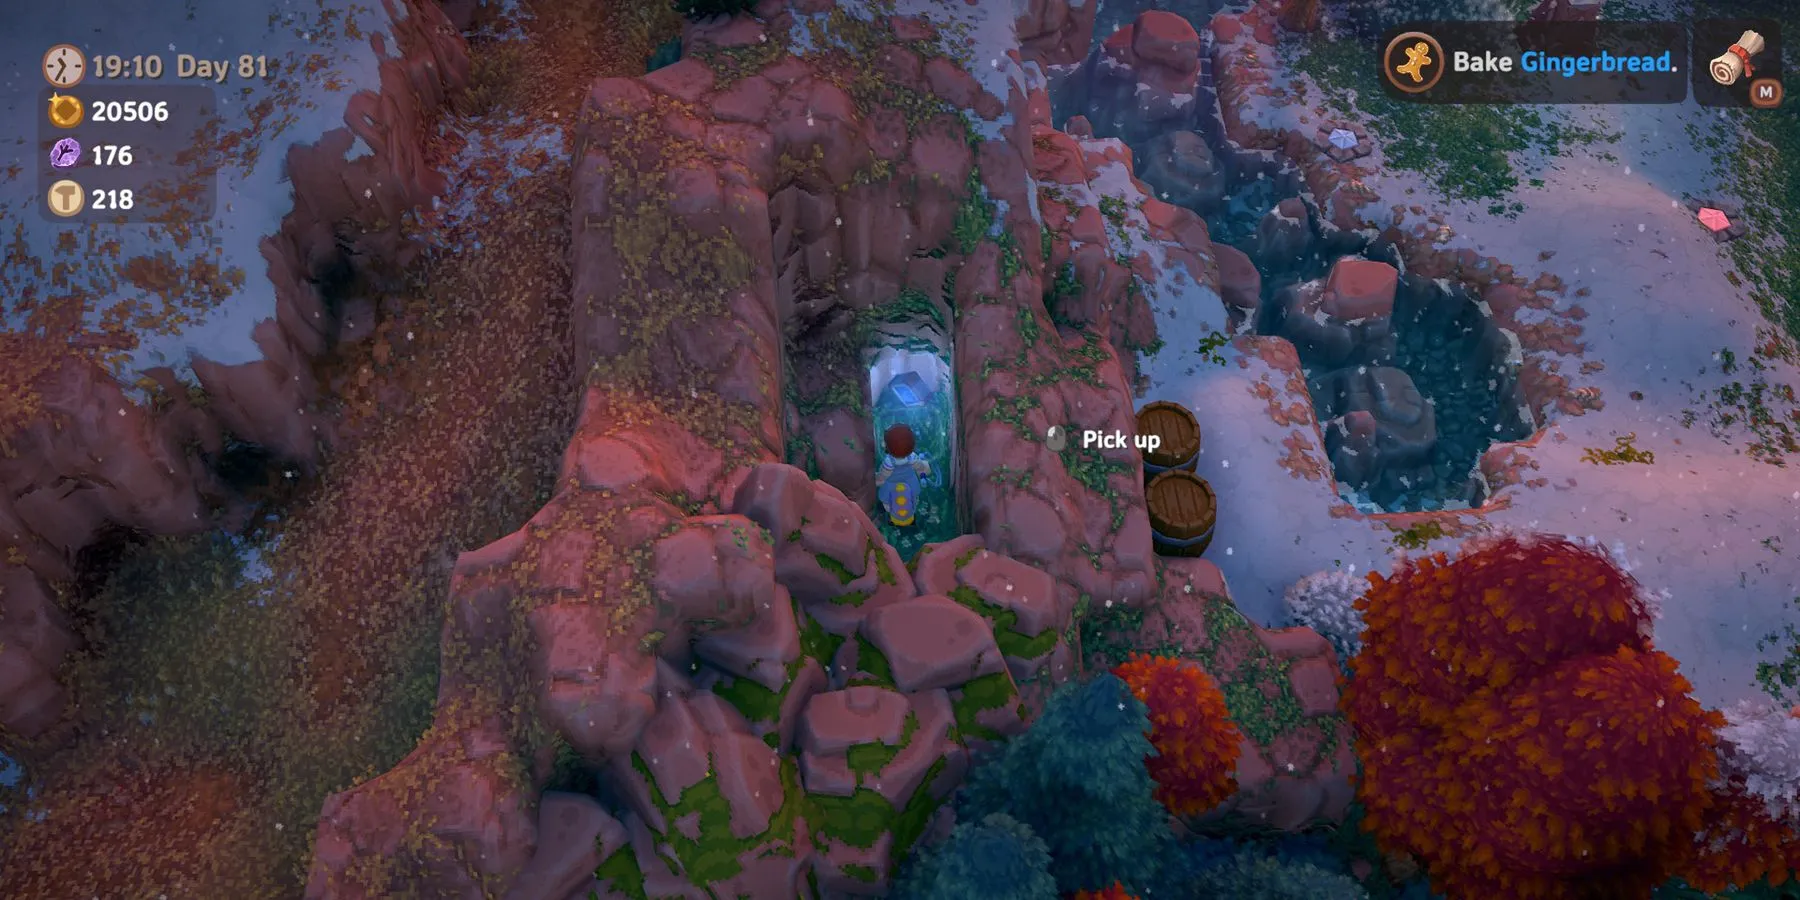
To uncover the first Mountain Offering Crystal, head west towards the area populated with Ice Eels. While traveling along the path, be cautious not to stray too far; if you encounter an Ancient Temple, it’s a sign you’ve gone beyond your target. Instead, search for a hidden alcove shrouded by walk-through bushes.
Pushing through the foliage reveals a small entryway leading to a rocky path ending with the Mountain Crystal. For an alternative point of reference, begin at the Ancient Temple and trace your steps back along the Mountain’s edge until you discover the entrance.
Mountain Offering Crystal #2 Location
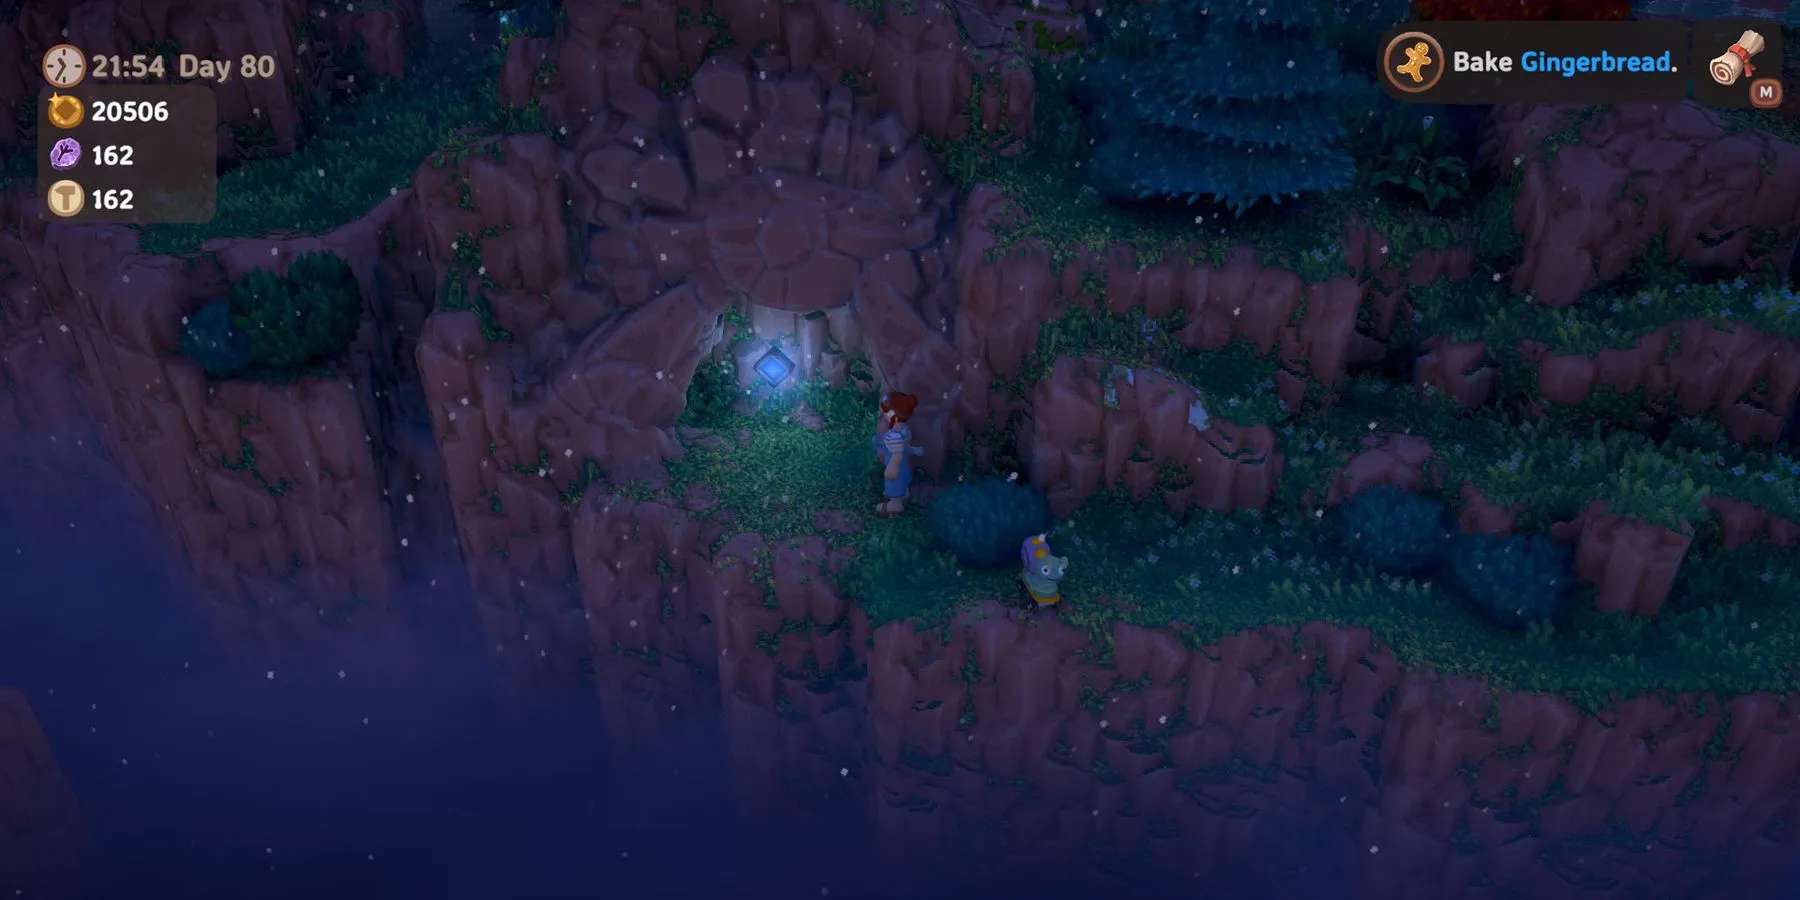
For the second crystal, make your way back to the Mountain entrance and journey east toward the ponds where Granite Groupers can be found. Just before reaching these fishing spots, look for an unobtrusive path that descends the cliffside.
Initially, the path may be hard to see, so feel free to approach the cliff’s edge to discern your route. Follow this pathway which terminates in a hidden cave harboring the Mountain Offering Crystal.
Mountain Offering Crystal #3 Location
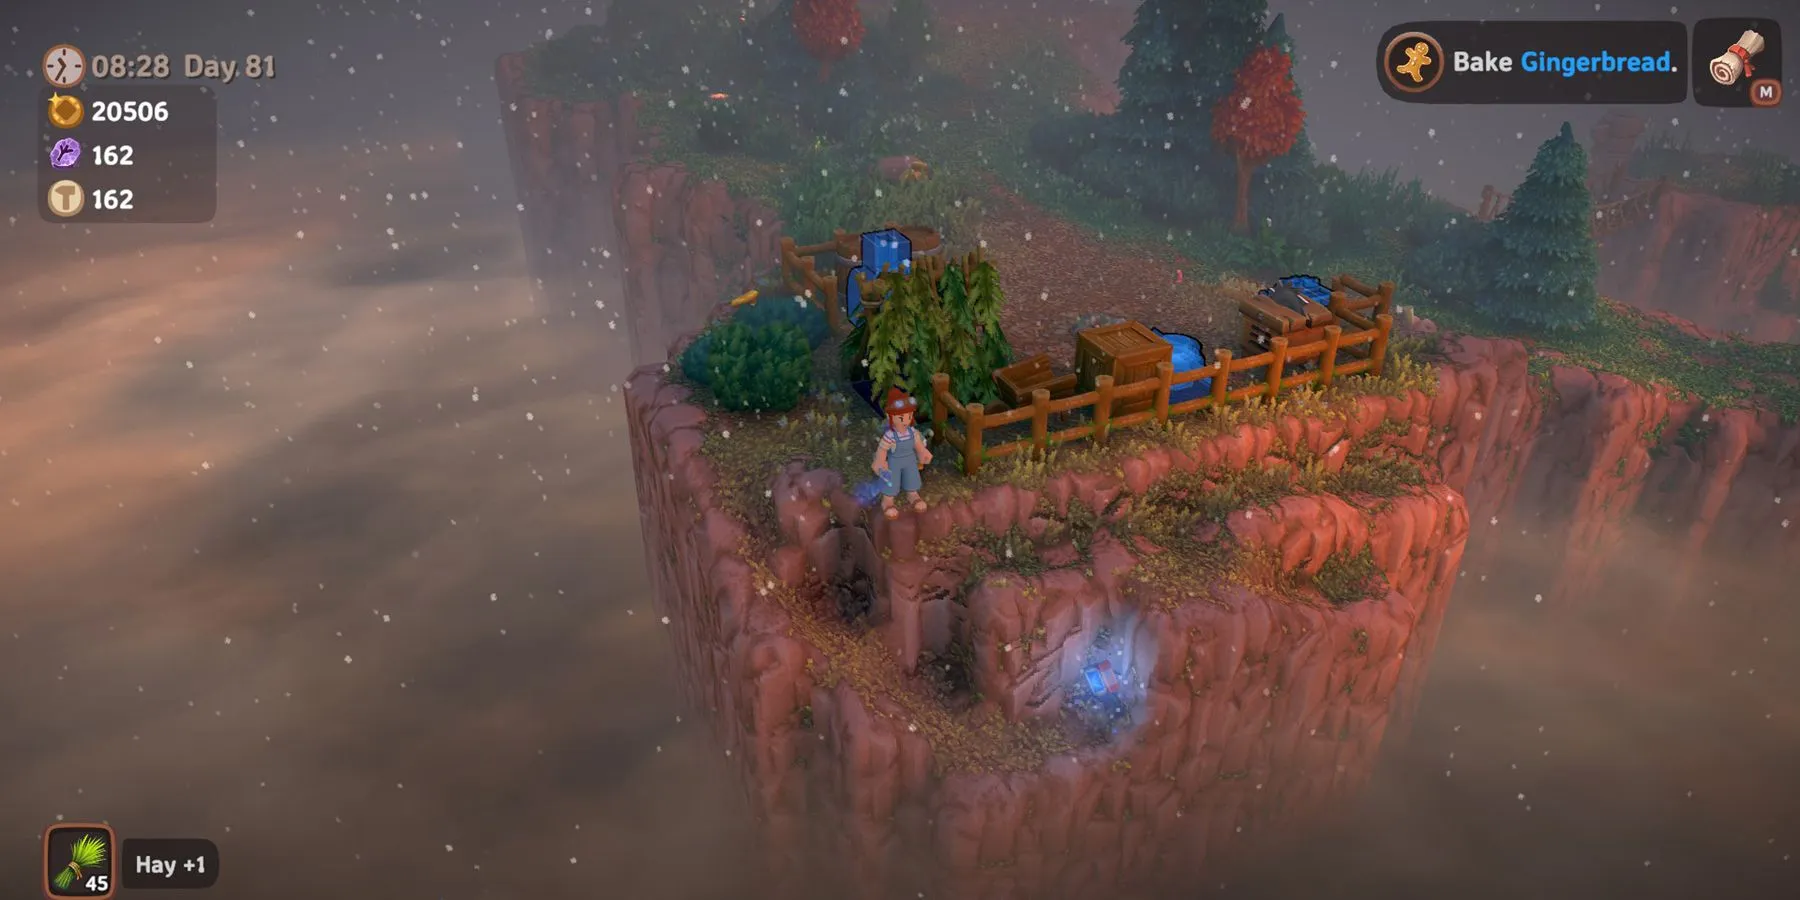
Continue your eastern trek beyond the Granite Grouper ponds. Pass the Dying Flower puzzle, but instead of climbing further, seek out a makeshift camp at the end of the path, directly across from a broken bridge leading to a treasure chest. You’ll find the Mountain Offering Crystal directly beneath this camp.
To retrieve it, break the crate beside the tent, which reveals a pathway allowing access to the Crystal.
Mountain Offering Crystal #4 Location
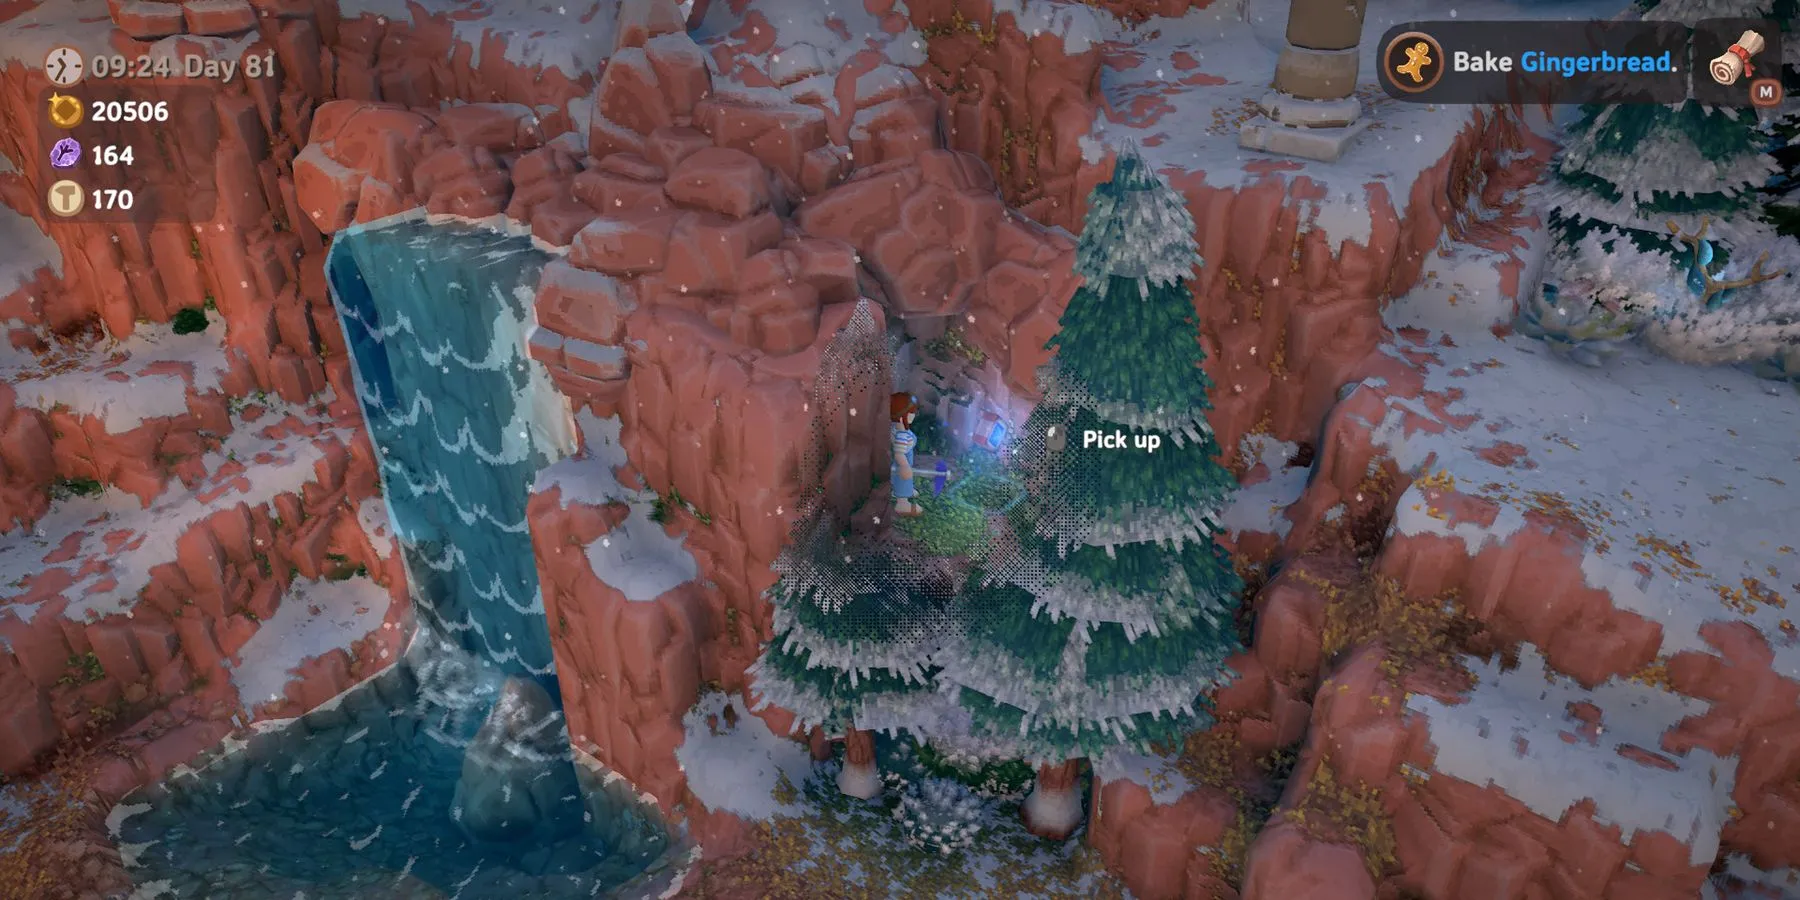
Next, ascend the Mountain, as the remaining crystals are located further up the snowy terrain. Seek out an Ancient Temple adjacent to this area, usually guarded by a hostile snowman. You may choose to bypass or defeat it to prevent unnecessary snowball attacks.
Continue past the Temple until you spot a snowy hill. Climb it and mine a small rock on the opposite side to reveal a new passage where the Crystal awaits.
Mountain Offering Crystal #5 Location
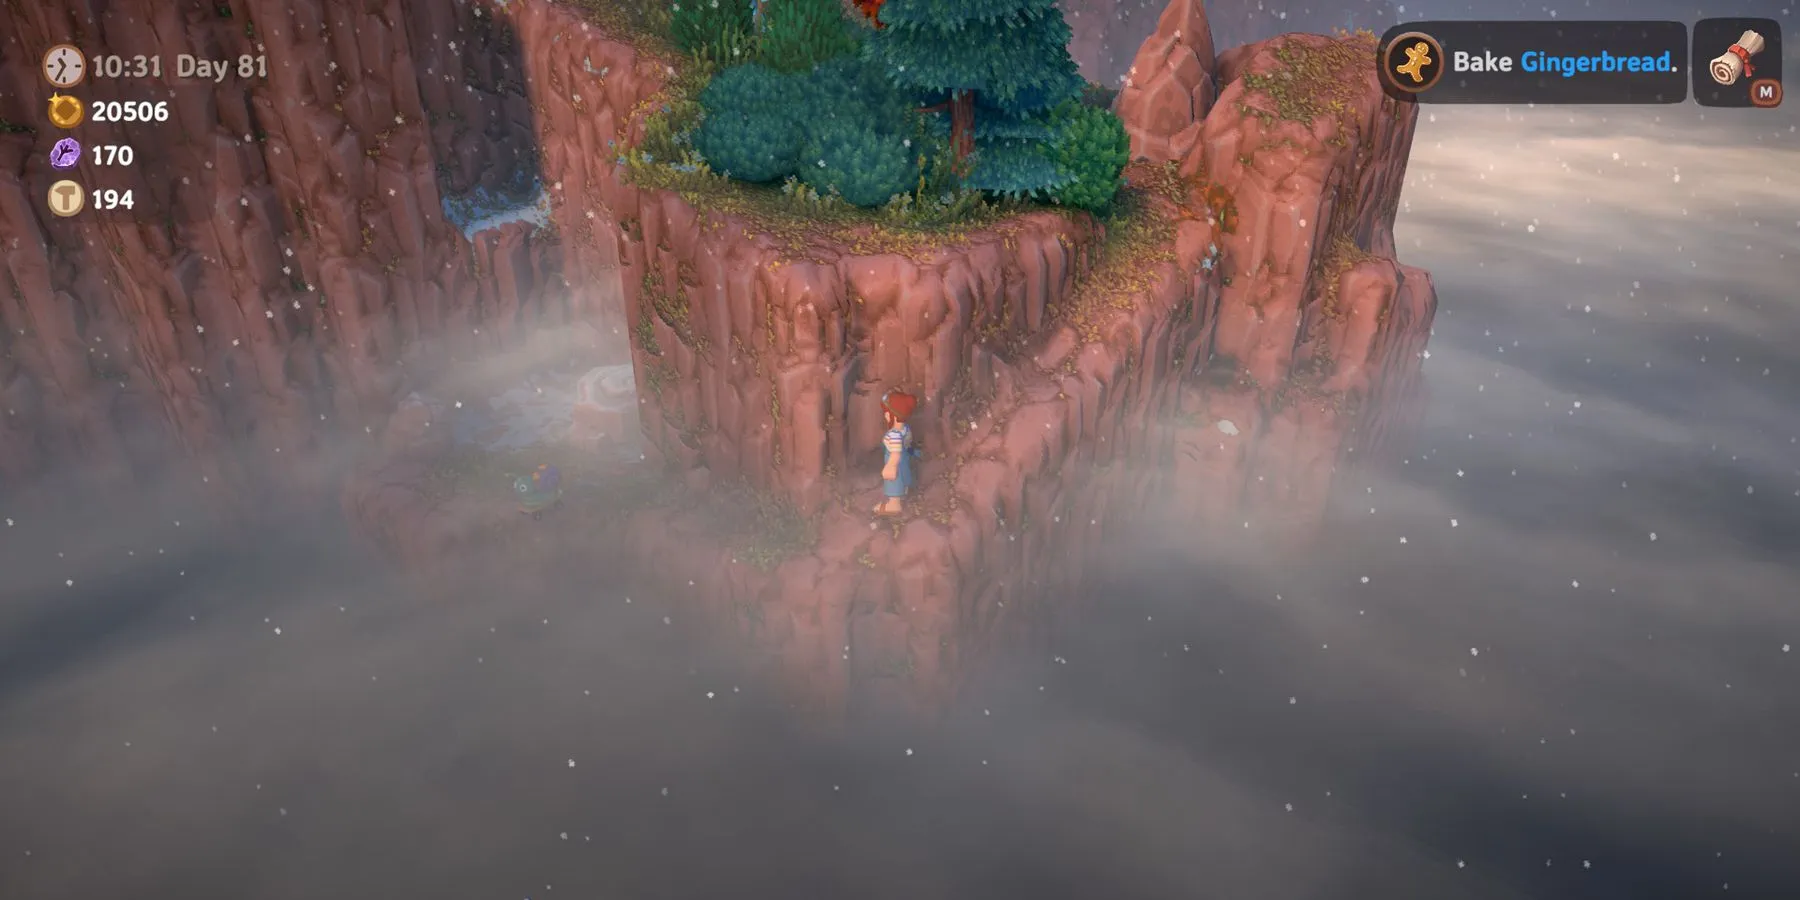
Your next target is not far from your last find. Proceed along the path until reaching an area bustling with aggressive snowmen throwing snowballs, alongside a chest shielded by dilapidated walls.
Search for a pathway leading down to the cliffs, generally positioned near a cluster of trees with a nearby blue crystal statue. Following this route will lead you to the cliffs’ base, where the Mountain Offering Crystal can be collected.
Mountain Offering Crystal #6 Location
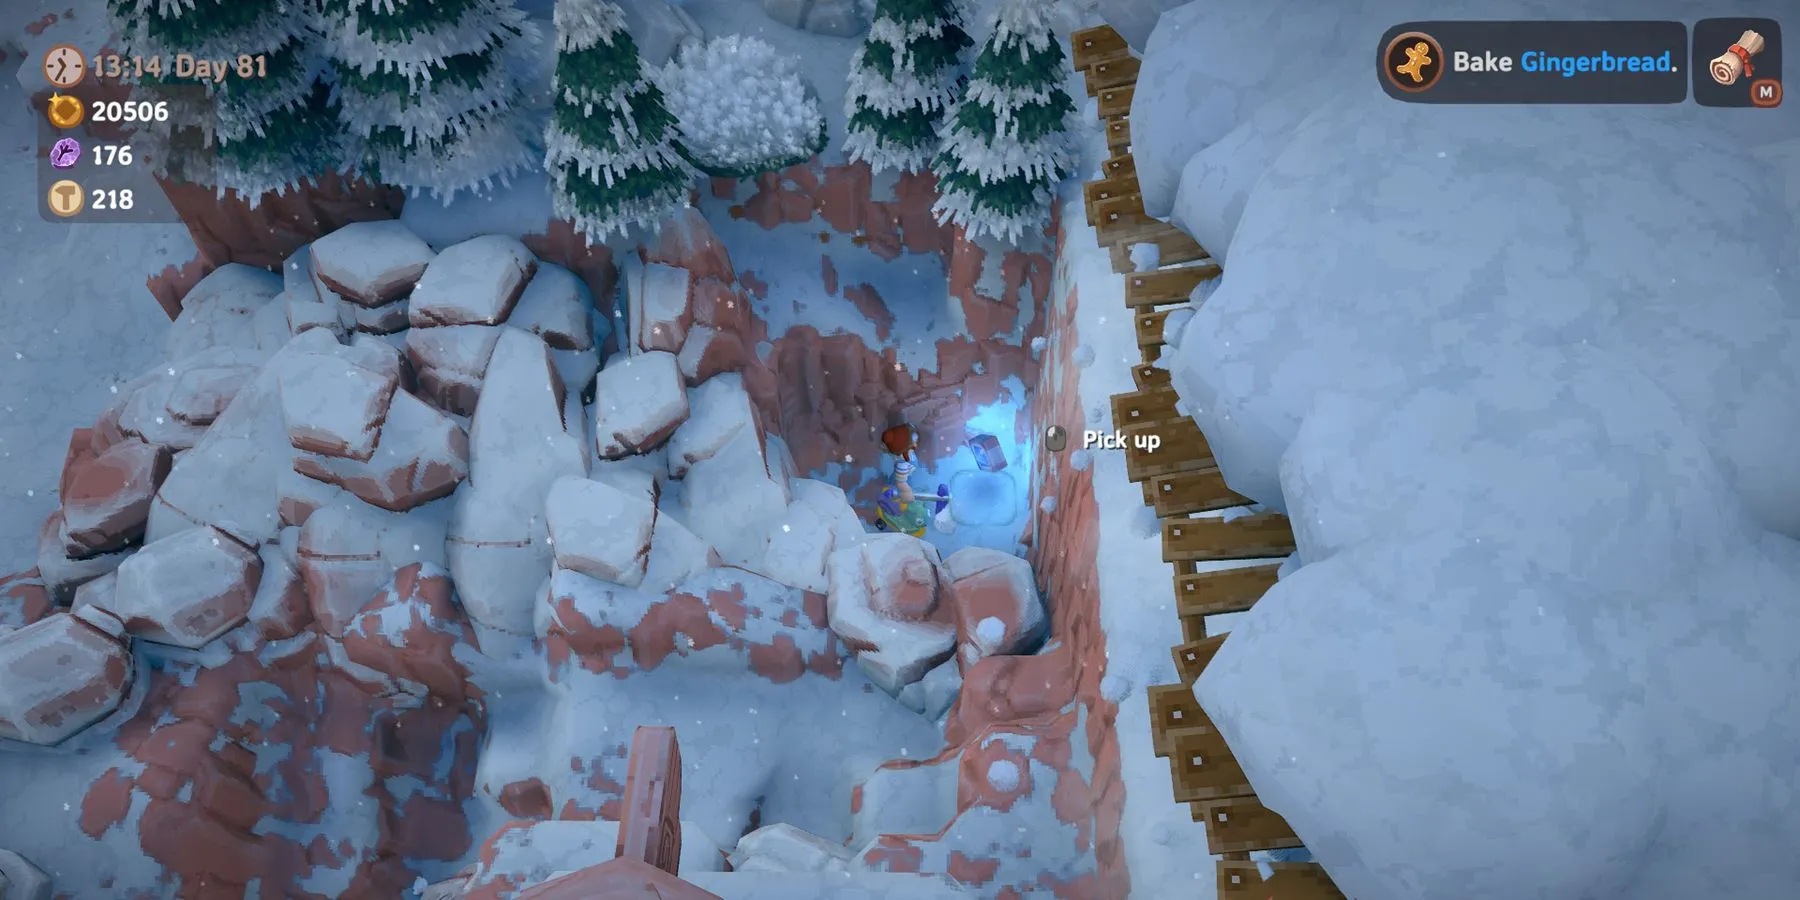
To locate the sixth Mountain Crystal, venture higher towards the mountain peak, passing Rolling Snowballs and the fast travel point. Specifically, look for the area containing the Talking Stone puzzle, where you can also find a snowman at the top of a small cliff launching snowballs.
Beyond this snowman lies a substantial rock embedded in the mountain’s face. Mine this rock to unveil a new pathway that leads to the sixth Mountain Offering Crystal.
Mountain Offering Crystal #7 Location
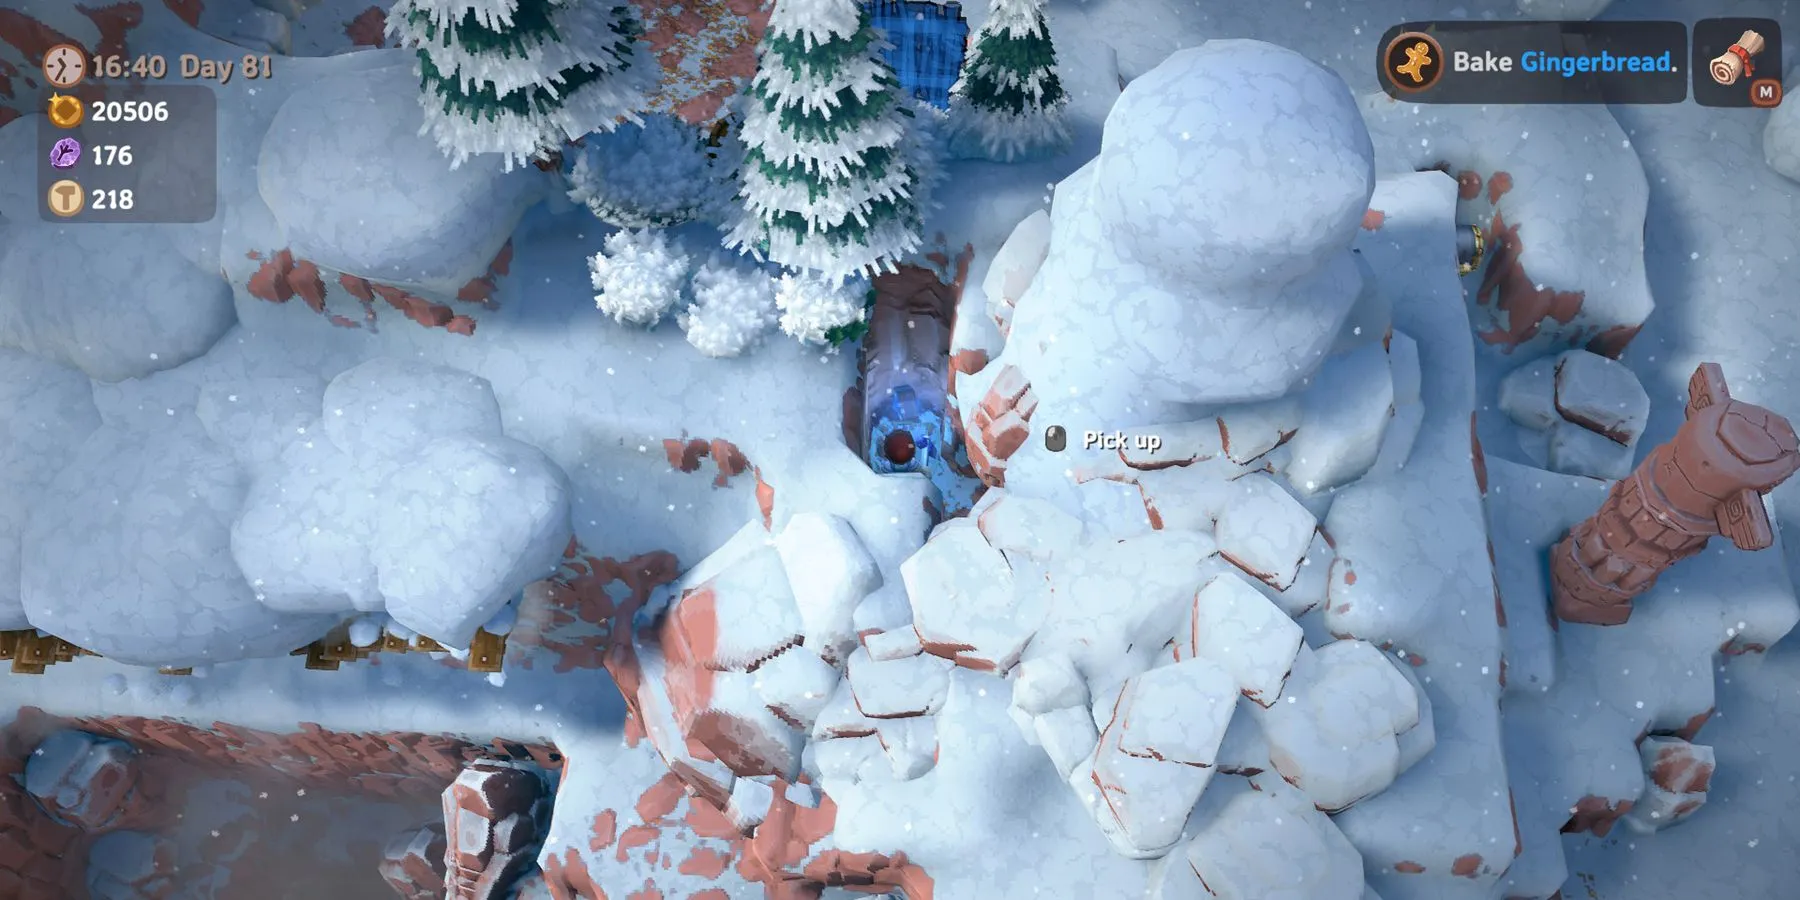
Unraveling the next Mountain Offering Crystal involves overcoming challenges posed by various puzzles while navigating past the next Ancient Temple. Traverse areas populated with Rolling Snowballs and Swirling Ice puzzles until you reach a pillar capped with a blue switch at the top (this occurs just after chasing the Grouse to her nest).
Additionally, this location is situated after two bridges requiring repairs. Nearby, you’ll find another mineable rock on the mountain’s face. Mine it to reveal a pathway leading deeper into the mountain, bringing you to the seventh Crystal.
Mountain Offering Crystal #8 Location
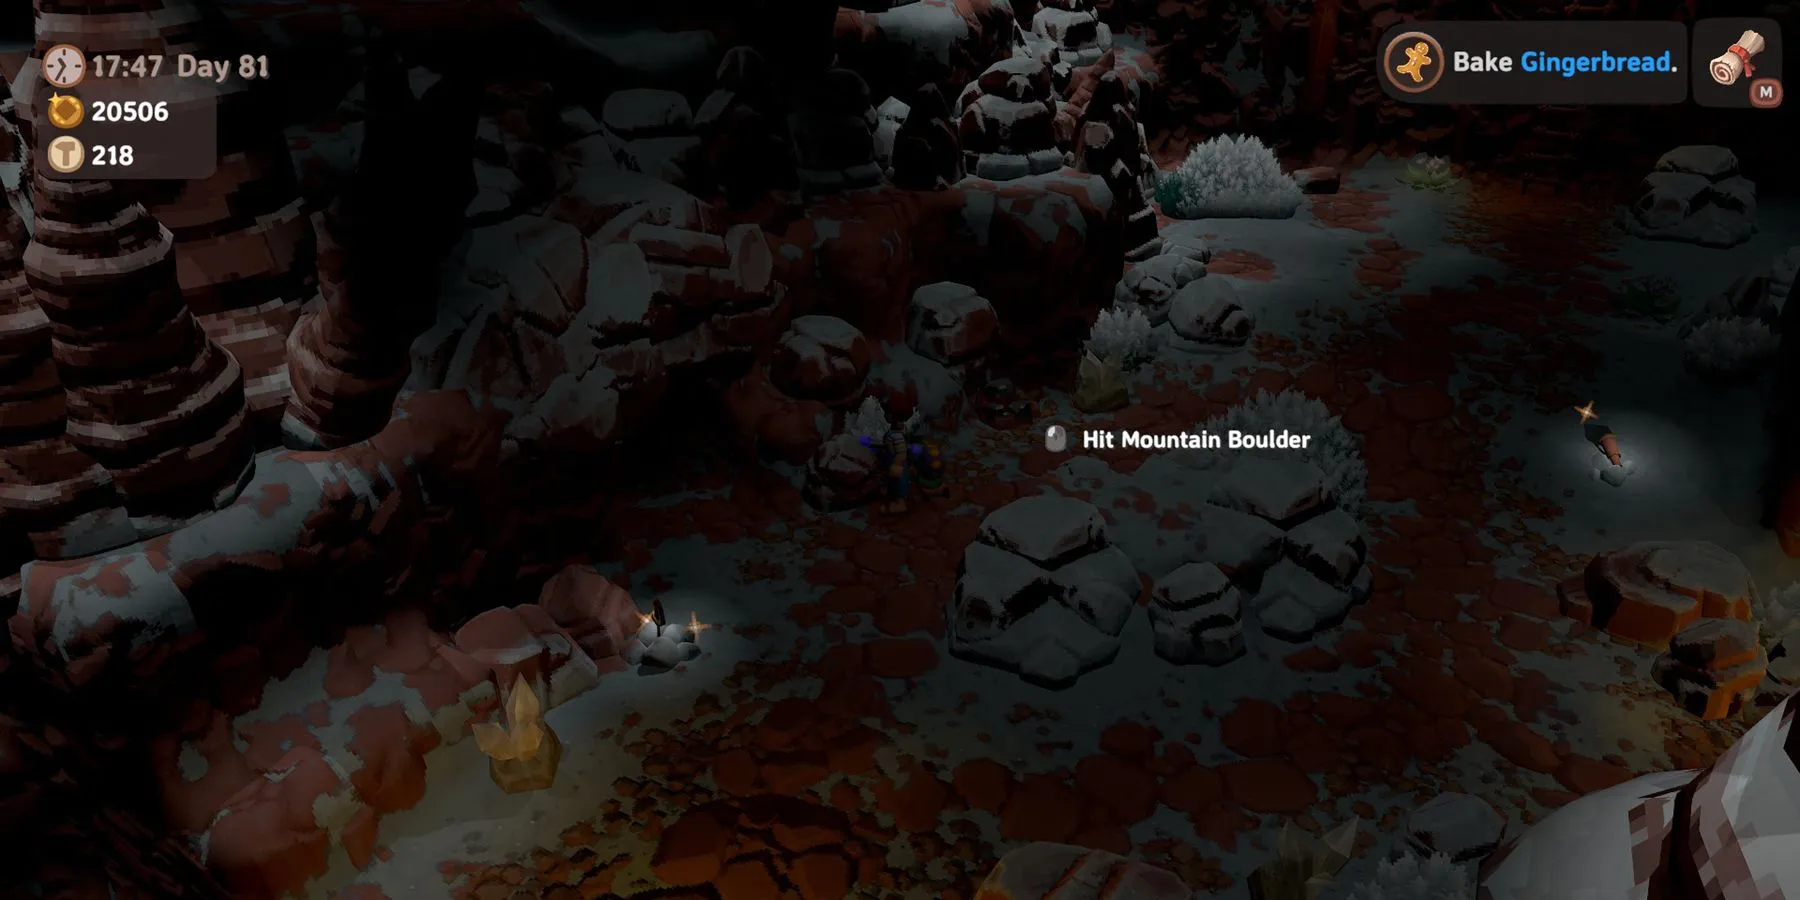
You’re nearing the peak of the Mountain, where the final Crystal is located. Carefully navigate around the Rolling Snowballs until you reach a makeshift camp. But don’t linger here; instead, venture into the cave at the far end of the pathway.
Inside, you’ll see a ladder that you can lower to descend further. At the bottom, search within a smaller alcove adjacent to an alternate cave entrance, where the final Mountain Offering Crystal is waiting for you. With this Crystal in your possession, you’ve completed your quest to unlock the Mountain Shrine!
How To Use Mountain Offering Crystals
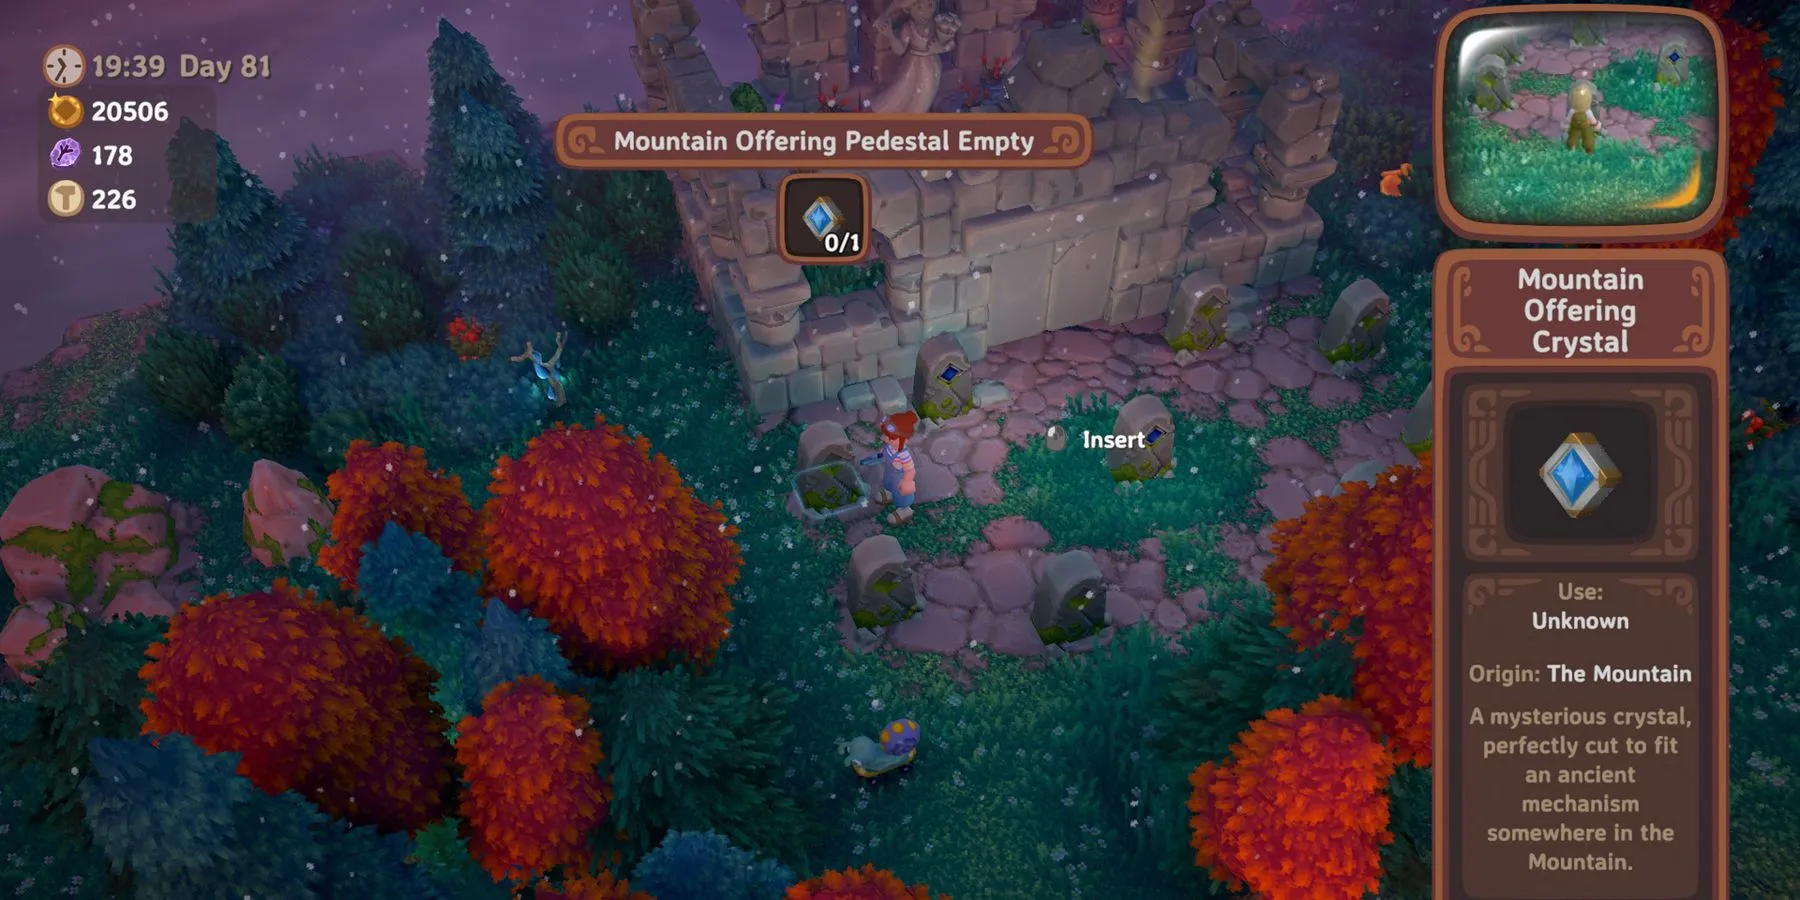
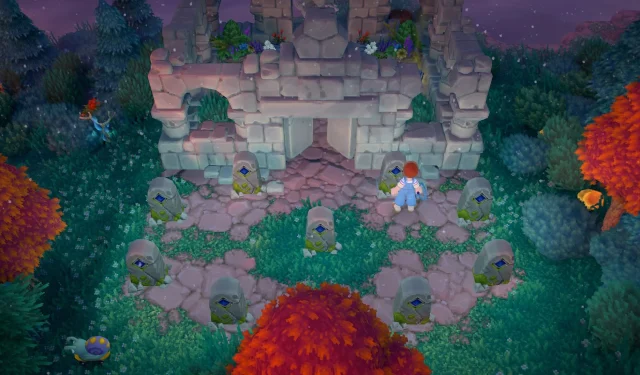
To utilize the Mountain Offering Crystals, you must place them on the pedestals located in front of the Mountain Shrine, which is conveniently positioned near the area of the first Crystal’s location. It’s possible that you may have even passed the Shrine while searching for the first collectible.
Follow the same path leading to the first Ancient Temple, where you’ll also find the Frozen Tablet A. Upon reaching the Shrine, insert all eight Crystals into the designated pedestals to open the door before you. Inside, discover a wealth of rewards, including a Luma Egg and an Ancient Book, which are perfect for crafting and trading opportunities within Luma Island.


Leave a Reply