Alefgard serves as the pivotal second area in the acclaimed Dragon Quest 3 Remake, emerging as the primary overworld after the Hero triumphs over the Archfiend Baramos. New players may be surprised to learn that defeating Baramos does not signify the end of their journey; rather, it unveils a new realm packed with diverse locations and challenges. This comprehensive guide aims to deliver an extensive walkthrough for navigating Alefgard’s main quest.
Warning: Spoilers Ahead!
To navigate through Alefgard effectively, three essential items must be gathered: the Sunstone, tucked away in Tantegel Castle; the Staff of Rain, located at the Shrine of the Spirit; and the Sacred Amulet, which resides within the Tower of Rubiss. In the following sections, we will detail how to acquire each of these crucial items.
Preparing for Alefgard in Dragon Quest 3 Remake
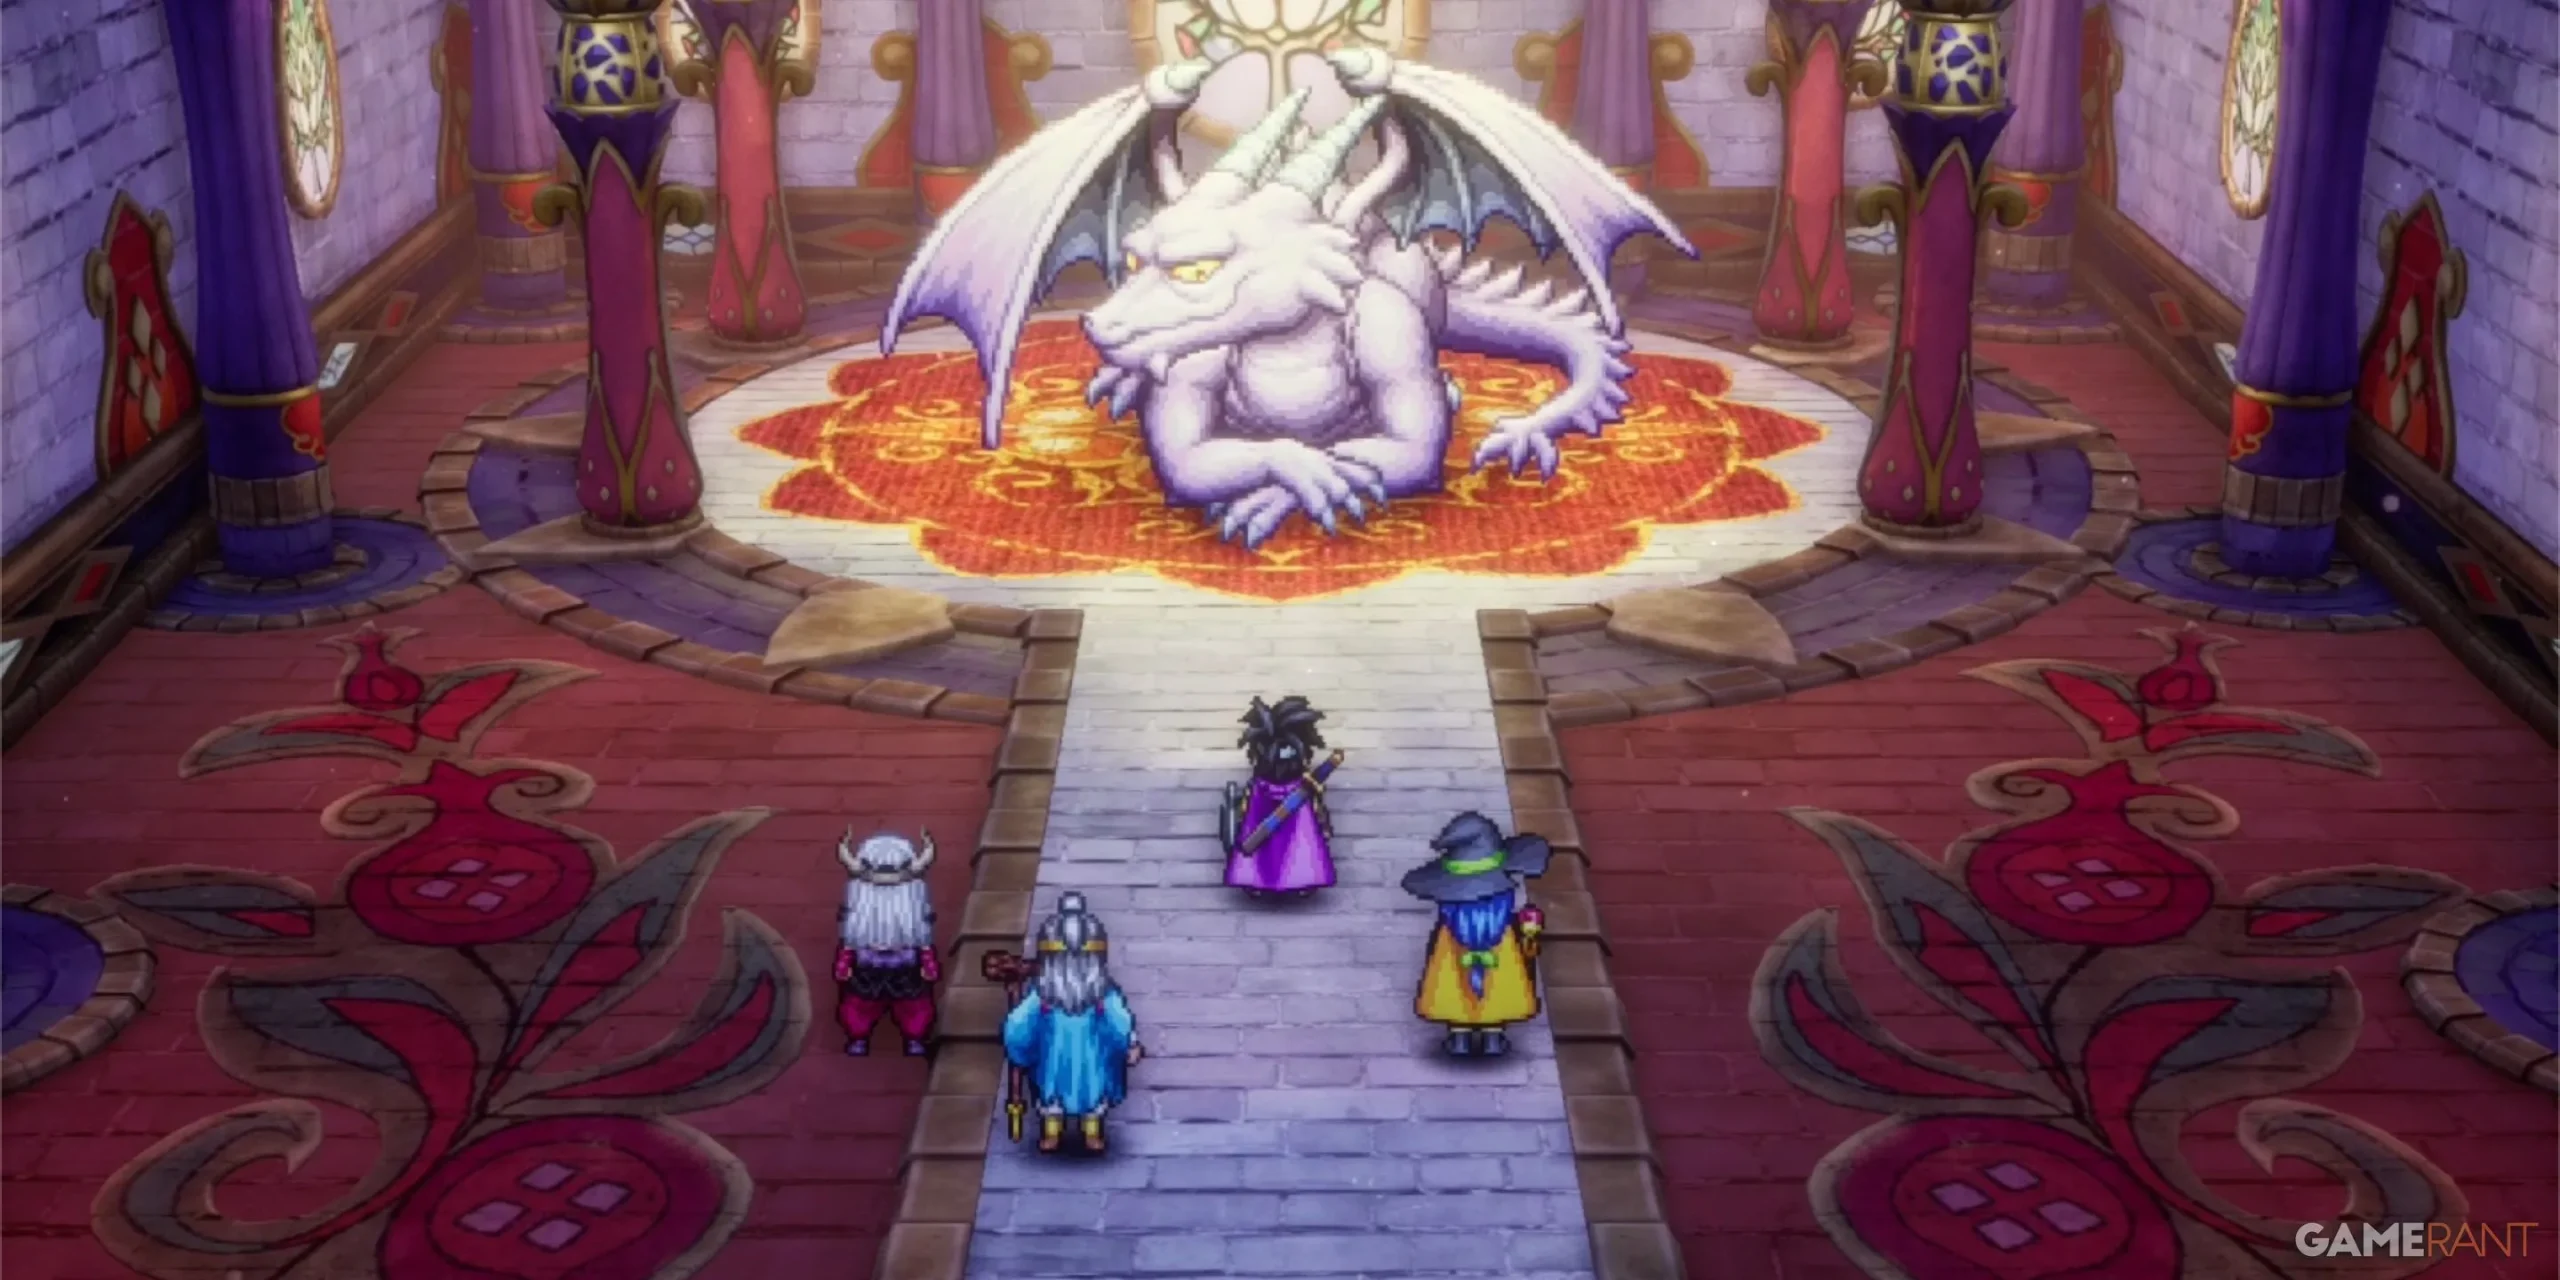
Prior to descending into Alefgard via the Pit of Giaga, ensure you obtain a key item. After conquering Baramos, visit the Church of the Dragon Queen and speak to the white dragon that resides within. This interaction will reward you with the Sphere of Light, an item that may not seem significant at first but will enhance your capabilities during the climactic moments in Alefgard.
Having secured the Sphere of Light, proceed to the Pit of Giaga for your journey into Alefgard.
Locating the Sunstone in Dragon Quest 3 Remake
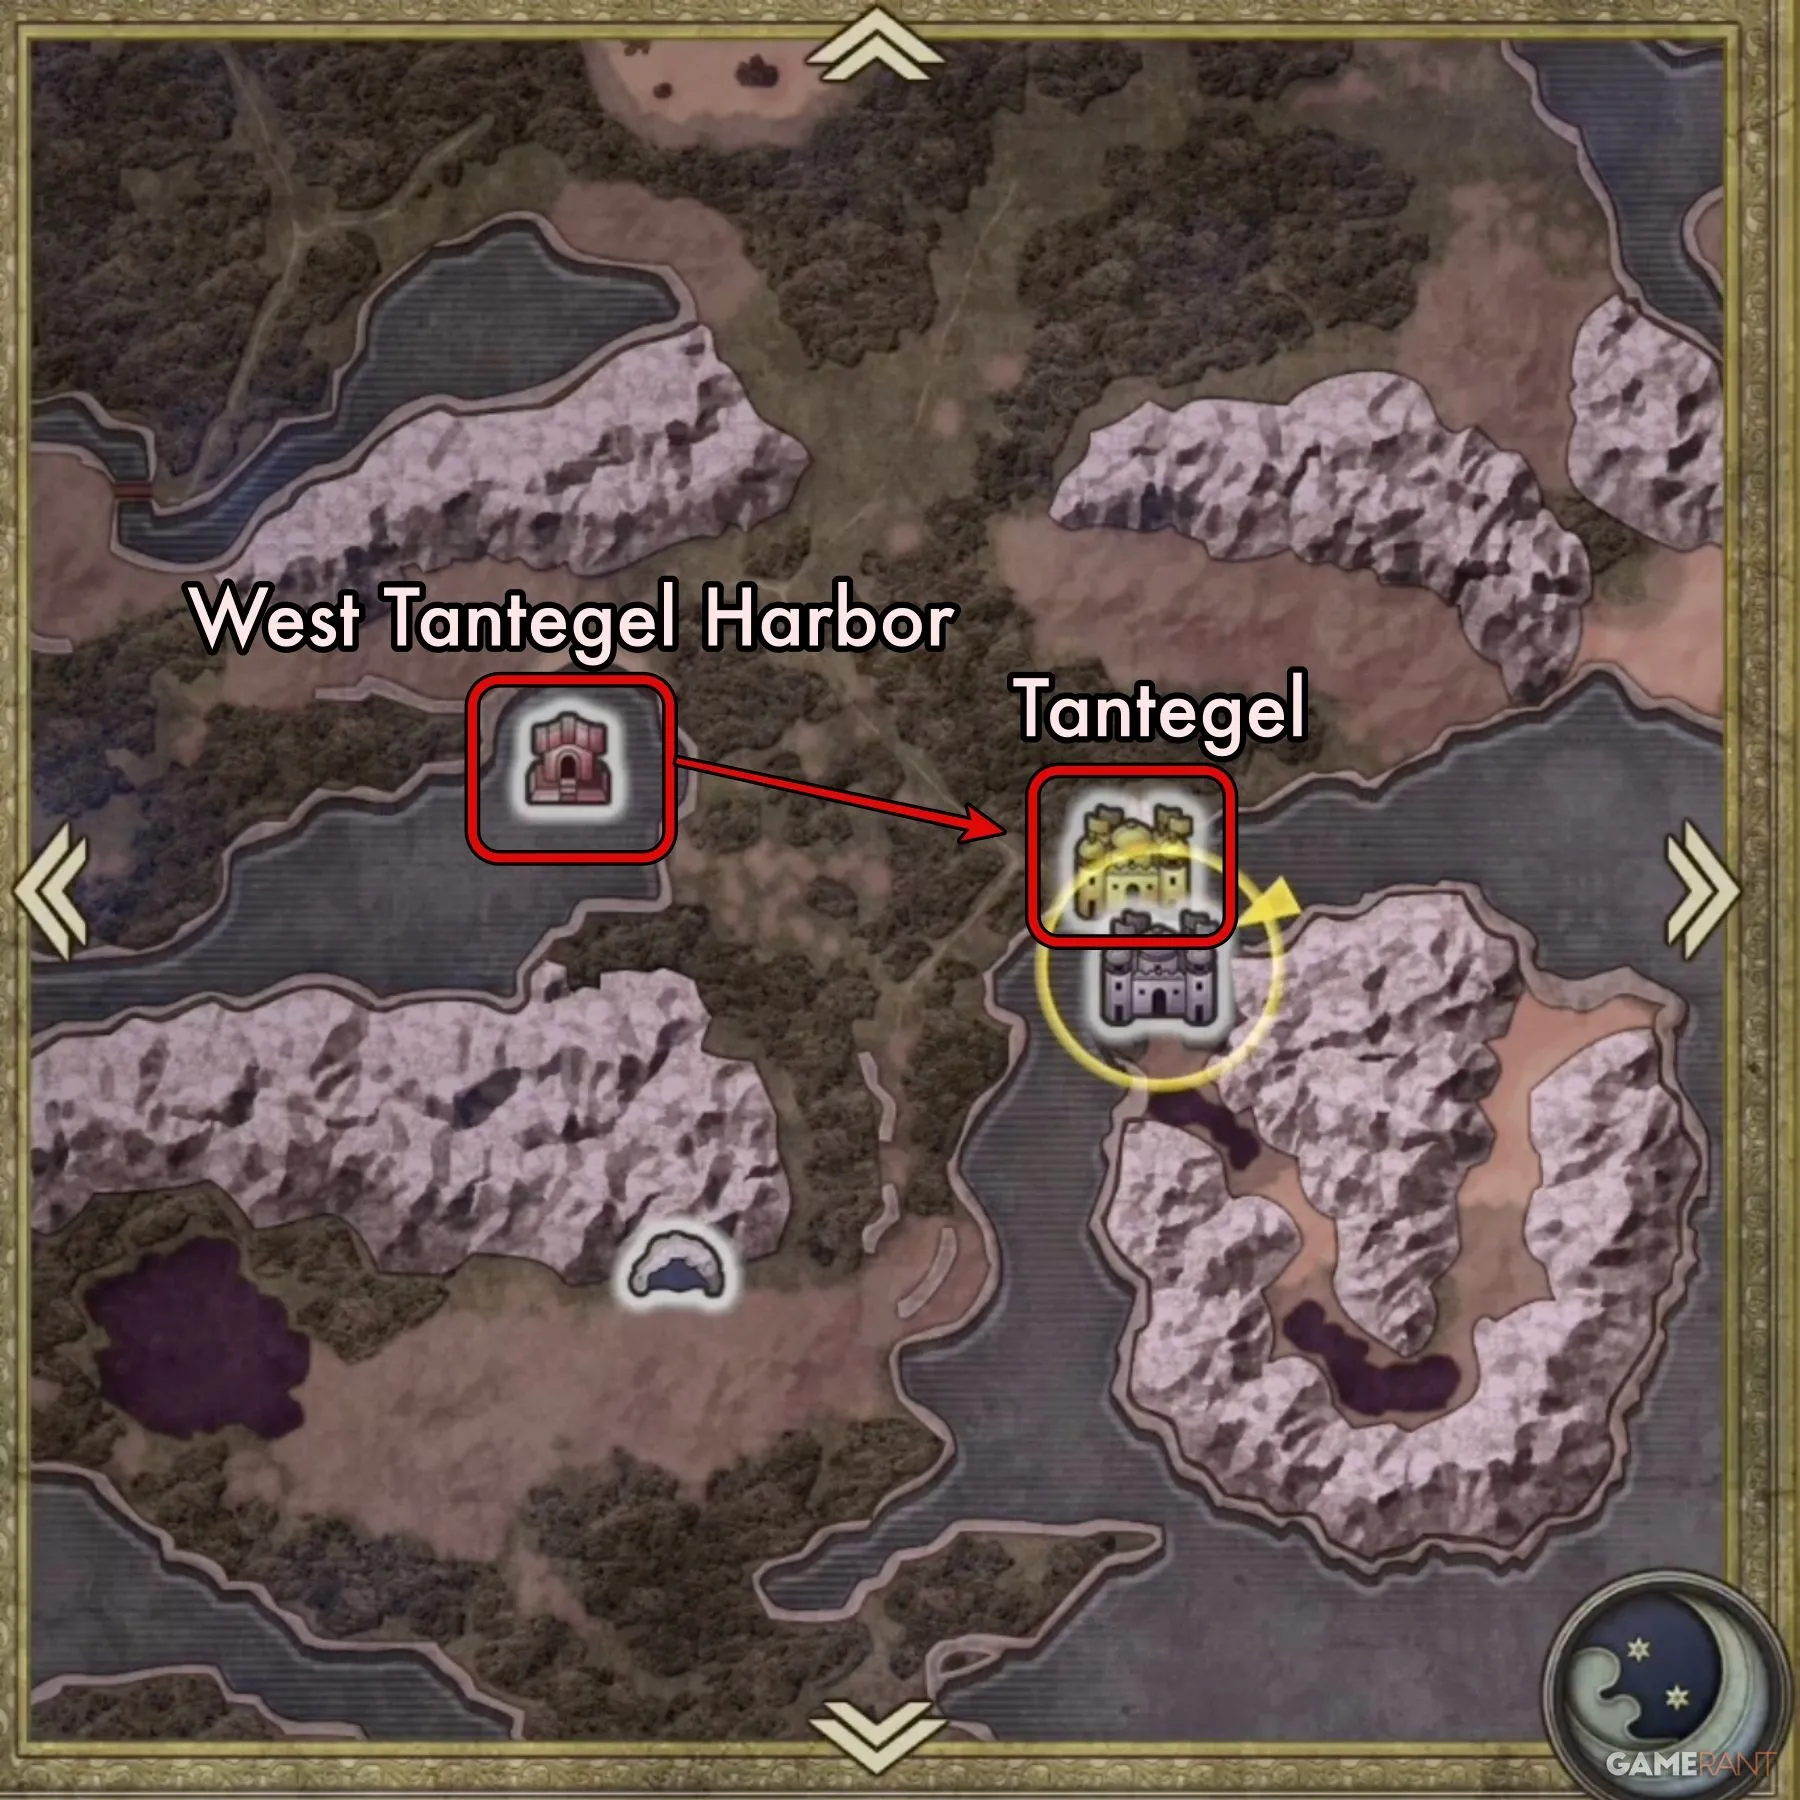
Upon your arrival in Alefgard, you’ll commence your adventure in Western Tantegel, a quaint port area that introduces you to this new domain. Here, you will acquire another ship; however, Ramia the Everbird will not be available for use in this region.
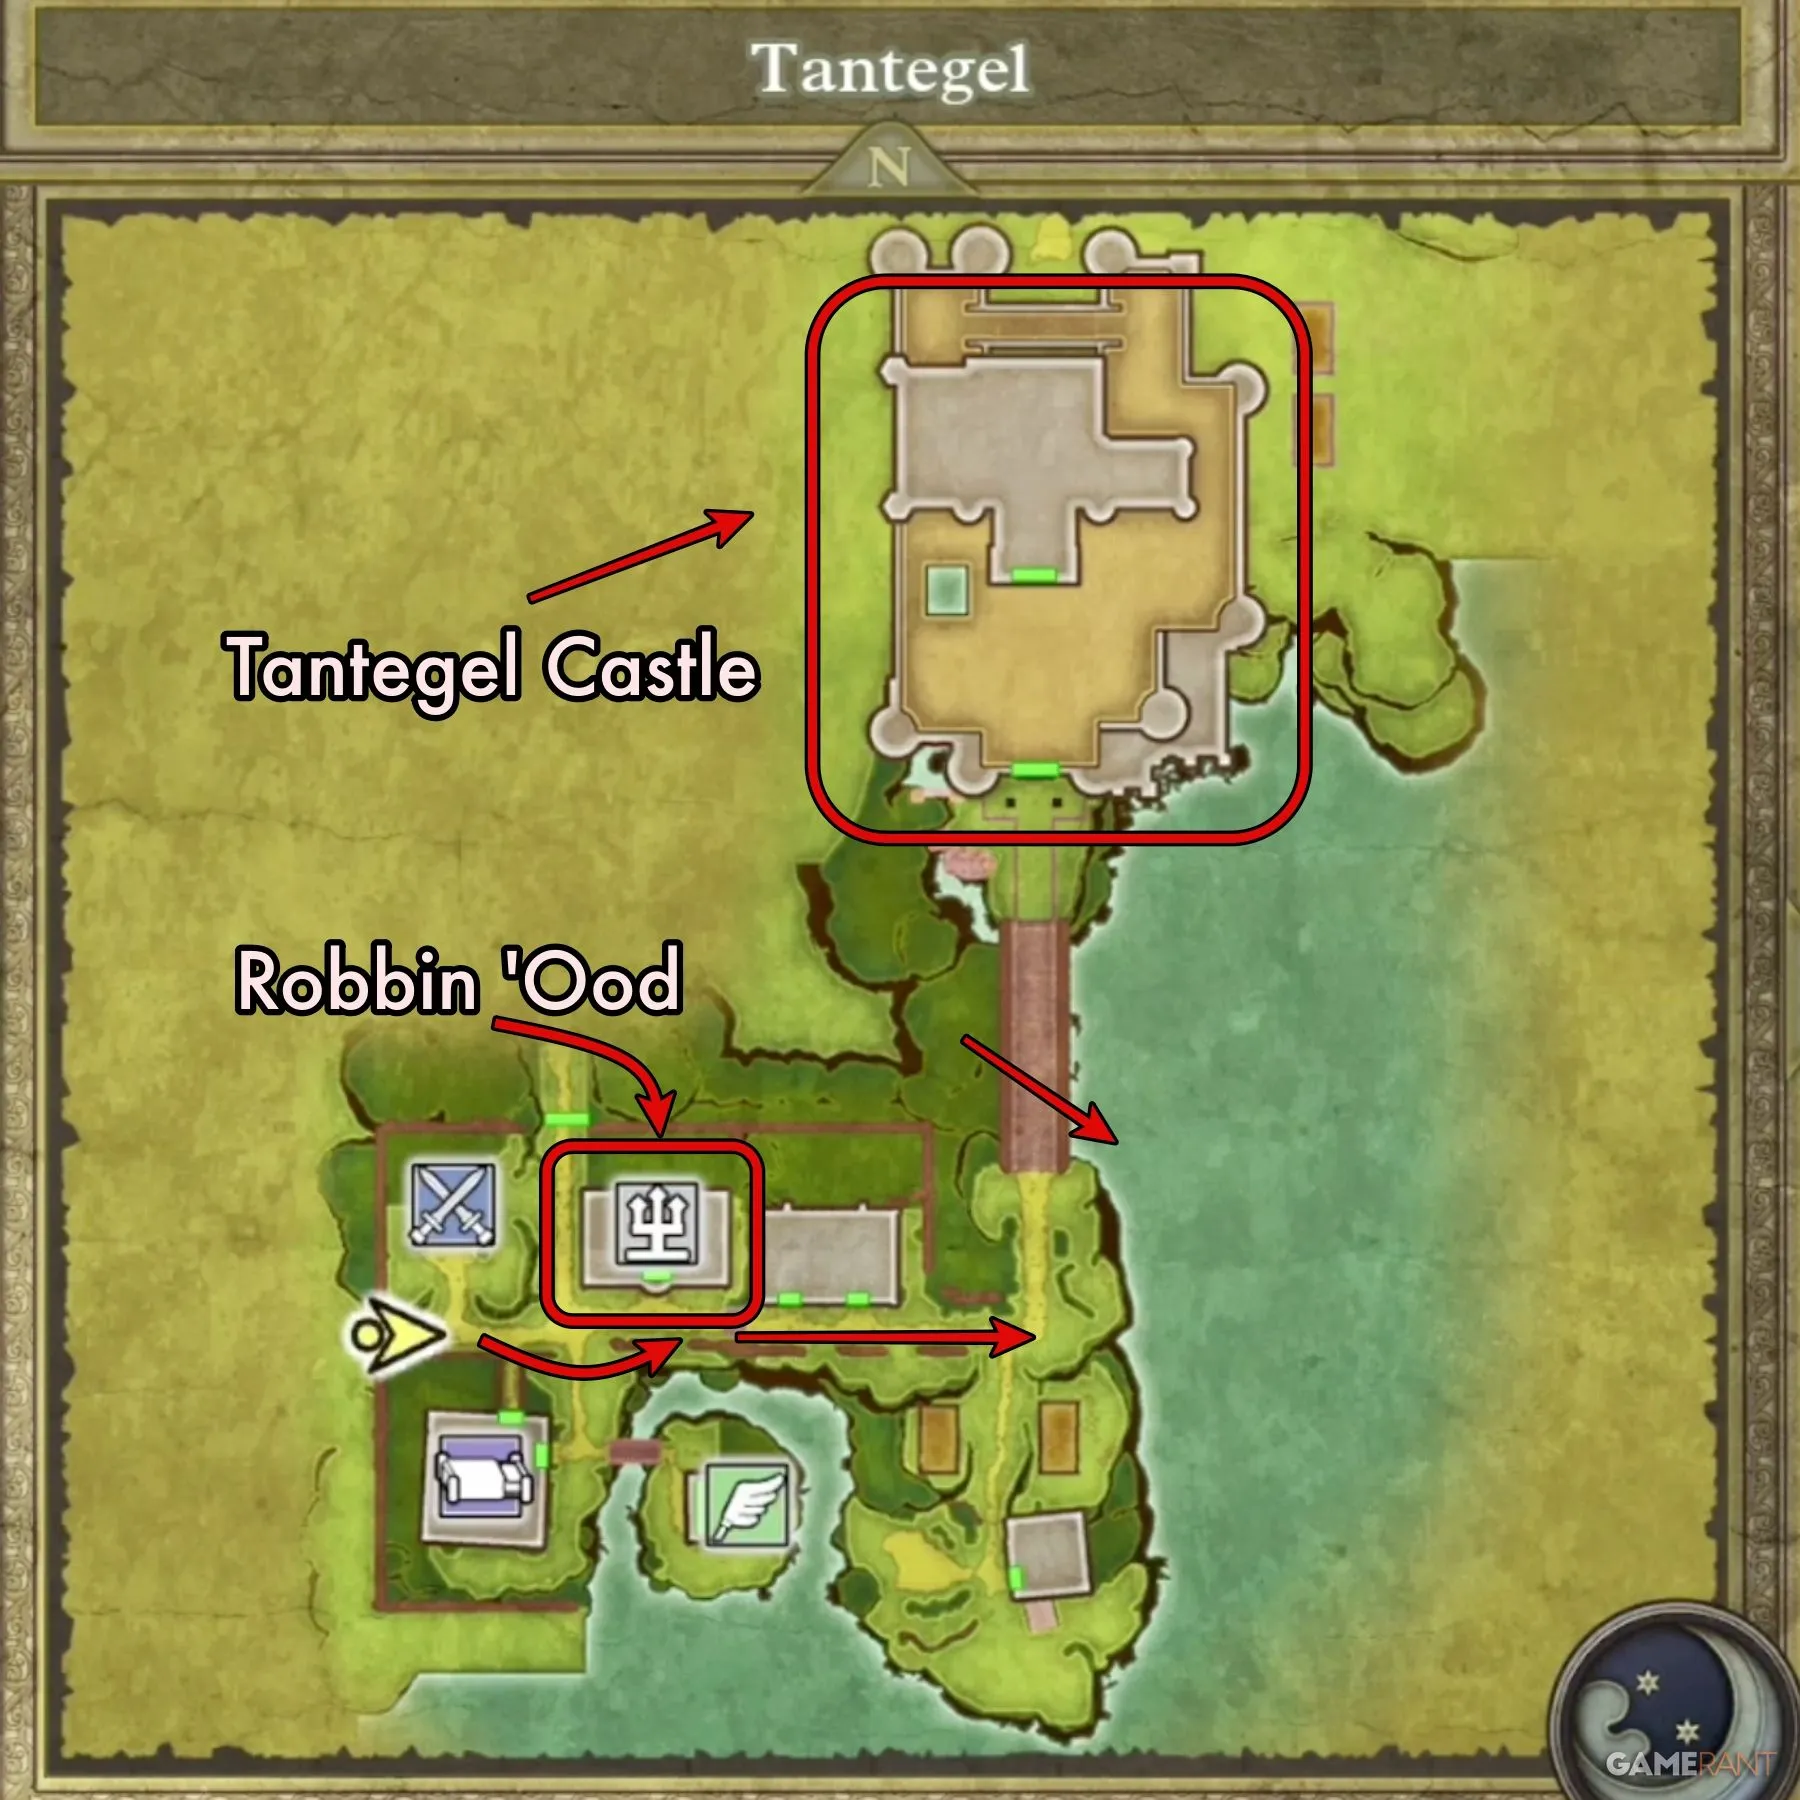
From the port, head east toward the town of Tantegel. While exploring the town may be tempting, your quest marker will guide you directly to the church. Ascend to the upstairs where you will meet the legendary Robbin ‘Ood, who reveals that the Sunstone is secured within Tantegel Castle.
Exploring Tantegel Castle
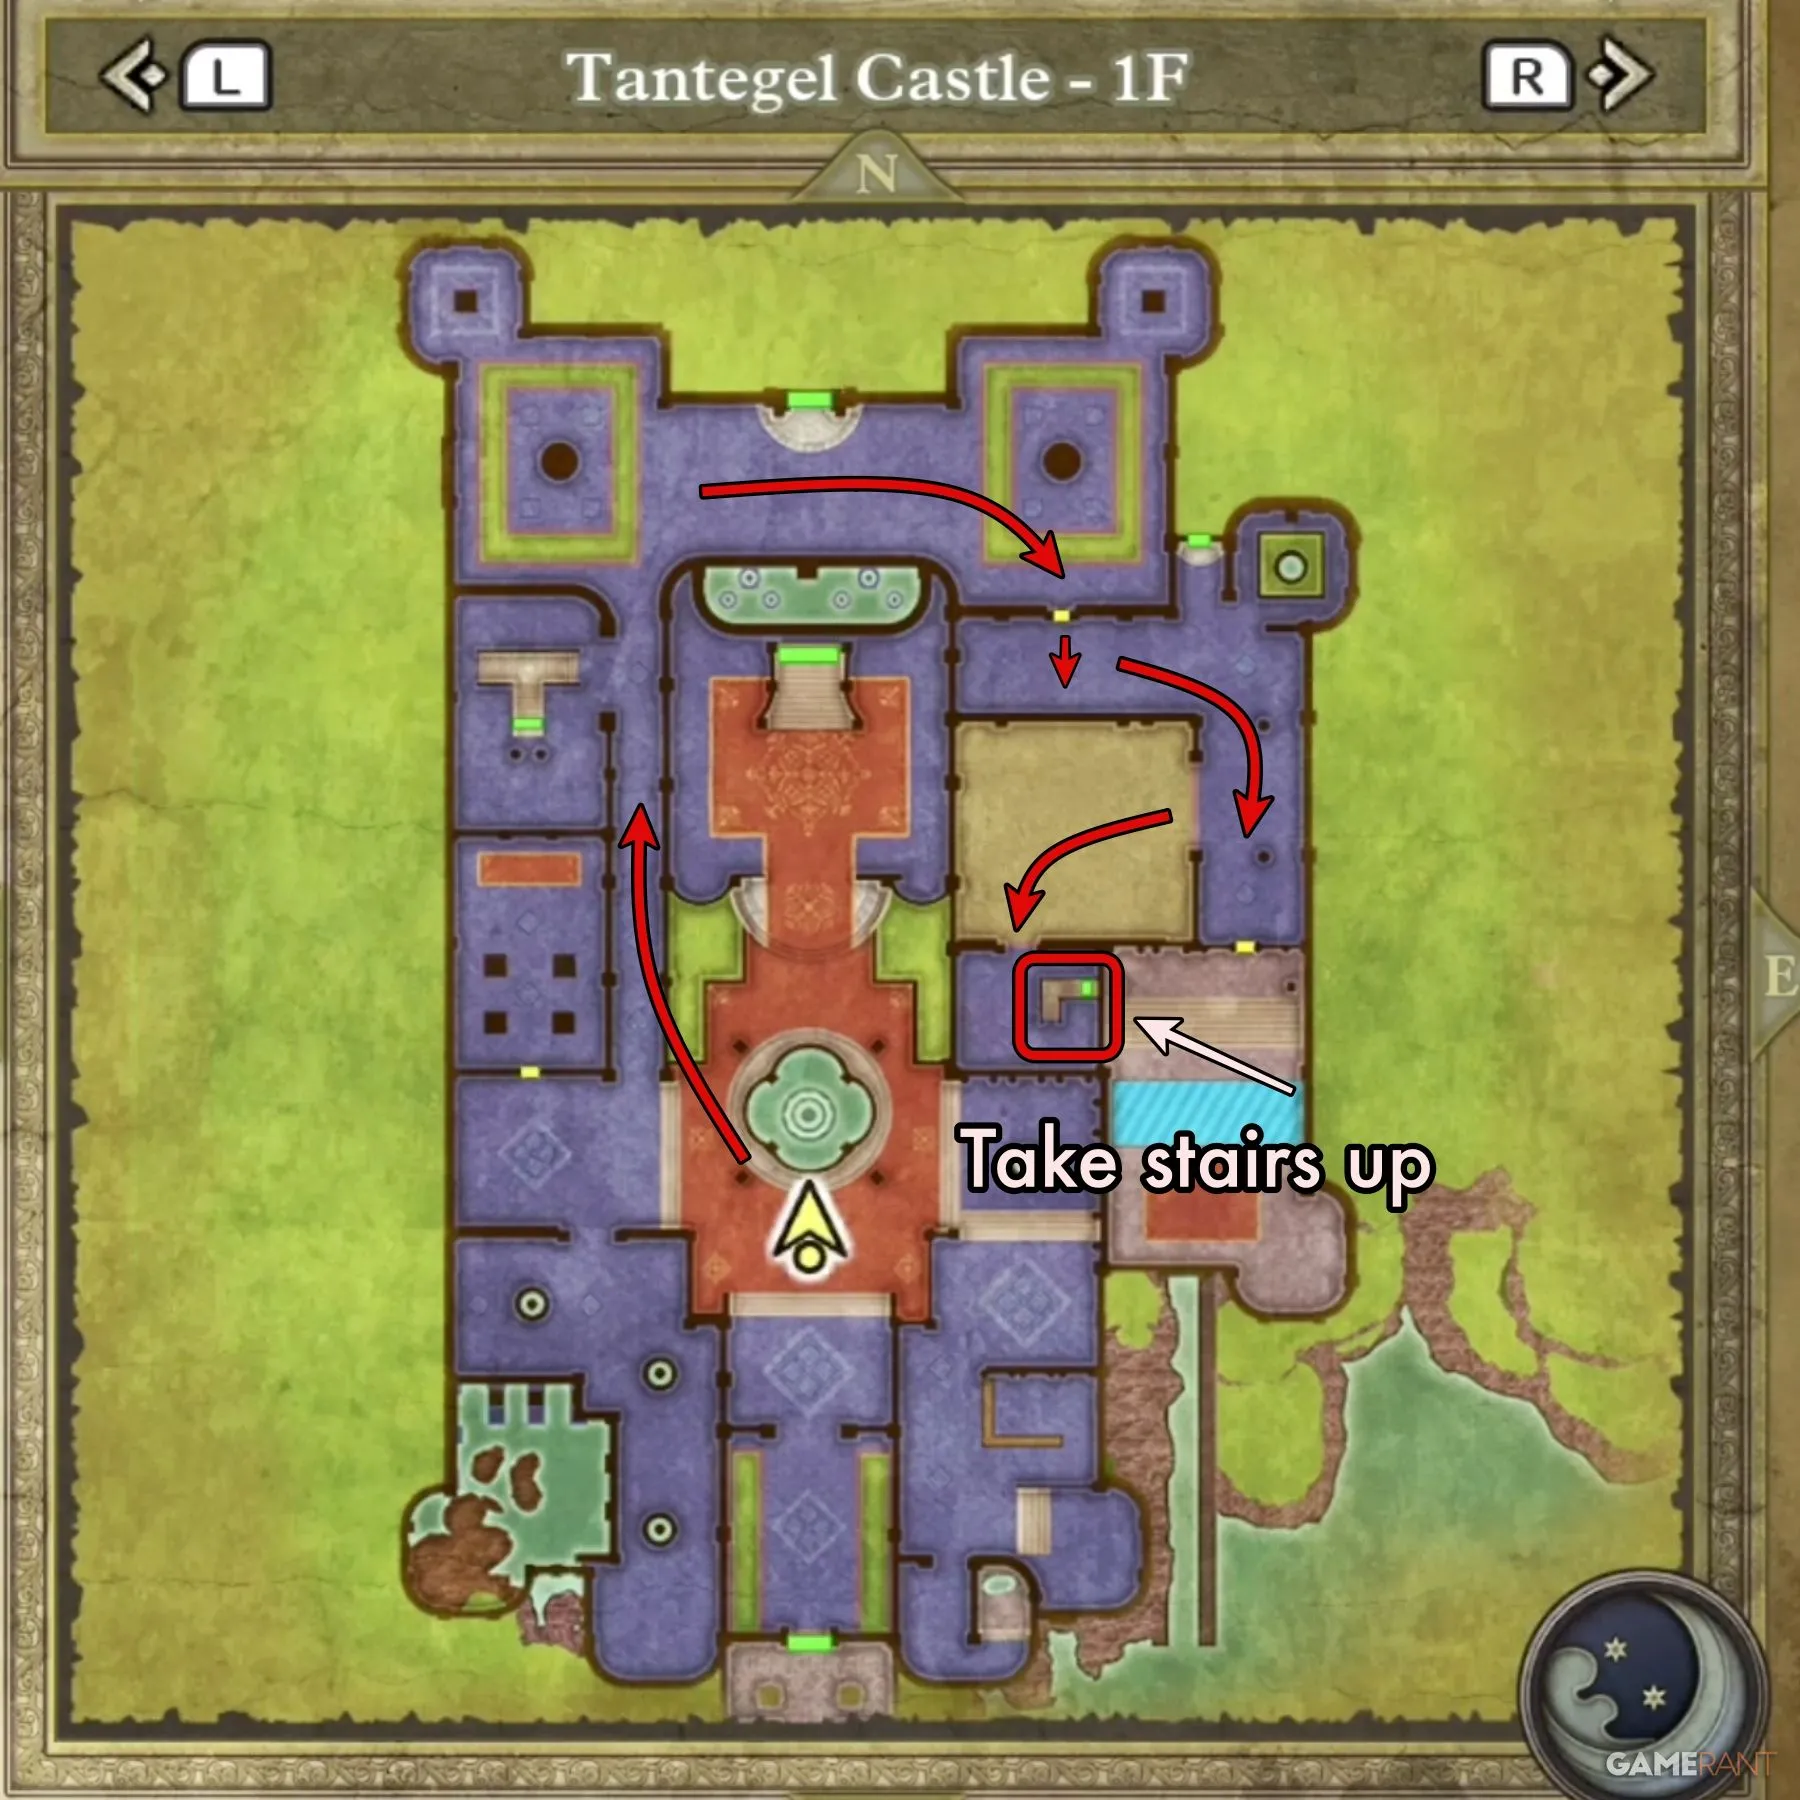
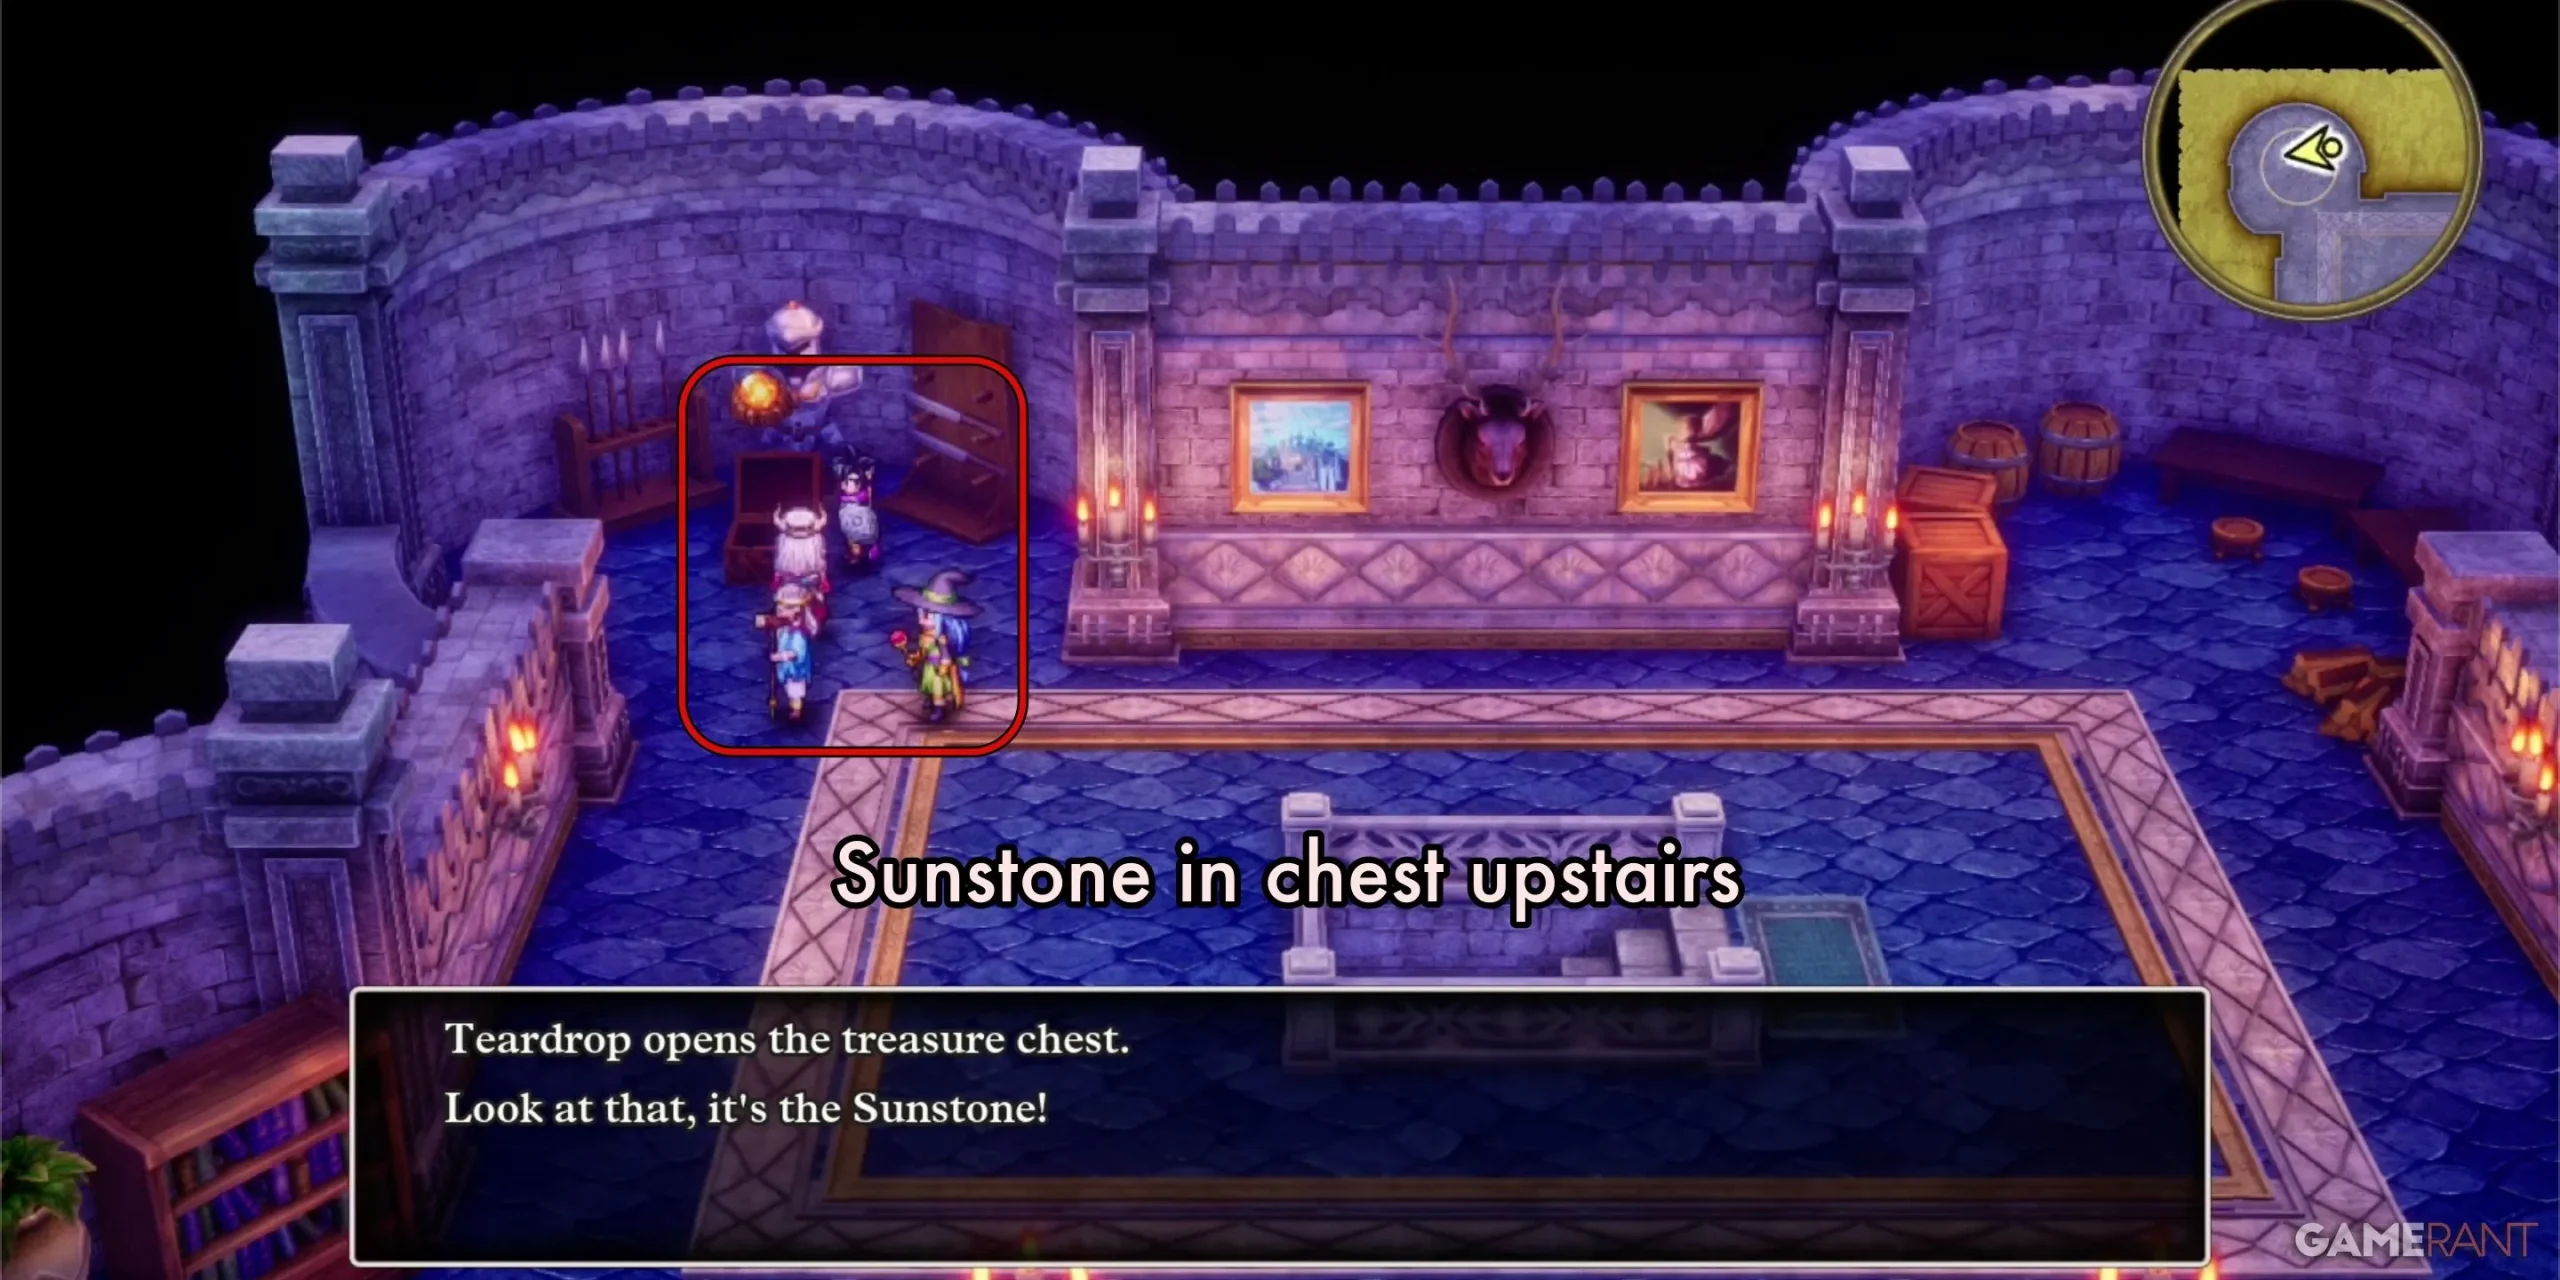
As you navigate the castle, ascend the stairs located on the eastern side. After entering the eastern treasure room, exit north, turn left into the kitchens, and then head south to spot the stairs on your right. Once upstairs, make your way to the northwest corner of the chamber, where you will find a chest marked with an exclamation point. Open this chest to reveal the Sunstone.
The Sunstone isn’t merely a trinket; it has practical uses, such as waking up sleeping allies. Be sure to keep it in your inventory as you continue your adventure.
Post-Sunstone Tasks
Following your acquisition of the Sunstone, pursue your next objective at the Shrine of the Spirit. While you could head there immediately, take the opportunity to explore other locales and gather valuable gear along the way. Consider visiting Quagmire Cave to complete the quest for the Auroral Helm, which can be obtained by returning to Gaia’s Navel for the Zenithium. You could also travel to Cantlin to initiate the quest for the Sword of Kings.
Acquiring the Staff of Rain in Dragon Quest 3 Remake
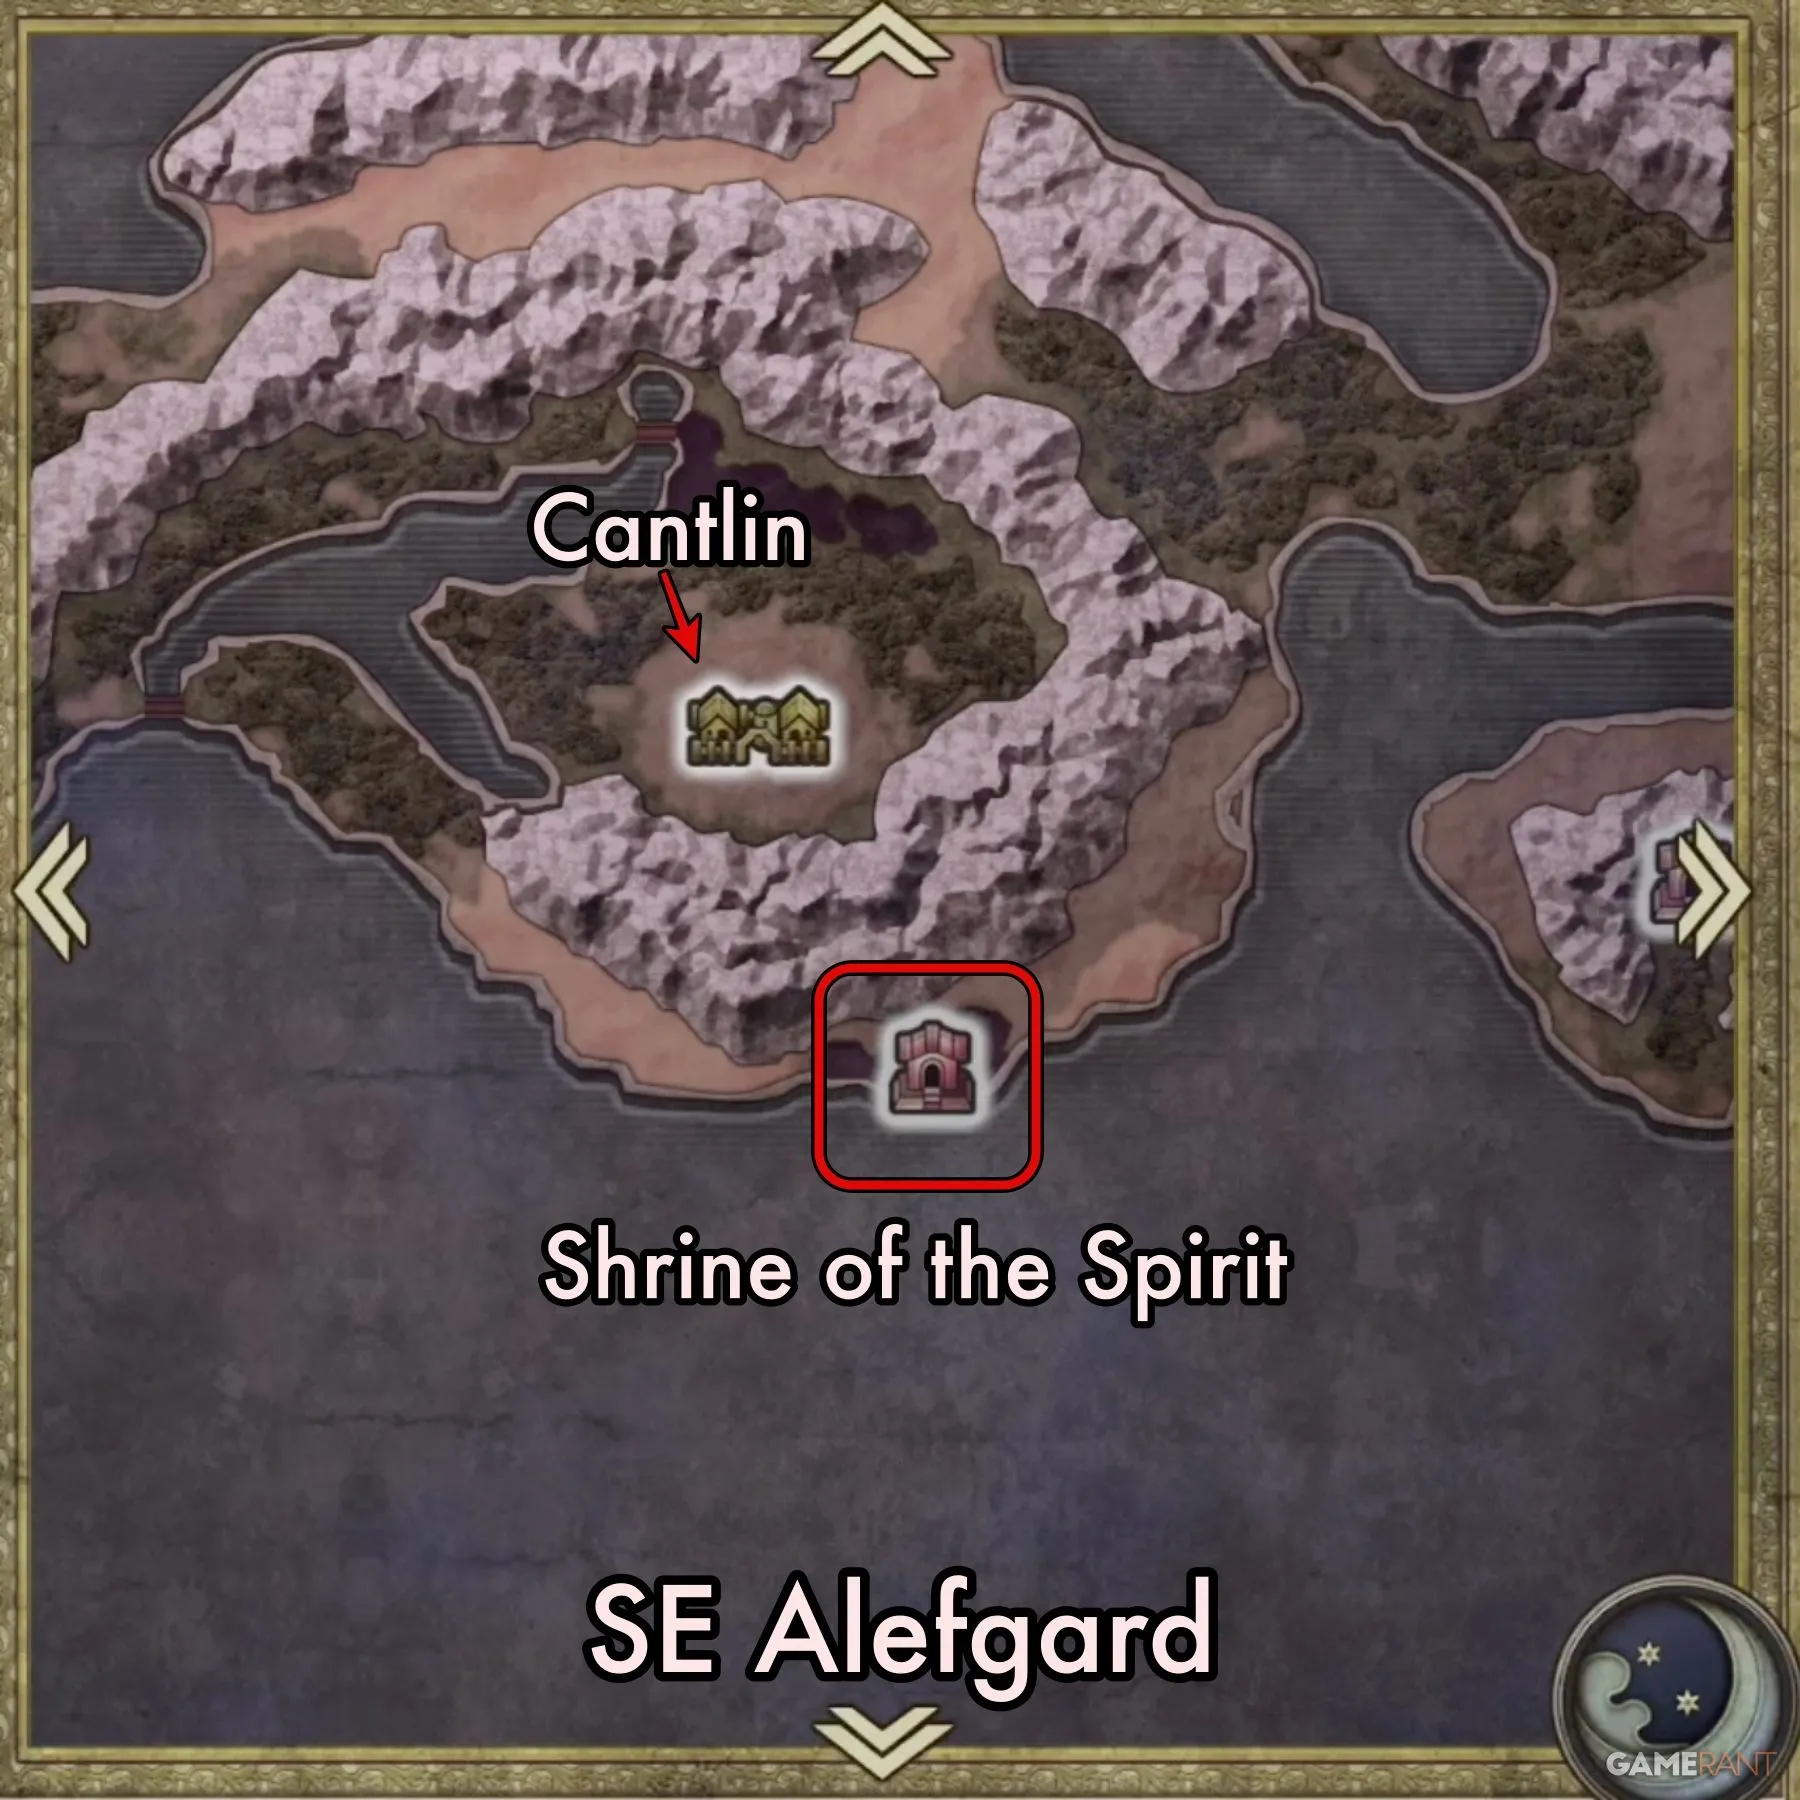
To secure the Staff of Rain, navigate to the Shrine of the Spirit, located on the southern coast of Alefgard. A ship is essential for reaching this destination, as it lies directly west of the Sanctum’s island and south of Cantlin.
Once inside the shrine, head to the upper levels to meet the Servant of Rubiss, whose voice you may recognize from earlier in your adventure. She will simply hand over the Staff of Rain to you, emphasizing its significance as a functional item.
Additionally, the Servant will inform you of Rubiss’s peril, and instruct you to obtain the Faerie Flute, crucial for both freeing Rubiss and collecting the final key item, the Sacred Amulet.
Securing the Sacred Amulet in Dragon Quest 3 Remake
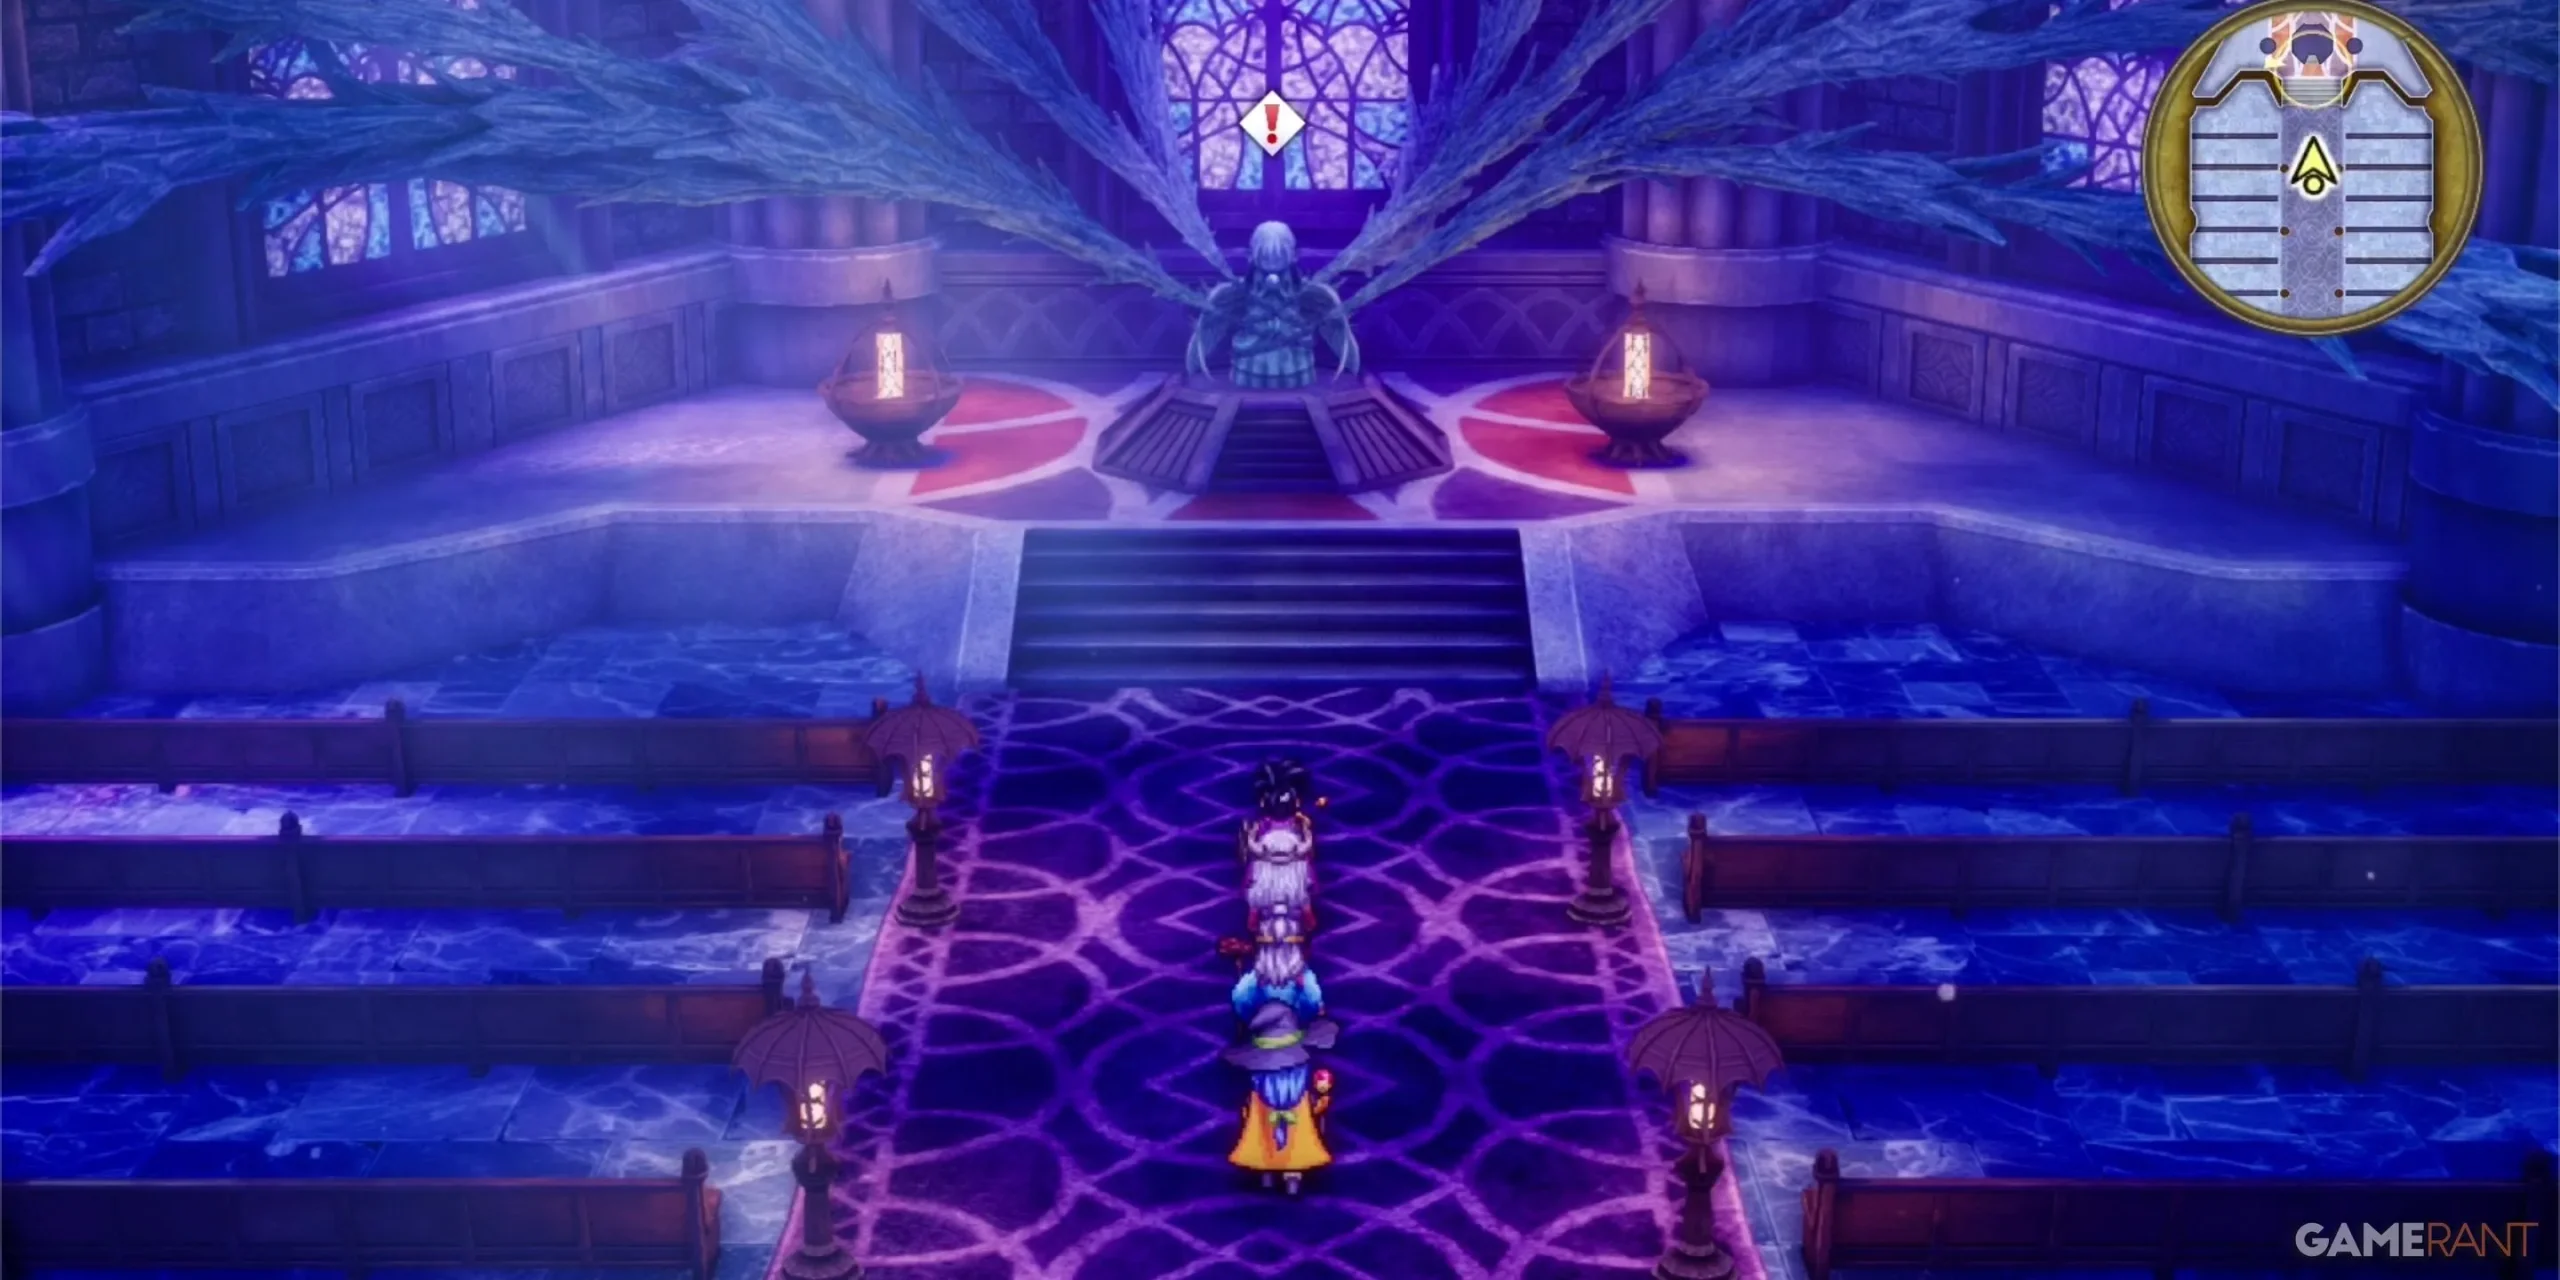
The final piece of your quest involves obtaining the Sacred Amulet. Before you can claim it, however, the Faerie Flute must be collected from the town of Kol. This step may seem minimal, but it is vital for completing your mission.
Locating the Faerie Flute in Kol
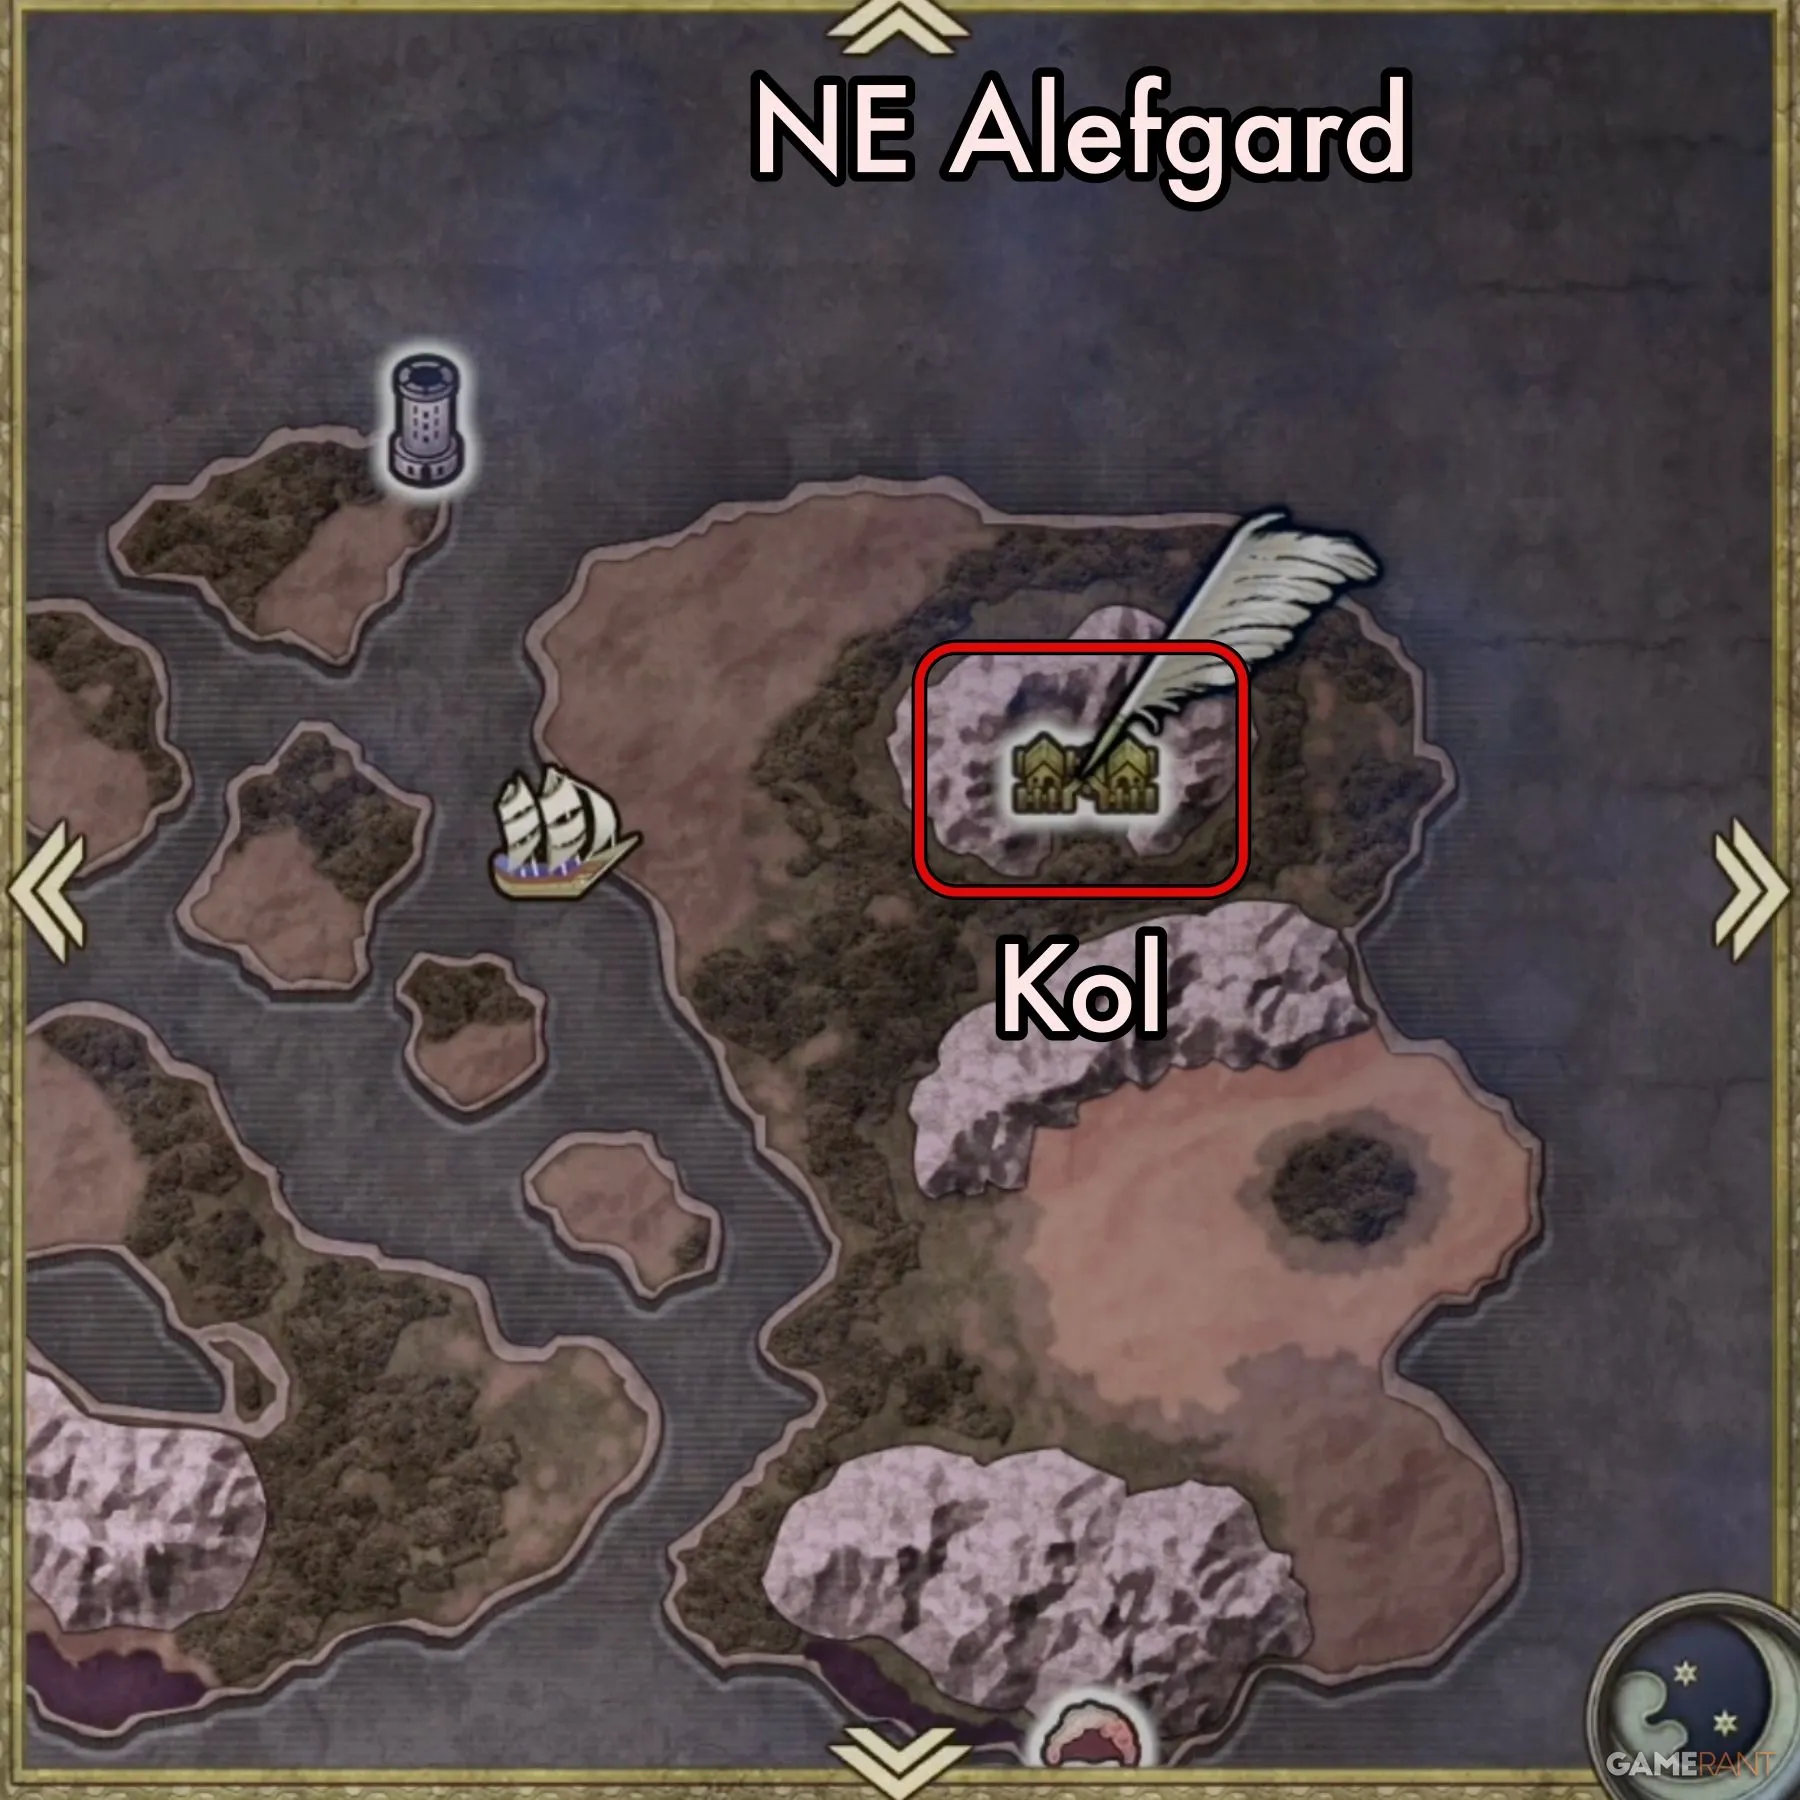
Kol is situated in the northeastern corner of Alefgard, easily identifiable on the map by the white mountain nearby. Upon entering Kol, direct your attention to the hot springs located just north of the town’s center. Move towards the southern edge of these springs, and you should spot a shimmering indicator revealing the buried Faerie Flute. Interact with this spot to retrieve the item, which will be instrumental in the ensuing quest to free Rubiss.
Exploring the Tower of Rubiss
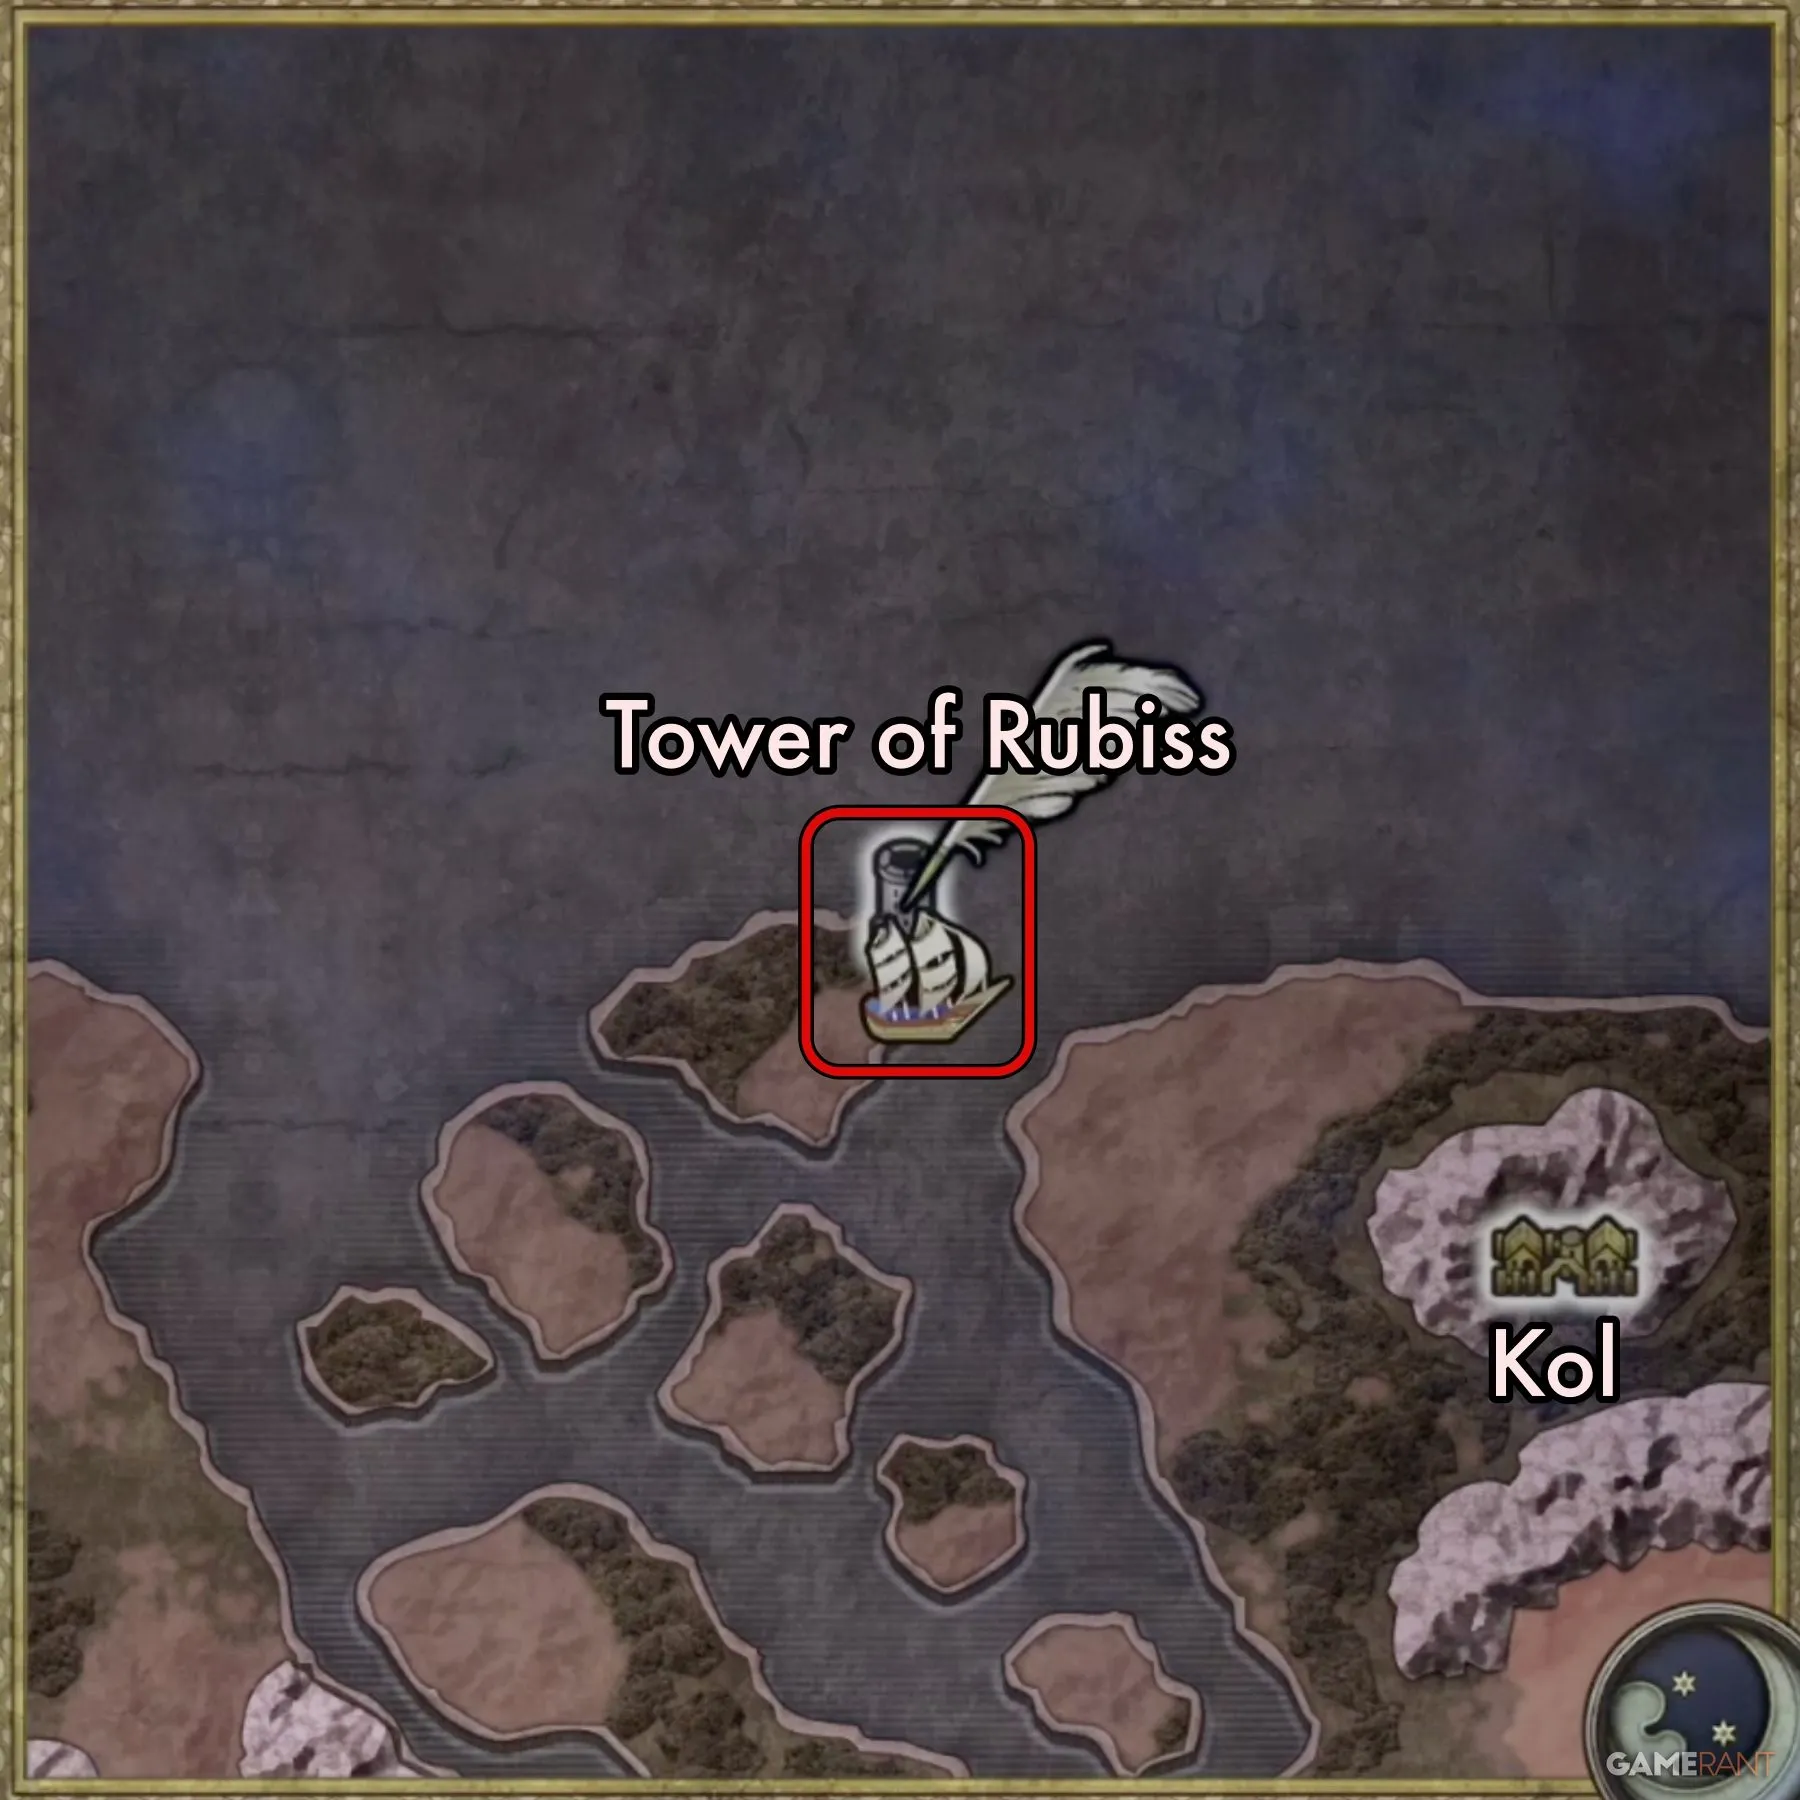
With the Faerie Flute in hand, venture west towards the Tower of Rubiss, located on a series of islands near Kol. The tower, a significant structure filled with treasures, awaits your exploration. Notably, the tower houses the Auroral Armor, one of the most powerful armor sets in the game. However, for this guide, your objective is simply to reach the tower’s summit.
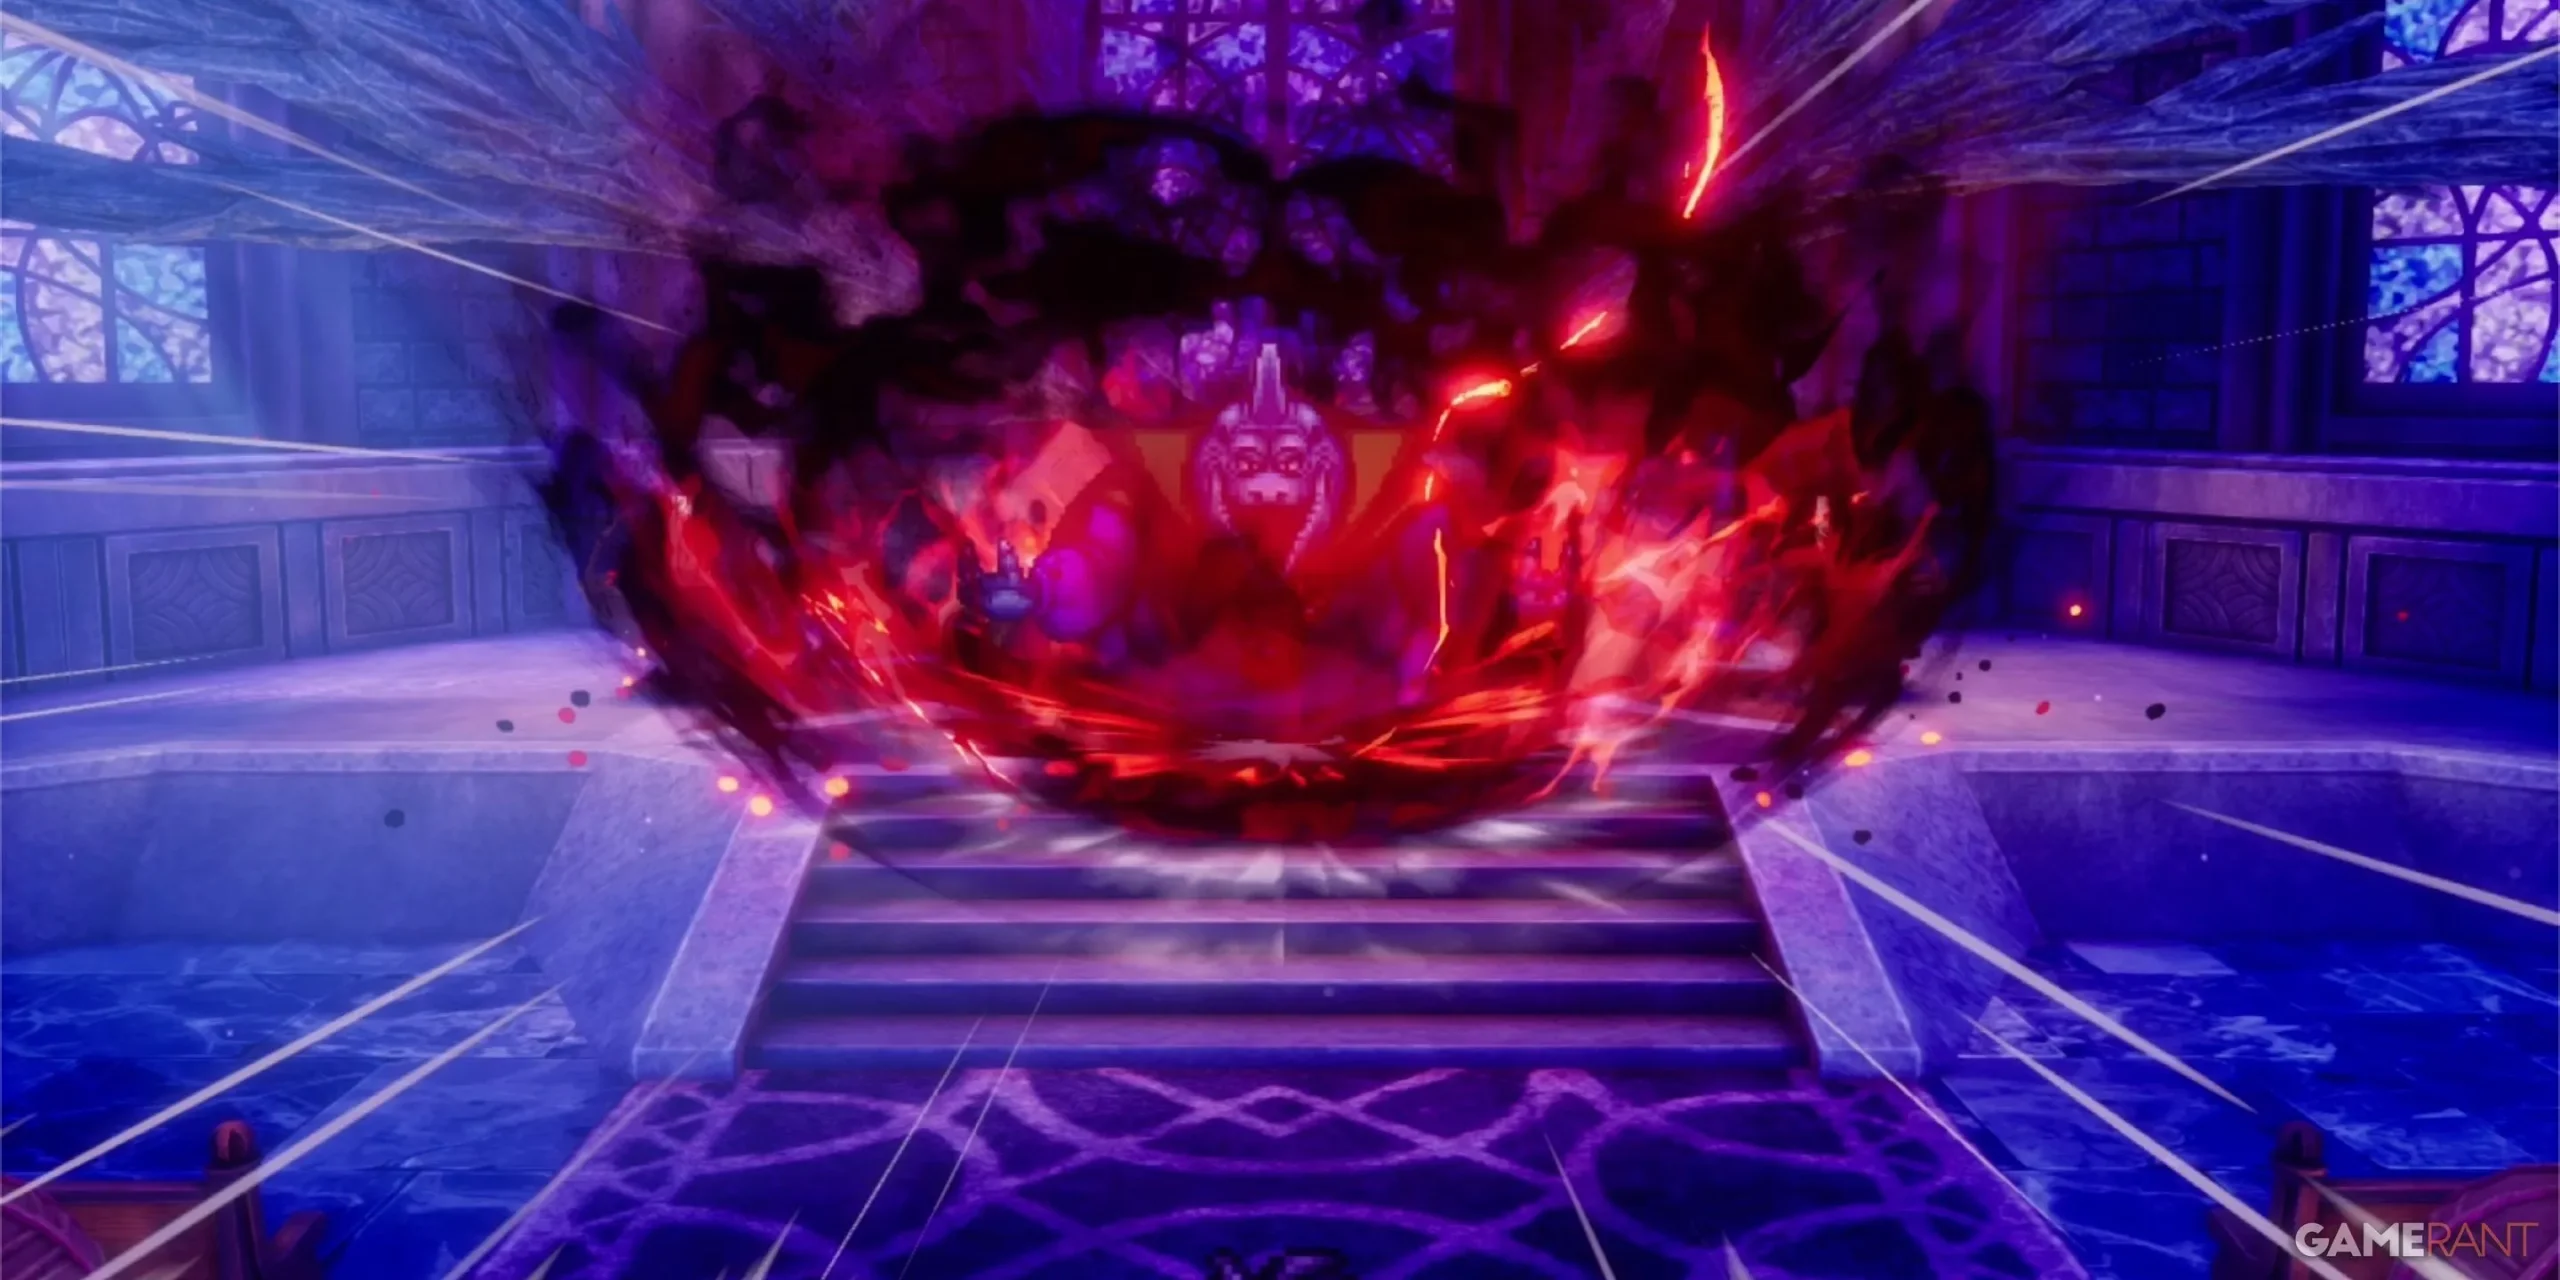
At the apex, a curious statue awaits, and upon closer inspection, you will confront the Soul of Baramos, a more formidable opponent than before, flanked by two Ashdemons.
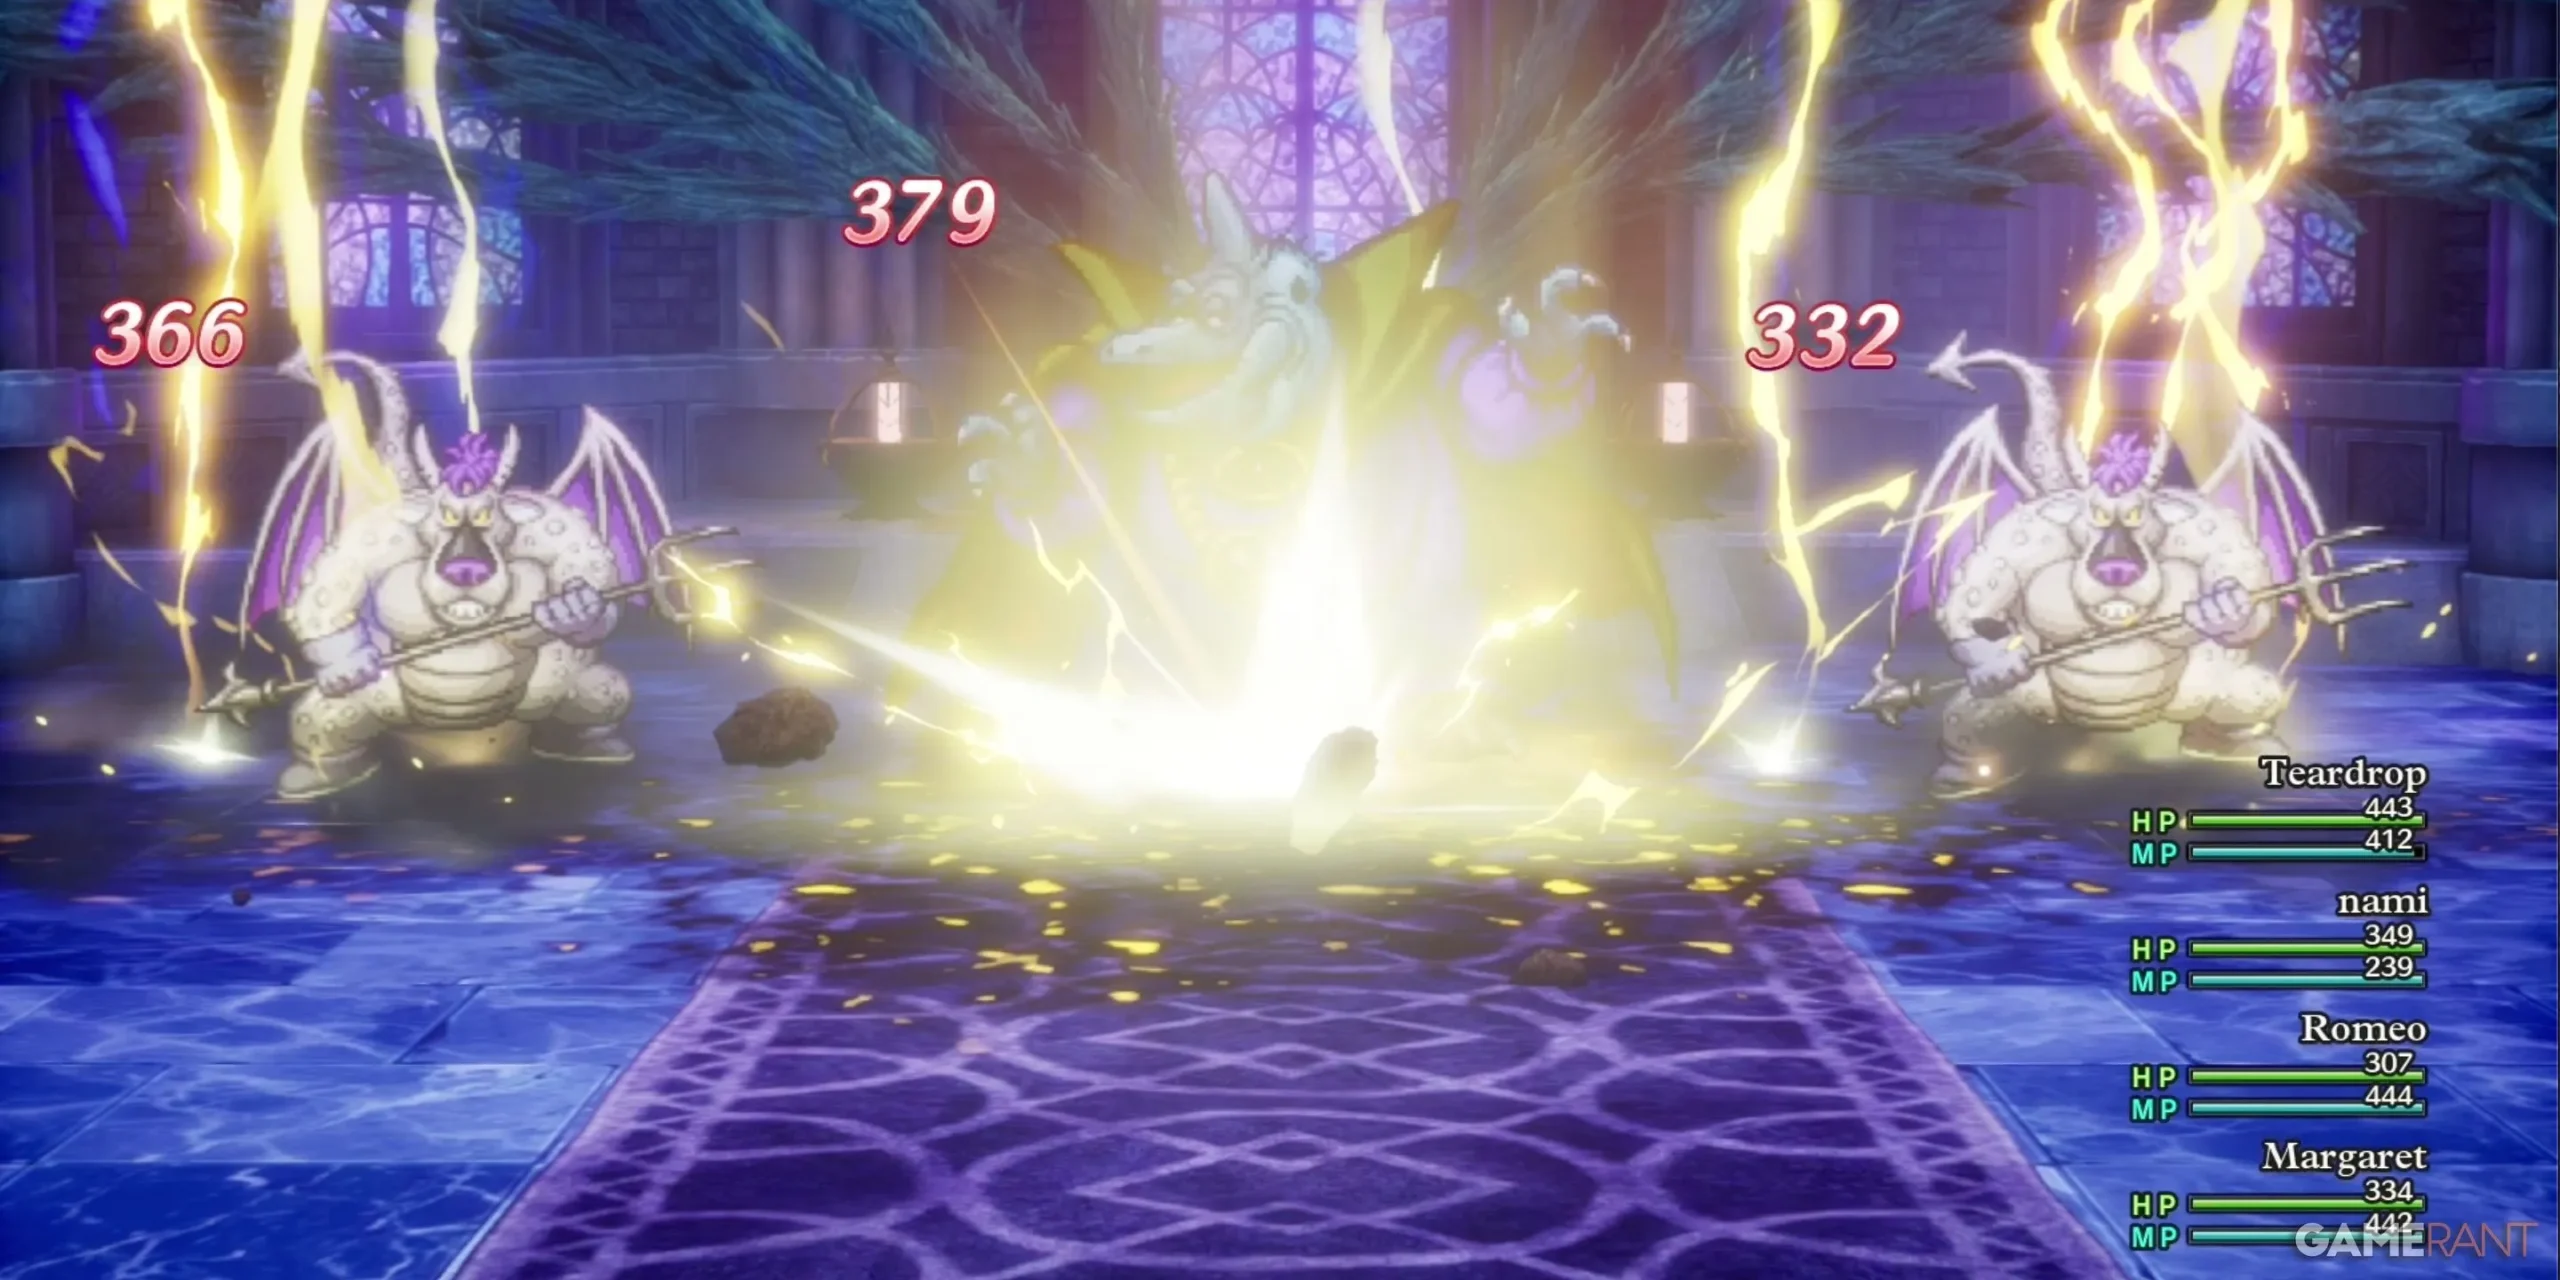
To gain the upper hand, utilize Zap-based spells; Kazap proves particularly effective against both Baramos and the Ashdemons, who share weaknesses to this spell type. Bringing a diverse group of spell-casters will enhance your chances of success.
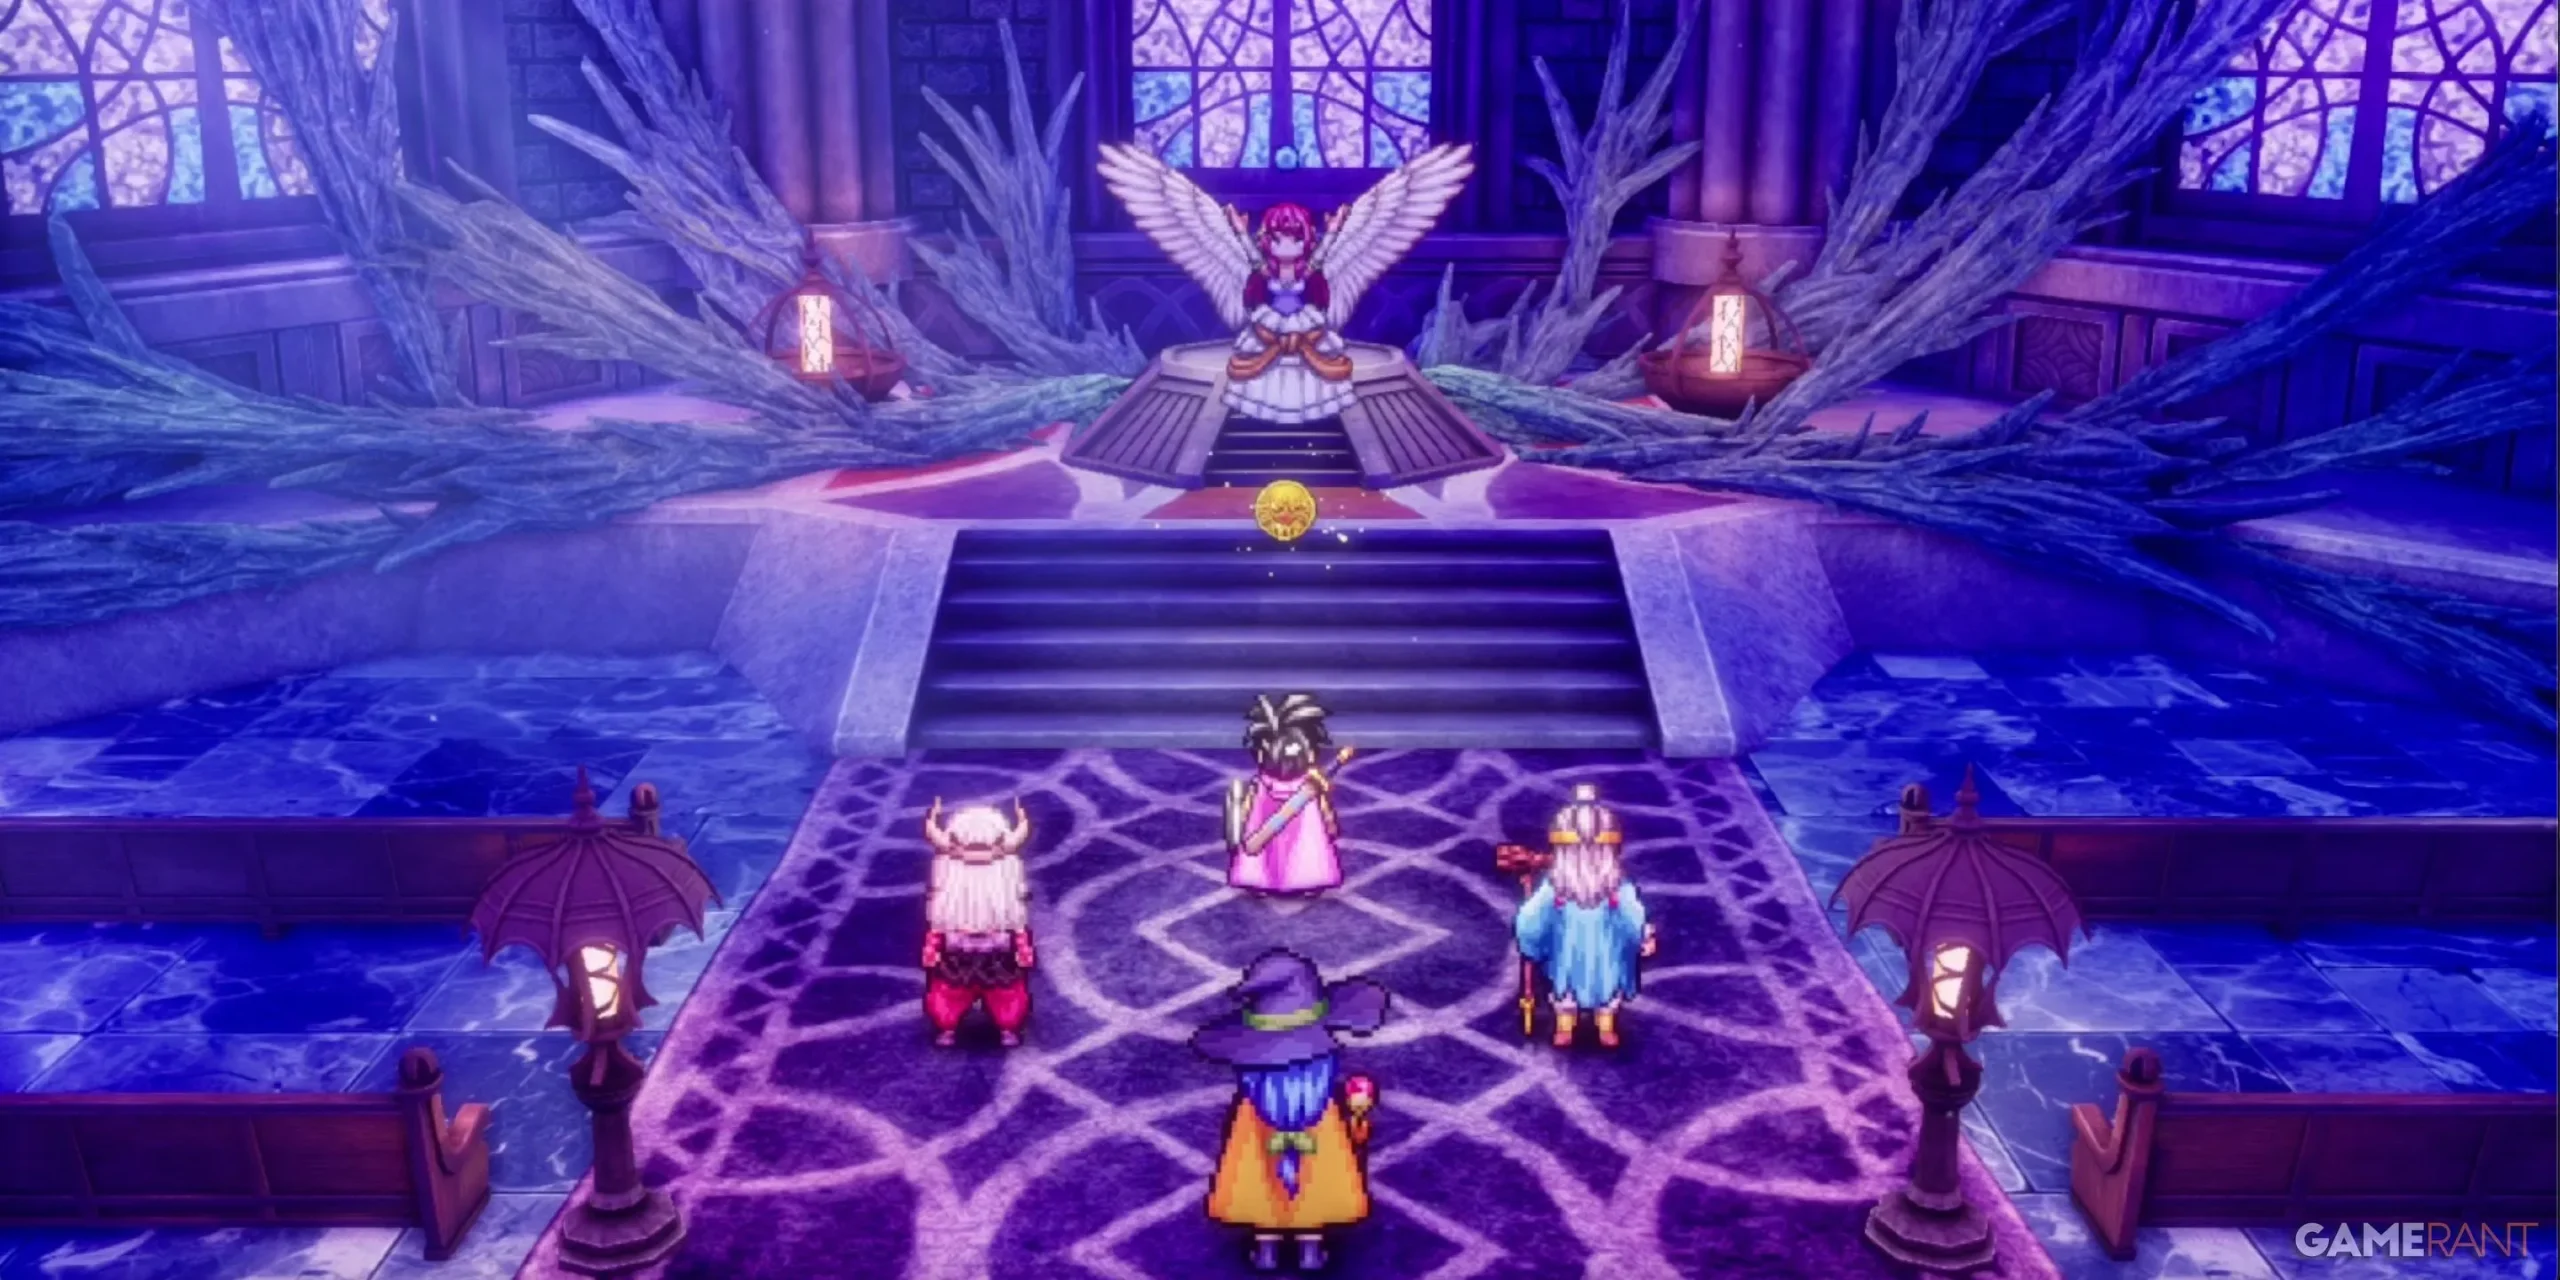
Upon vanquishing the Soul of Baramos, apply the Faerie Flute to the statue, ultimately revealing Rubiss herself. In gratitude for your efforts, she will bestow upon you the Sacred Amulet.
Utilizing the Rainbow Drop in Dragon Quest 3 Remake

With all three critical items secured, your next step is to utilize them to access Zoma’s Citadel. Further details regarding the final dungeon will follow, but first, focus on employing the Rainbow Drop to find your way.
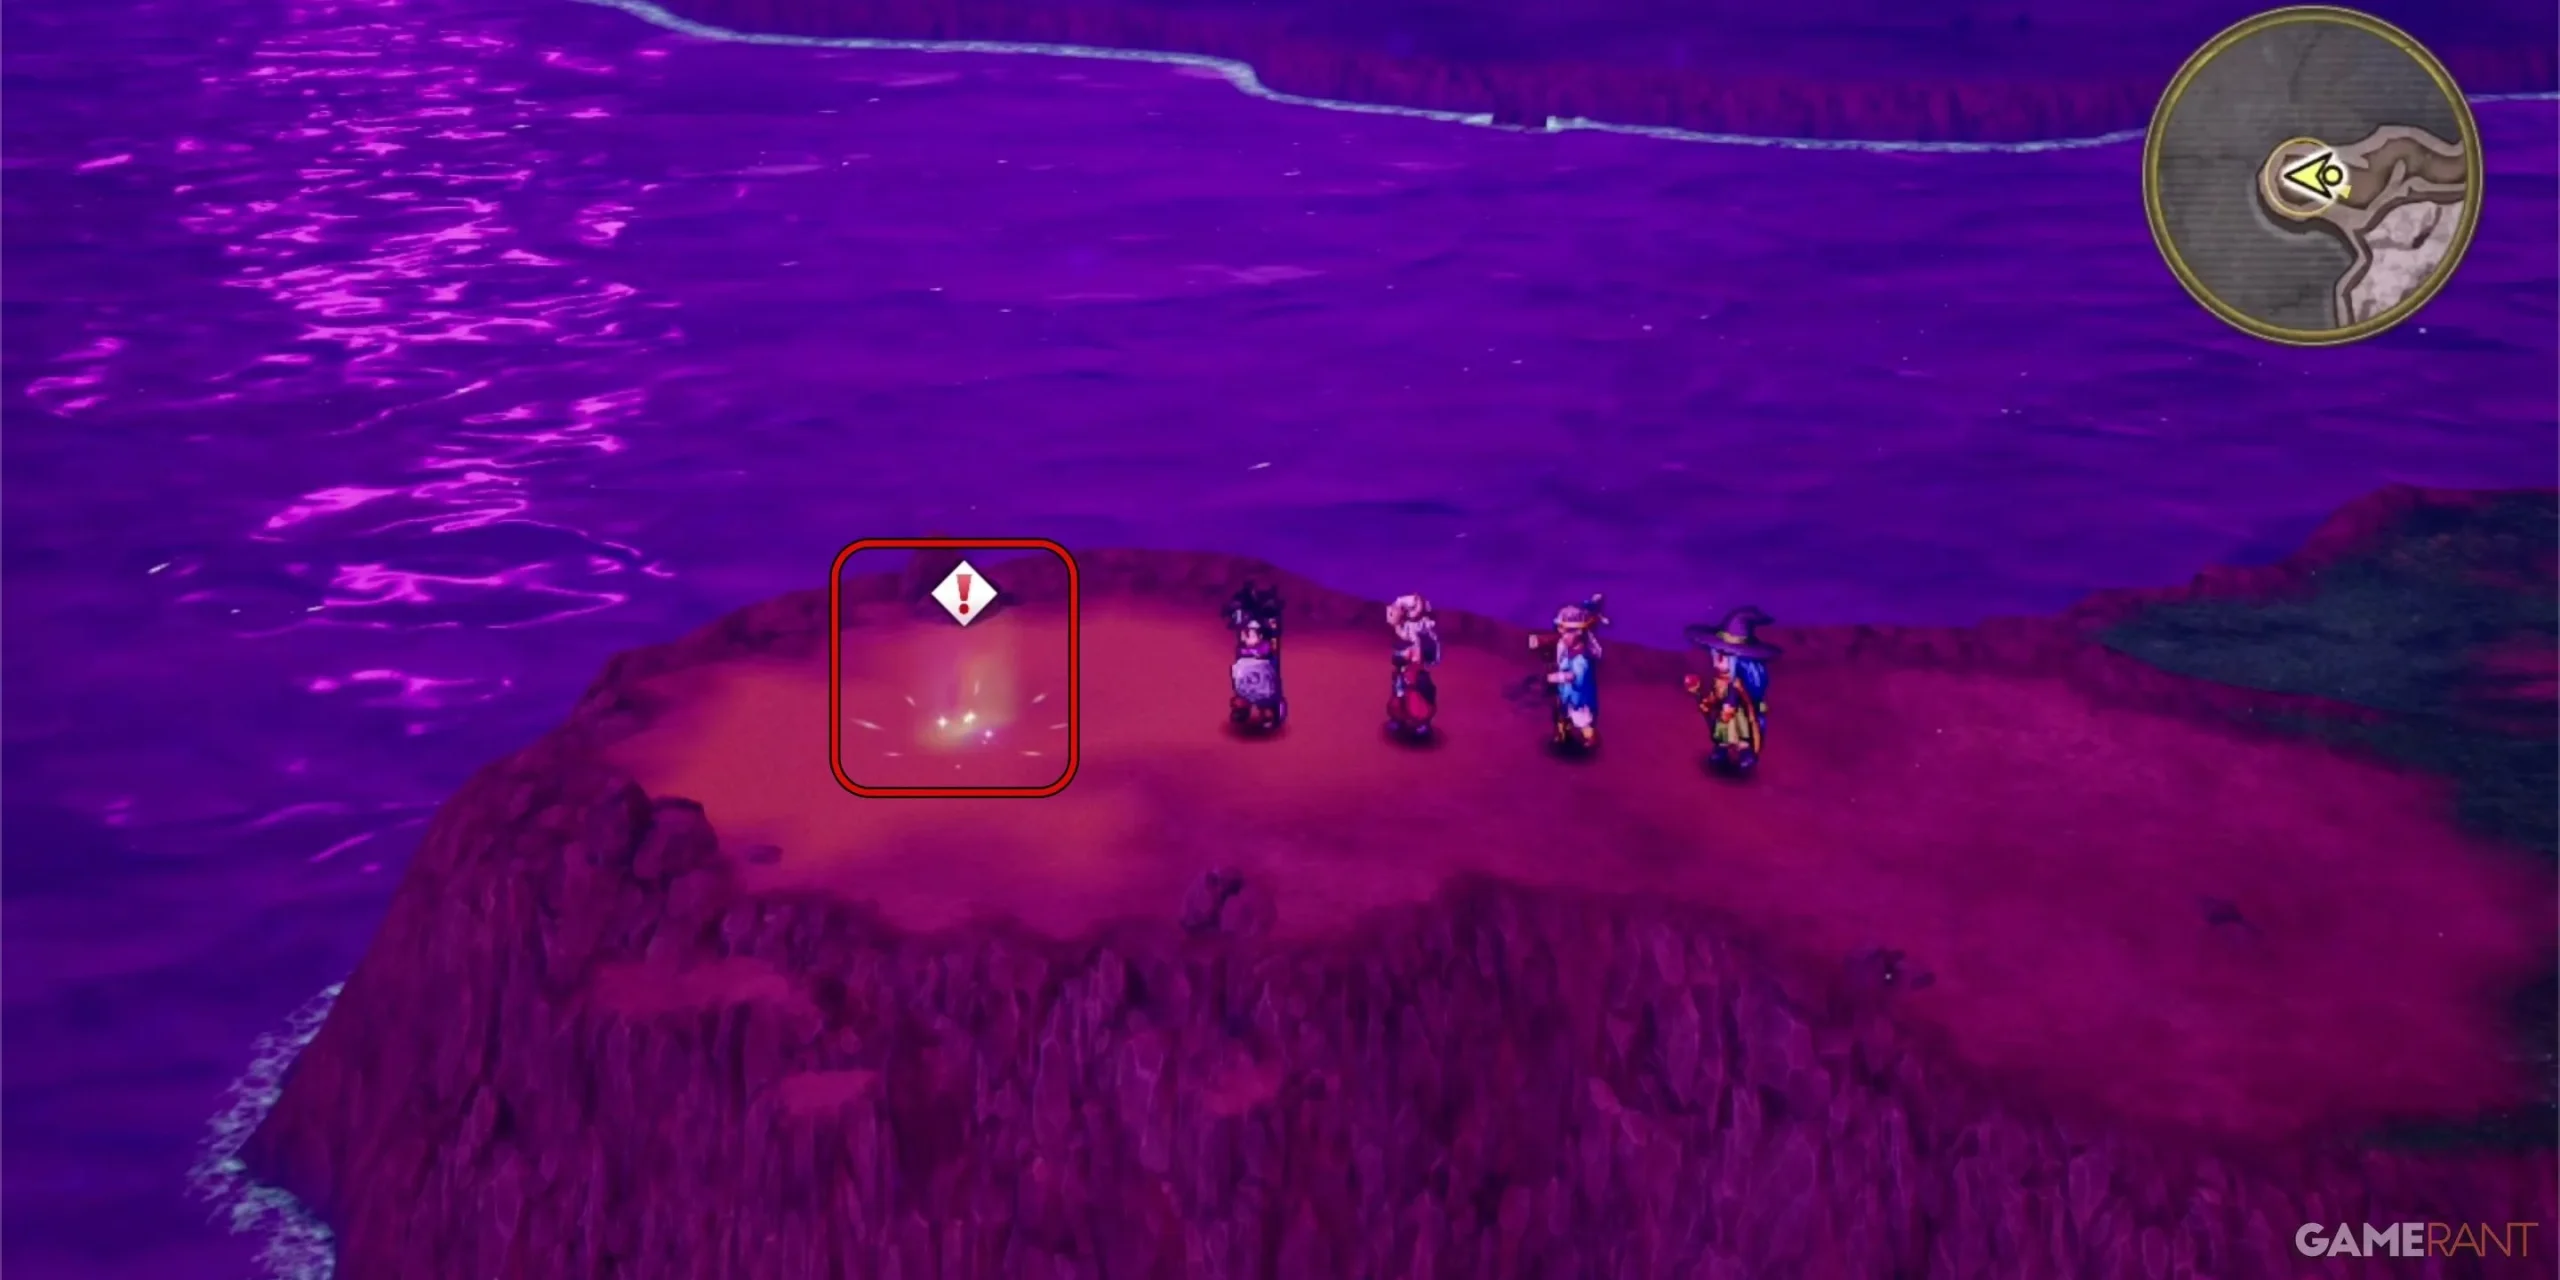
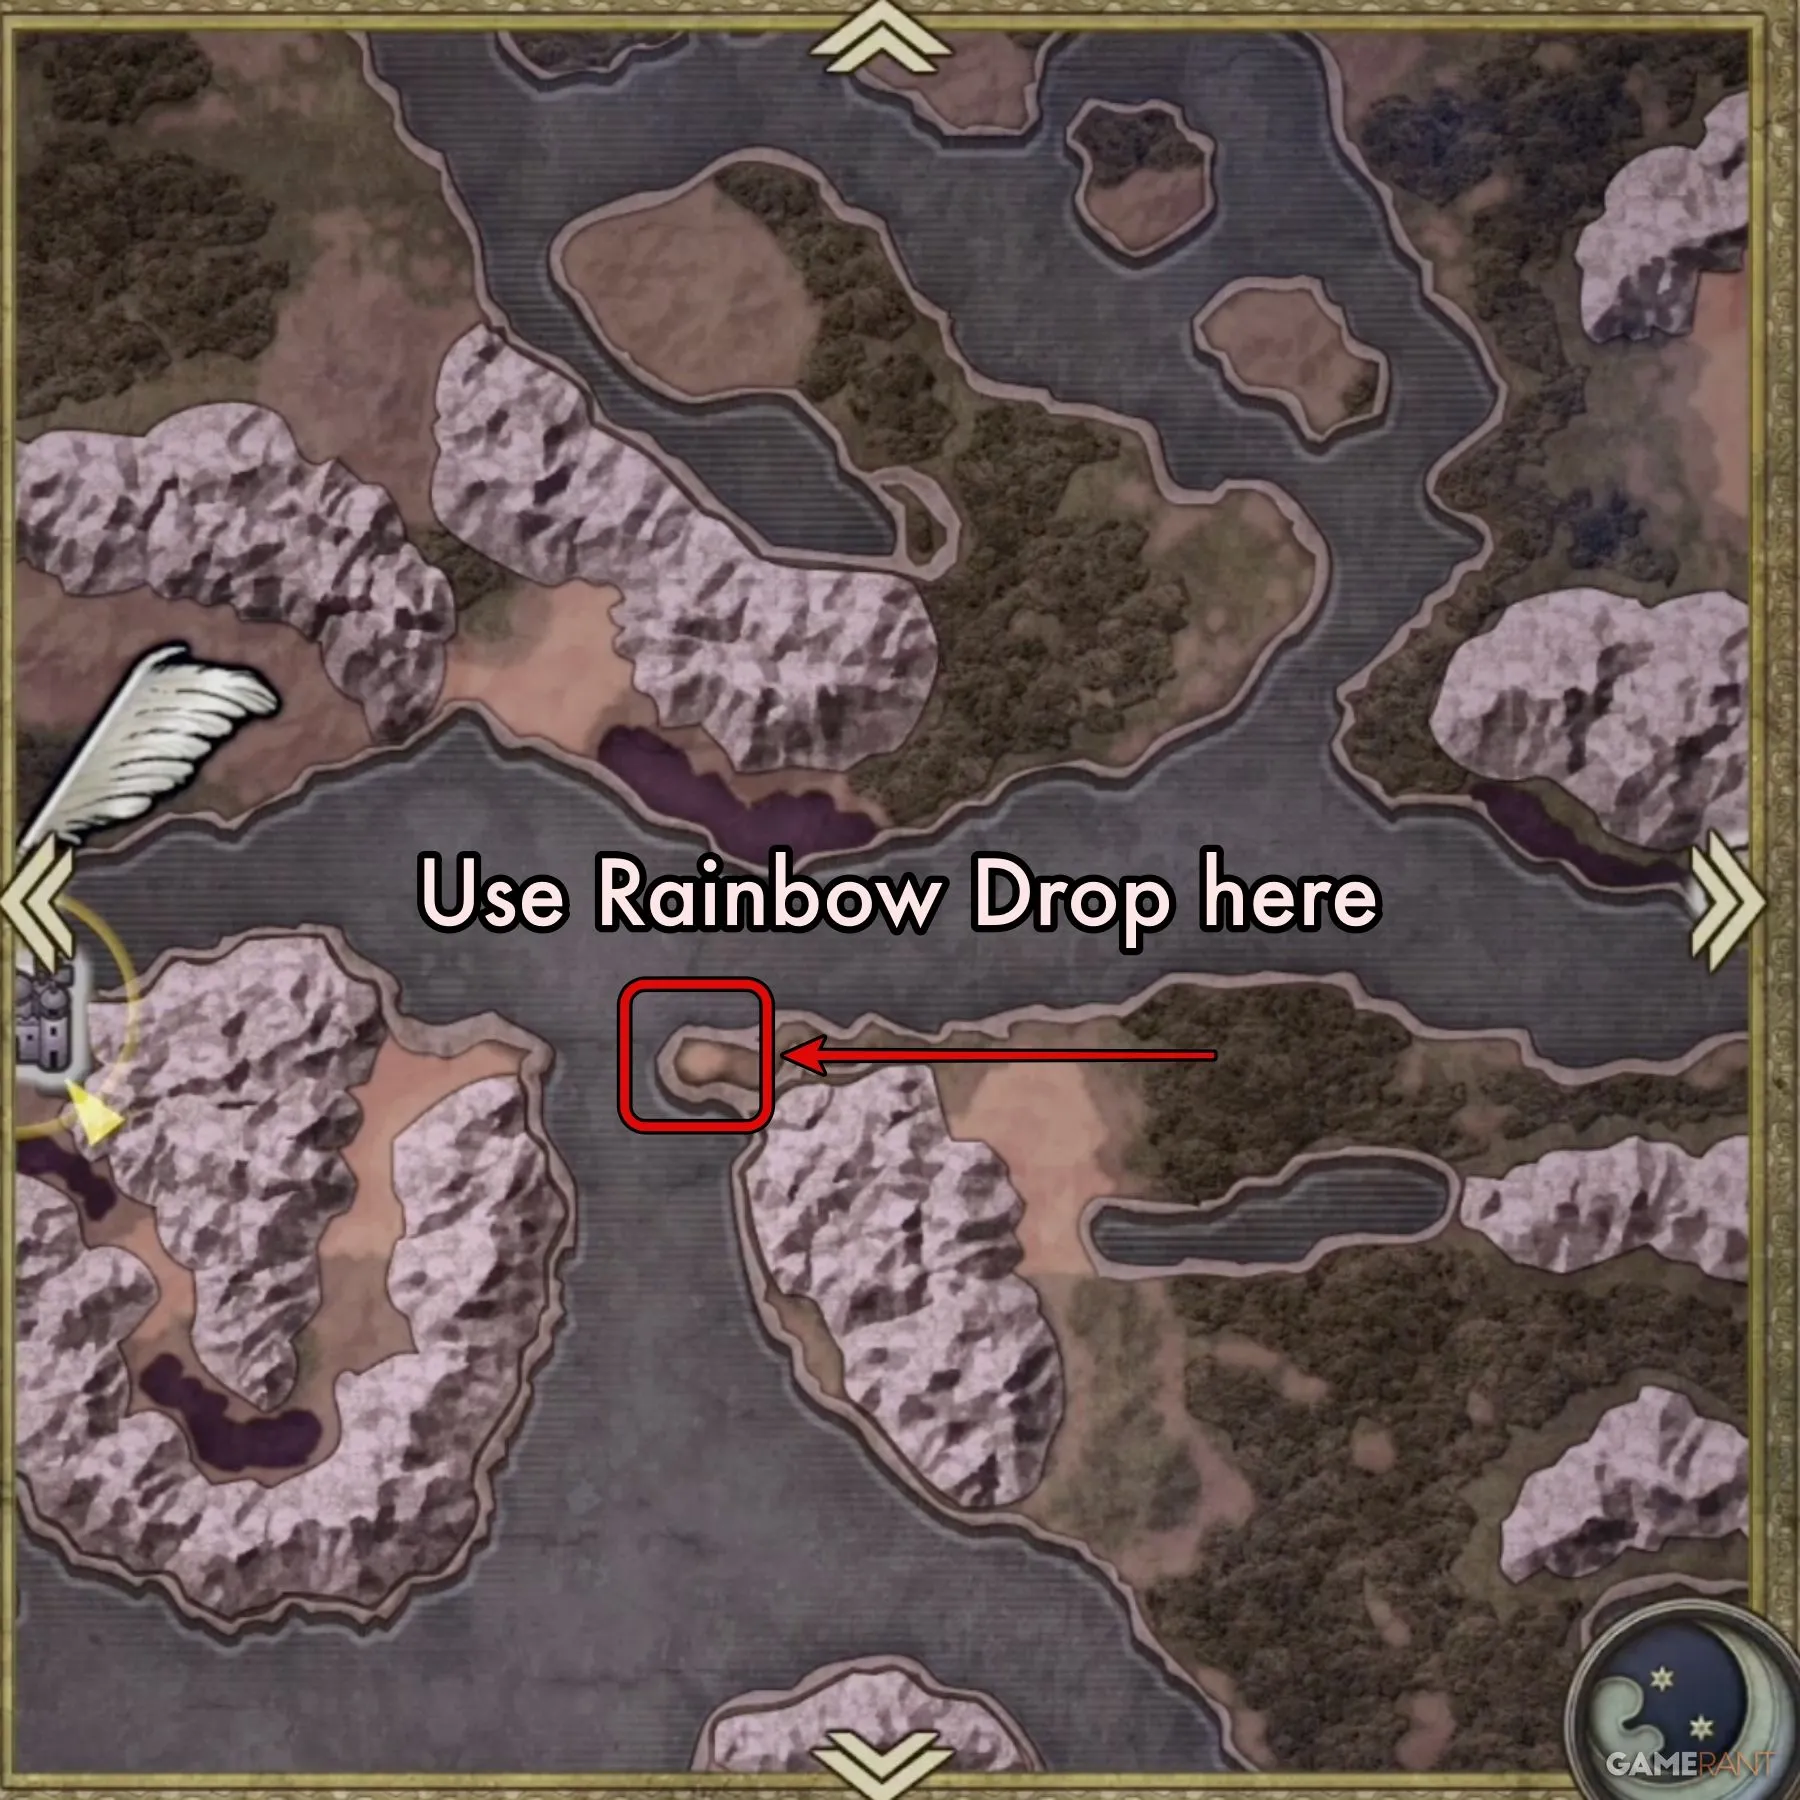
Follow the guidance provided by quest markers leading to the vicinity south of Tantegel. Here, you will activate the Rainbow Drop, creating a bridge across the water that grants access to Zoma’s Citadel.


Leave a Reply