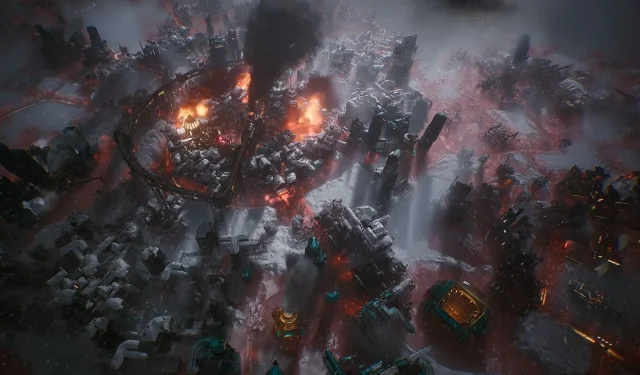
The Frostpunk 2 DirectX 12 error has been a common concern among players since the game entered early access. Fortunately, there are several potential solutions available, with recommendations coming directly from the developers.
This article details everything available regarding the Frostpunk 2 DirectX 12 error and how to fix it.
How to Fix the Frostpunk 2 DirectX 12 Error
A developer from 11 bit studios shared some insights on Steam concerning solutions for this issue. Here are the suggested fixes for the Frostpunk 2 DirectX 12 error.
Update Graphics Drivers and Windows

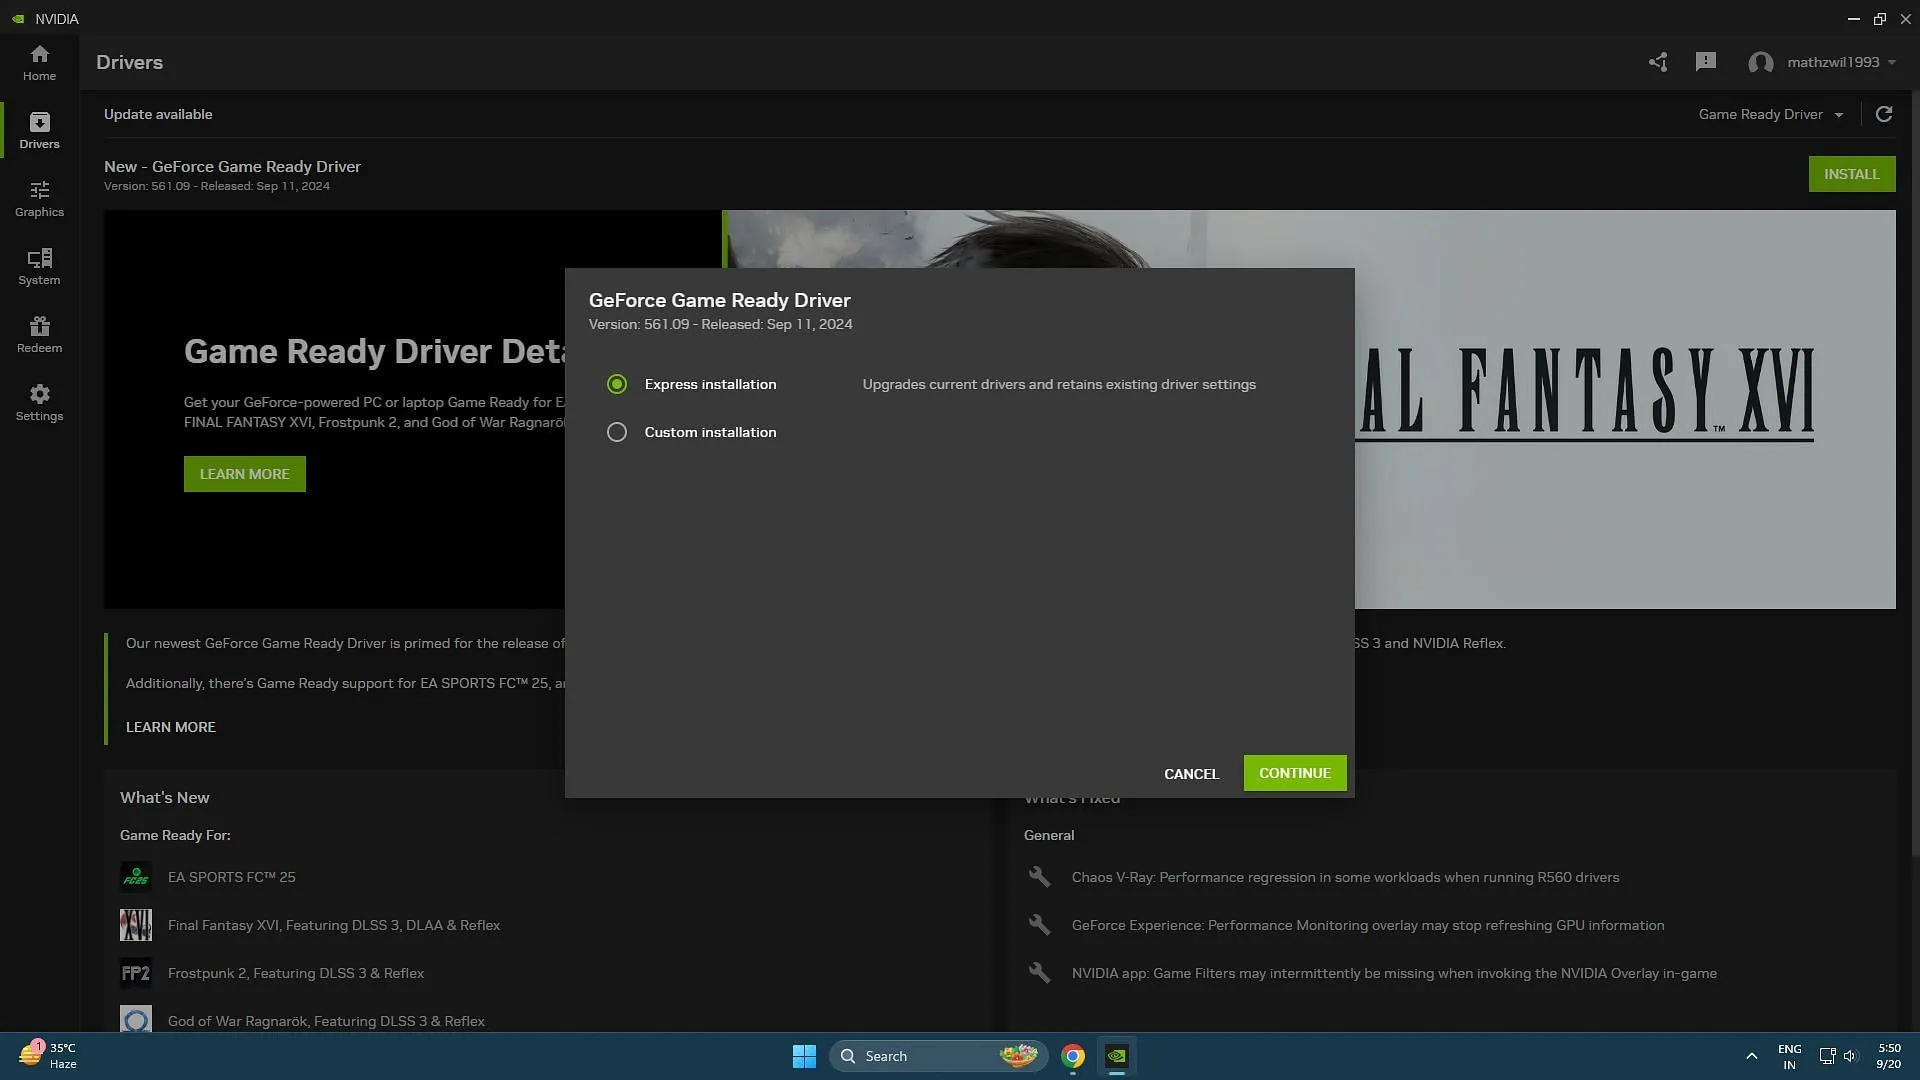
Outdated graphics drivers are notorious for causing issues across all games, including Frostpunk 2. Updating your drivers can often resolve the problem; make sure to restart your PC after installation. This applies to Nvidia, AMD, and Intel drivers. Also, don’t forget to update your operating system. If you’re playing Frostpunk 2 on a Mac, update to macOS 14.5.
Adjust In-Game Settings for Frostpunk 2
The developers suggest modifying the following in-game settings to potentially resolve the error:
- Install the game on an SSD drive instead of an HDD.
- Lower in-game graphical settings.
- Limit your FPS to 30, 45, or 60.
- Experiment with the Upscaling method or Disable it if it doesn’t help.
- Set Upscaling Quality to Performance.
- Disable Frame Generation.
- Enable Vertical Sync (V-Sync).
- Change in-game Screen Mode to Windowed.
Applying these changes should help resolve the Frostpunk 2 DirectX 12 error and allow you to continue managing your Outposts in the Frostlands.
Delete Config Folder and AppData Folder
If the above methods are ineffective, you may need to delete specific folders. Here’s how to proceed:
How to Delete the Config Folder for Frostpunk 2
- Open My Computer.
- Navigate to C:\Users\***YOURUSERNAME***\AppData\Local\11bitstudios\Frostpunk2\Steam\Saved.
- Delete the folder.
How to Delete the AppData Folder for Frostpunk 2
- Open My Computer.
- Go to C:\Users\***YOURUSERNAME***\AppData\.
- Delete the relevant folder (Note: This will erase your local saves, so be sure to back them up first).
Restart your computer following these actions; this may resolve the Frostpunk 2 DirectX 12 error. If not, there are additional steps you can pursue.
Additional Fixes for the Frostpunk 2 DirectX 12 Error
Ensure the Correct GPU is Set
If your system has both an integrated GPU and a dedicated gaming GPU, you might have selected the wrong one. Here’s how to choose the right GPU:
- Select the Start button, then go to Settings.
- In Settings, navigate to System > Display > Graphics.
- Under Custom Options for apps, select Add App, then choose Classic App and browse.
- In the Browse window, find C:\Program Files (x86)\Steam\steamapps\common\Frostpunk2, select Frostpunk2.exe, and click Add.
- Once added, select the Frostpunk 2 App and click Options.
- In Graphics preference, choose High performance.
- Finally, click Save and restart the game.
Nvidia Troubleshooting Steps
If you are running the game on an Nvidia GPU and face the Frostpunk 2 DirectX 12 error, try the following:
- Click the Start button, type Nvidia Control Panel, and open the app.
- Under 3D Settings, go to Manage 3D settings.
- Open the Program Settings tab.
- Add Frostpunk2 from the drop-down menu.
- Scroll to OpenGL Rendering GPU in specific settings for this program.
- Change it from Auto-select to Your dedicated Nvidia GPU in the drop-down menu.
- Select Apply in the lower-right corner.
These steps should help you fix the Frostpunk 2 DirectX 12 error. If not, consider trying these additional options.
Repair Visual C++ Redistributables
- Go to Apps & Features in Windows (Start Menu → Settings ⚙ → Apps).
- Find “Microsoft C++ <version> Redistributable <x86 and x64>” under Apps & Features.
- Select the latest version and click Modify.
- A dialog will appear with an option to “Repair.”
- Click Repair and allow the process to finish.
- Repeat this for each installed version back to 2012.
Verify Integrity of Game Files
- Launch the Steam app.
- On the Steam launcher, click Library.
- Find the game, right-click on it, and select Properties.
- Locate and click Local Files from the left pane.
- Click Verify Integrity of Game Files.
Disable Game Optimization
- Search for GeForce Experience and click on it.
- Click on the Gear icon.
- In the left pane, select Games.
- Remove the checkmark beside Automatically optimize newly added games.
Modify the Launch Options
- Open the Steam app.
- Click Library, find the game, right-click on it, and select Properties.
- Under General, click Set Launch Options, and type: “-dx12” or “d3d12.”
- Click OK to save changes.
- Close the Properties window.
Further Solutions to the Frostpunk 2 DirectX 12 Error
If you’ve tried all these methods and the Frostpunk 2 DirectX 12 error still appears, consider increasing the virtual memory for Windows 10 and 11.
Increase Virtual Memory on Windows 10
- Open Settings.
- Select System.
- Go to About.
- Click on the Advanced system settings under Related settings.
- Select the Advanced tab.
- Under Performance, click the Settings button.
- Select the Advanced tab in the Performance Options window.
- Click Change under the virtual memory section.
- Uncheck Automatically manage paging file size for all drives.
- Select Custom Size.
- Set the initial and maximum paging file sizes in megabytes.
- – Note: It’s often recommended to set the Initial Size to one and a half times and Maximum Size to three times your total available memory.
- Click Set.
- Click OK, then OK again.
- Restart your device.
Increase Virtual Memory on Windows 11
- Open the Start menu, type in Advanced system settings, and press Enter.
- In the System Properties window, navigate to the Advanced tab.
- Under Performance, click the Settings button.
- Select the Advanced tab in the Performance Options window.
- Click Change under the virtual memory section.
- Uncheck Automatically manage paging file size for all drives.
- Select Custom Size.
- Set your initial and maximum paging file sizes in megabytes similarly as in Windows 10.
- Click Set, followed by OK, and then OK again.
- Restart your device.
Toggle Intel Hyperthreading
- From the System Utilities screen, go to System Configuration > BIOS/Platform Configuration (RBSU) > System Options > Processor Options > Intel (R) Hyperthreading Options.
- Select Disabled and press Enter.
Await Official Fix or Contact Developers
If you’ve gone through this guide and the Frostpunk 2 DirectX 12 error persists, you might need to await an official fix from the developers.
Alternatively, you can contact the developers at [email protected], providing your save files, DxDiag, and crash dump.
Resolving the Frostpunk 2 DirectX 12 error may be challenging, but with patience and the right fixes, you will soon be building districts and exploring the Frostlands in Frostpunk 2.


Leave a Reply