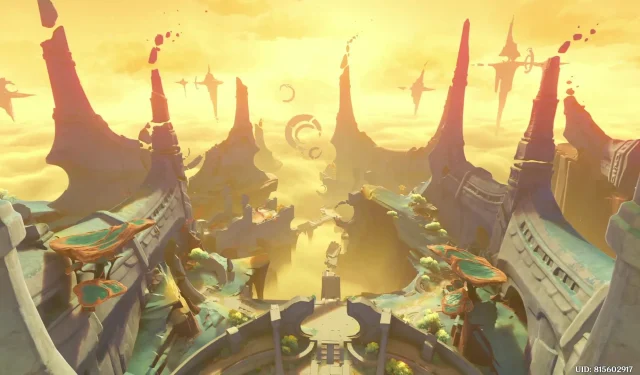
The quest Once, the Sacred Seat of Judgement is a crucial sub-quest in the overarching storyline of Genshin Impact, specifically falling under the questline titled In Search of a Hidden Heart. For players aiming to complete the Chronicler of the Crumbling City series, successfully finishing all five of these sub-quests is essential.
As is characteristic of major world quests within the game, the Chronicler of the Crumbling City is laden with intricate challenges and complex puzzles. This includes the notably challenging Once, the Sacred Seat of Judgement quest, which requires players to navigate a pool of lava, gather Coagulation Pearls using the Yumkasaur, and solve several perplexing puzzles that can confound even seasoned players.
Comprehensive Walkthrough for Once, the Sacred Seat of Judgement
1. Begin at the Chamber of Deliberation
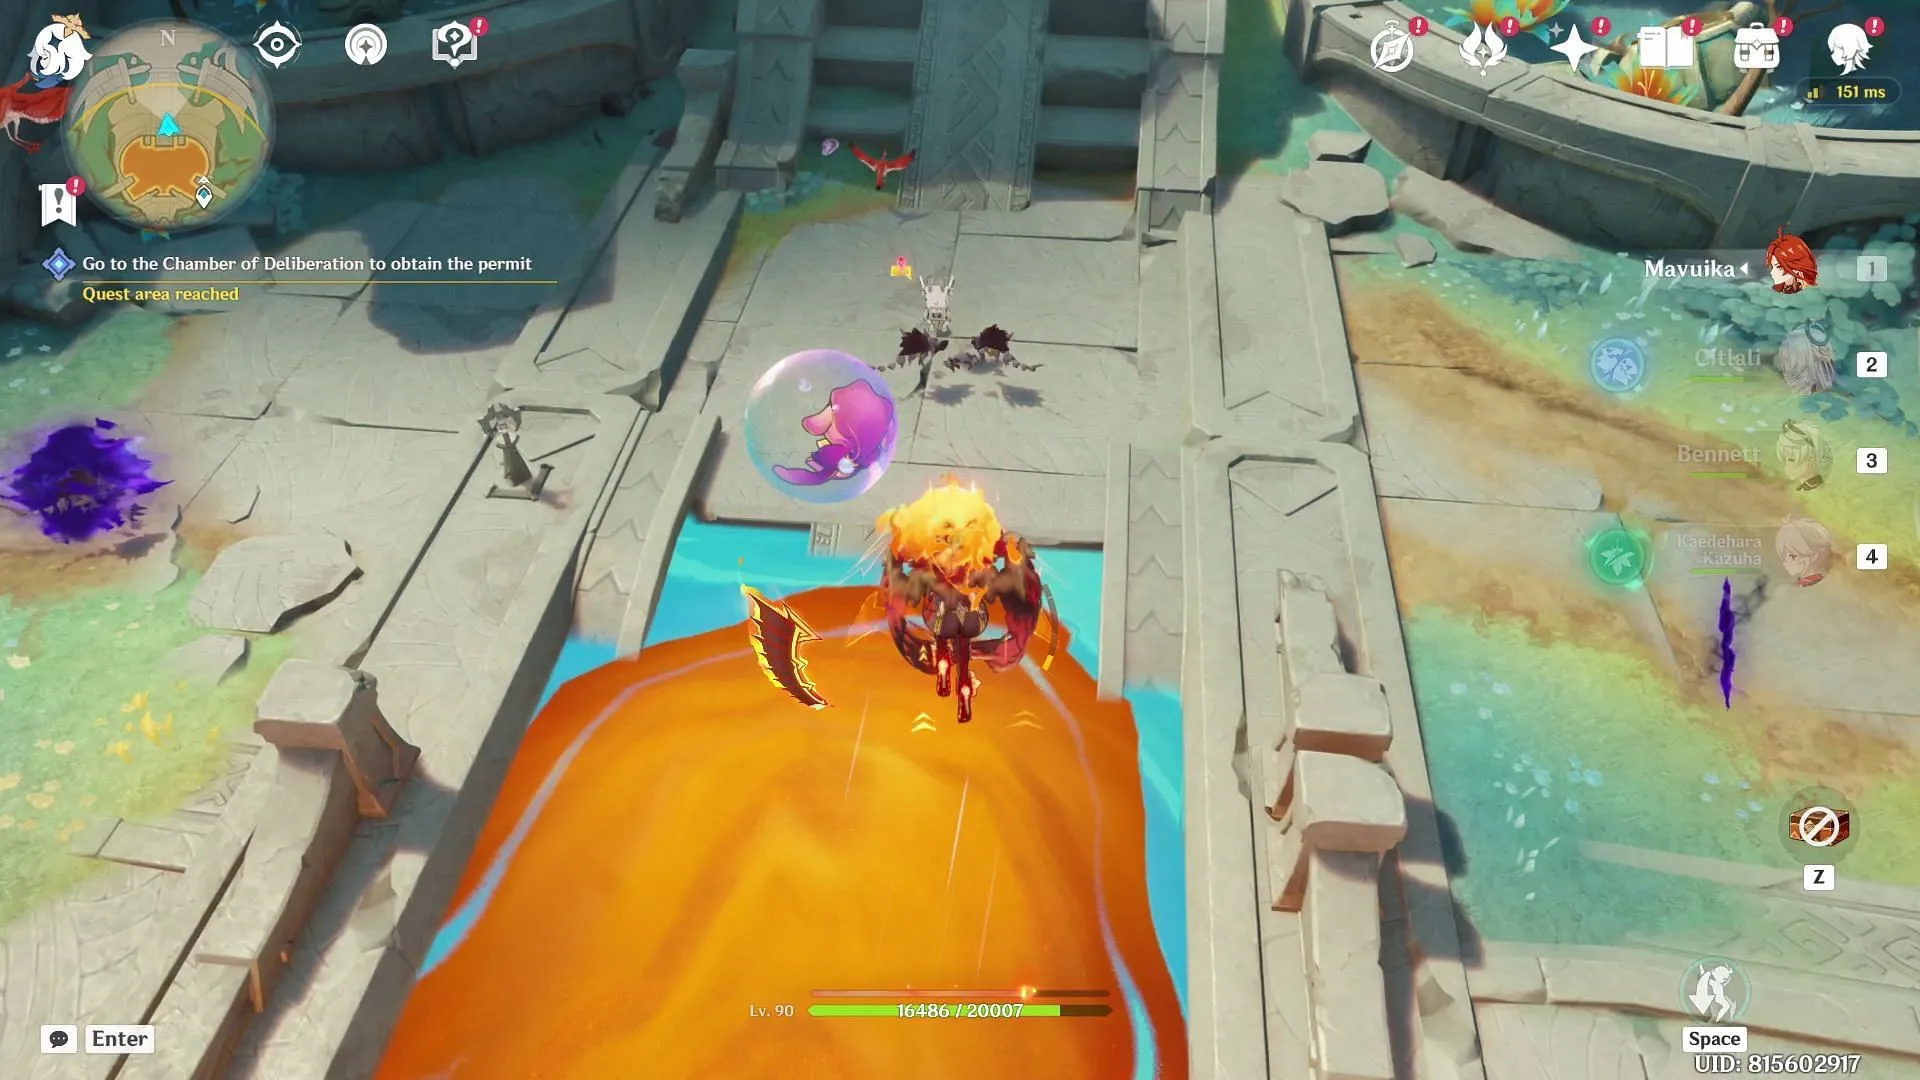
Your journey starts by heading to the Chamber of Deliberation, where you will need to gather the necessary permit to access the Heart of the Ancient Sacred Mountain. This chamber is located directly north of the Secret Source Servant who assigns you the In Search of a Hidden Heart quest, marked by a visible pool of liquid phlogiston on your map.
Once at the pool, defeat a group of rifthounds attacking a small Secret Source Servant. Upon vanquishing them, the grateful servant will remove the liquid phlogiston, allowing you to proceed. Utilize the Yumkasaur’s ability to retrieve a Coagulation Pearl from the pool’s bottom, which you can then launch at the pedestal positioned above the door, thus securing your entrance.
2. Power Up the Purification Device
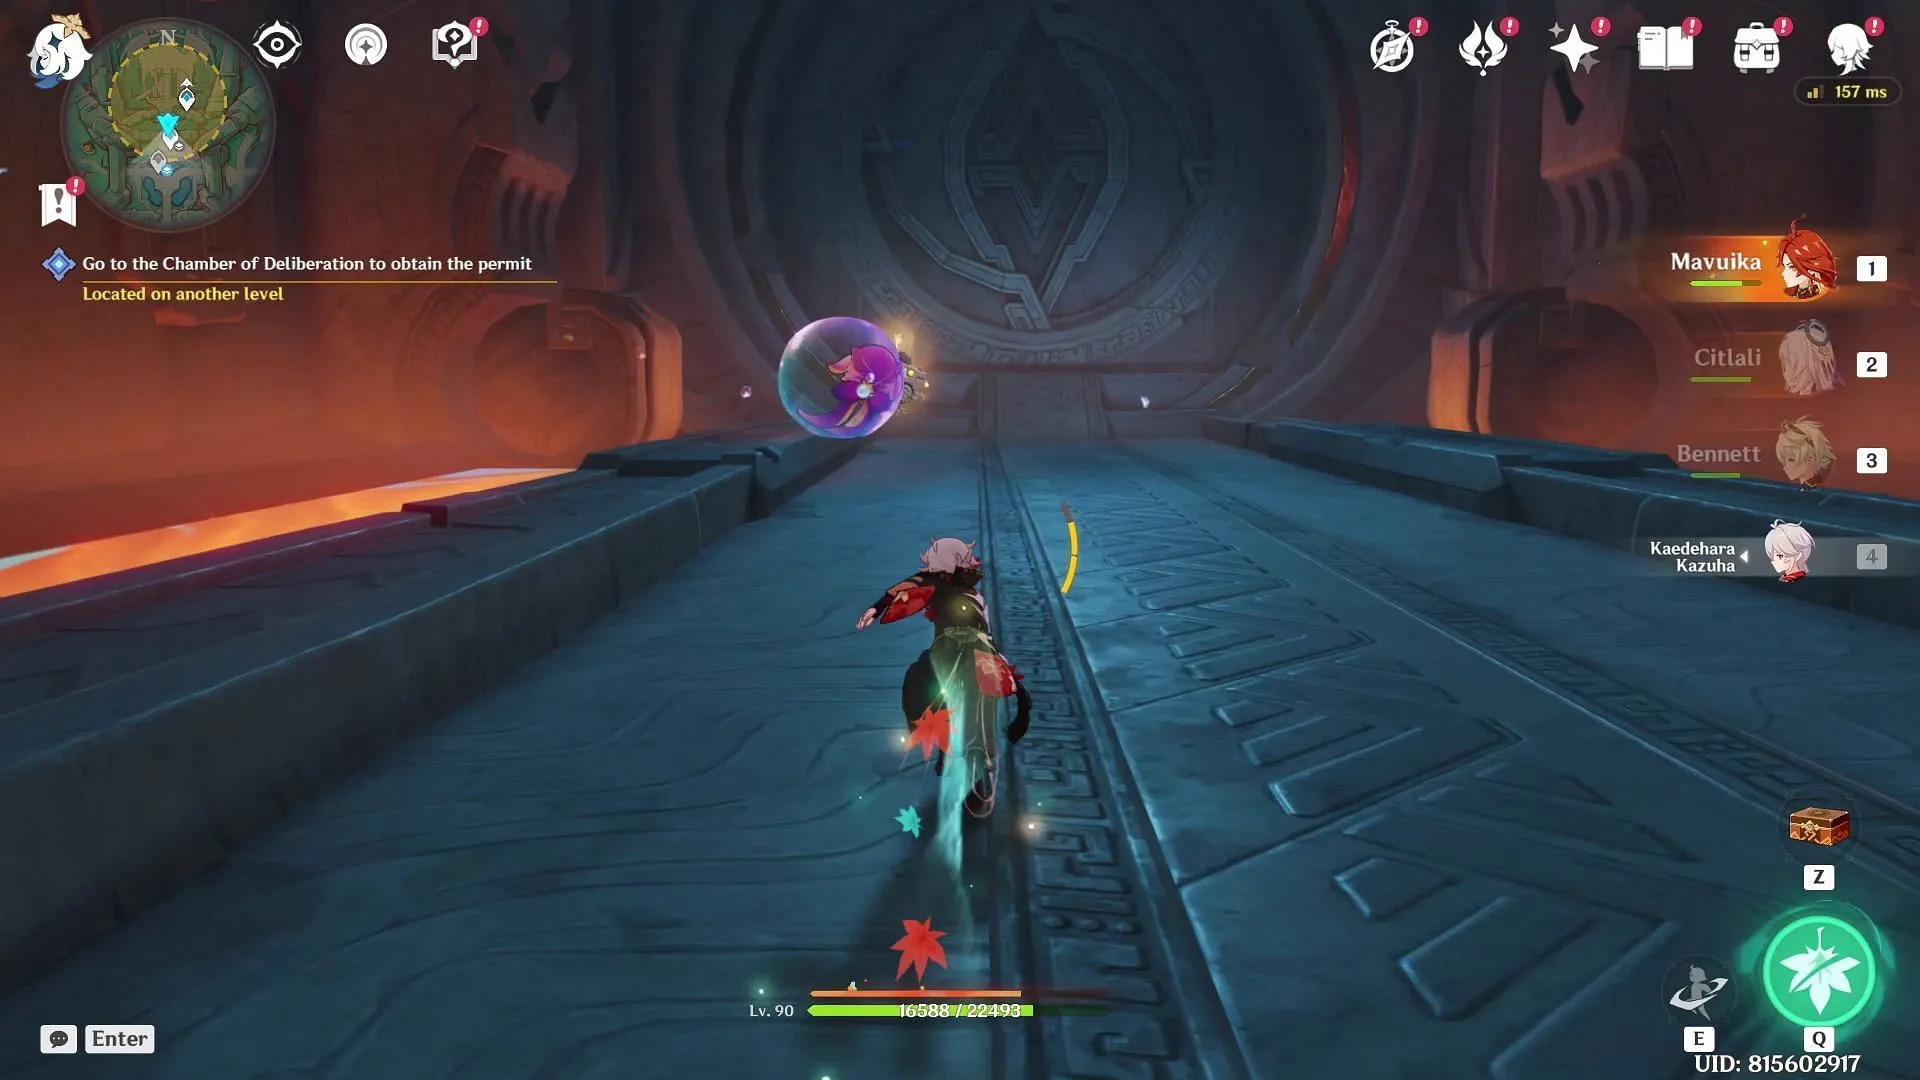
After successfully entering the Chamber, engage in dialogue with Awanyu, the Secret Source Servant you’ve just rescued. You will be instructed to activate the purification device to eliminate the rifthounds threatening the chamber’s safety.
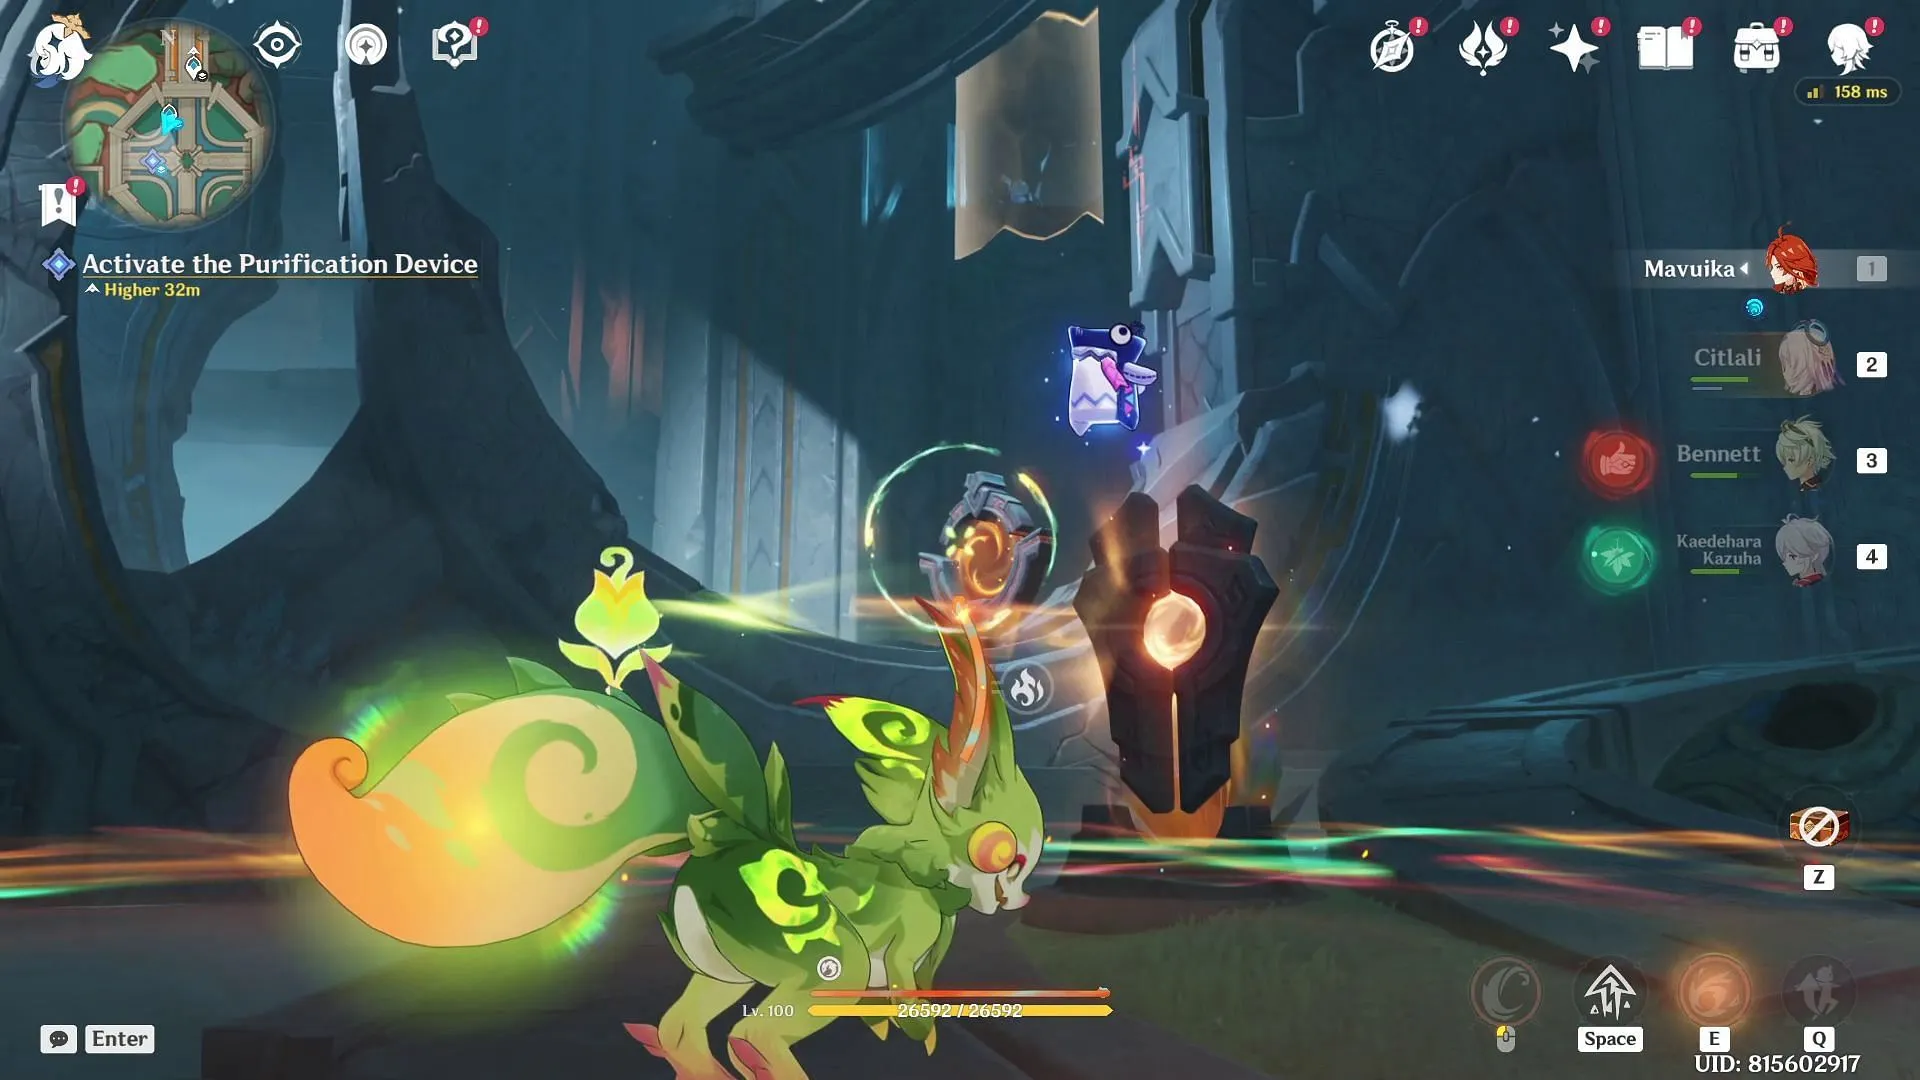
Locate a teleportation point adjacent to the chamber and transform into a Yumkasaur to collect a Coagulation Pearl. Aim this pearl at the pedestal under siege by rifthounds to activate the purification device, thereby generating a deadly phlogiston barrier. Be vigilant, as any contact with this barrier results in instant elimination.
3. Elevate the Phlogiston Barrier
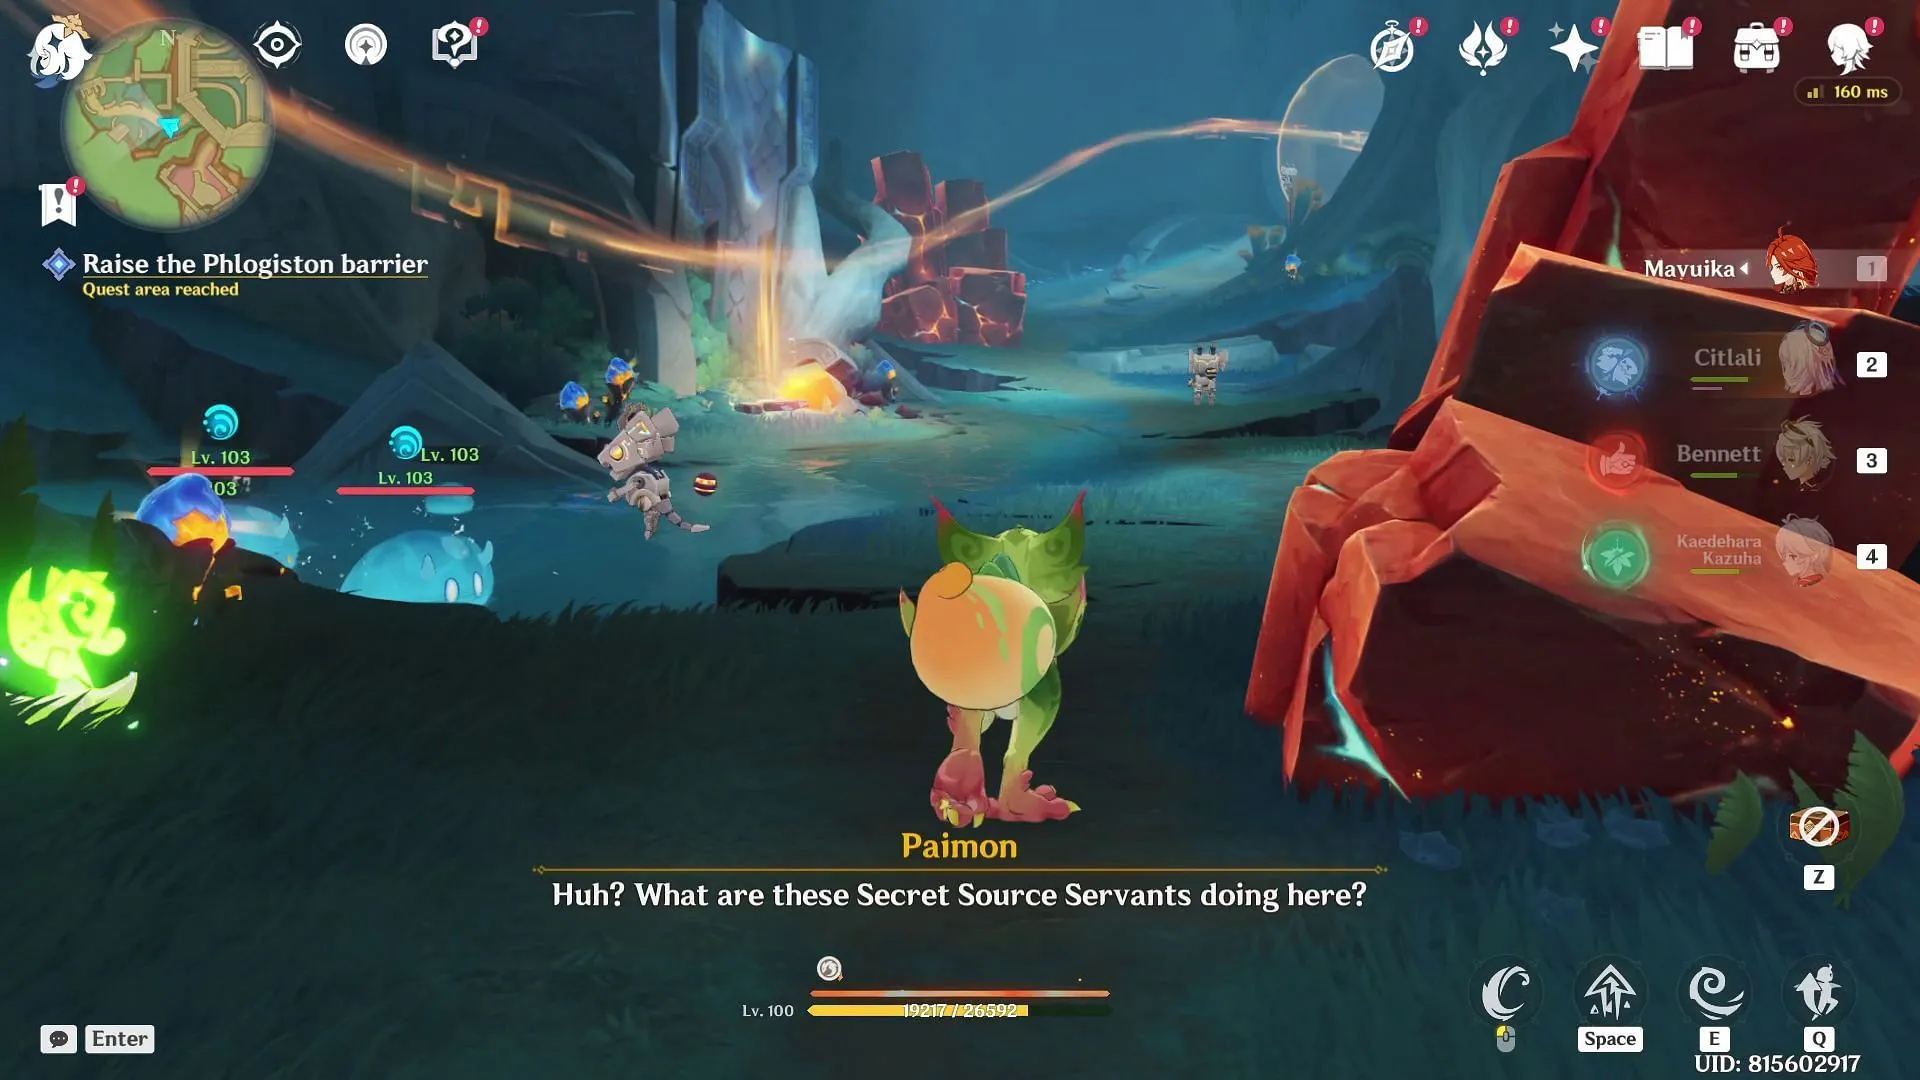
Next, utilize the Yumkasaur’s ability once more to ascend to a platform on the left, where you will find another Coagulation Pearl. Shoot it at the designated pedestal to elevate the phlogiston barrier. Once accomplished, return to the activated pedestal to discover an exquisite chest awaiting your loot.
After claiming your reward, harness the Yumkasaur’s capability again to reach the uppermost platform and free a group of four Secret Source Servants confined within a room. Activate the grappling hook to liberate them.
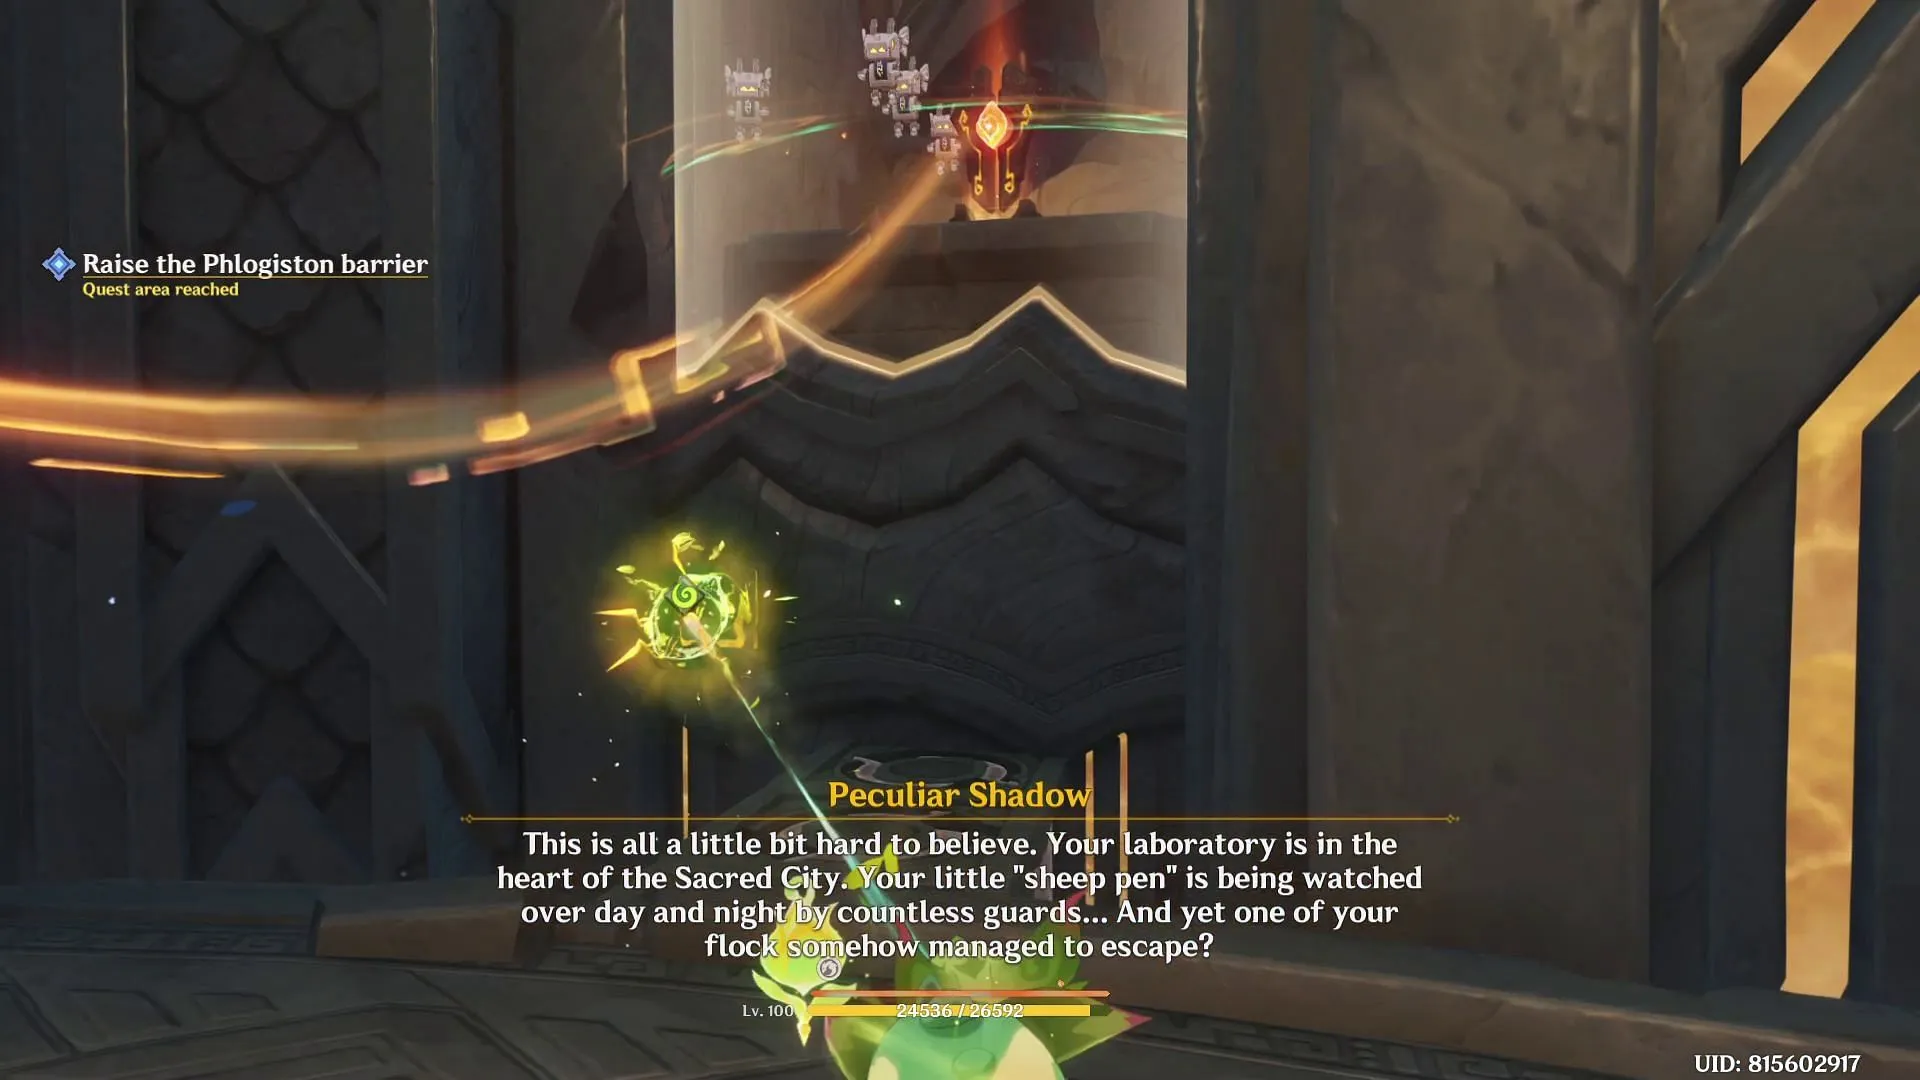
Accompany the Secret Source Automatons on their journey, utilizing Flamegranates to clear any obstructive rocks along your path. Be prepared to combat groups of slimes that will distract two of the Servants. Defeating them will help restore order and allow the Servants to resume their duties.
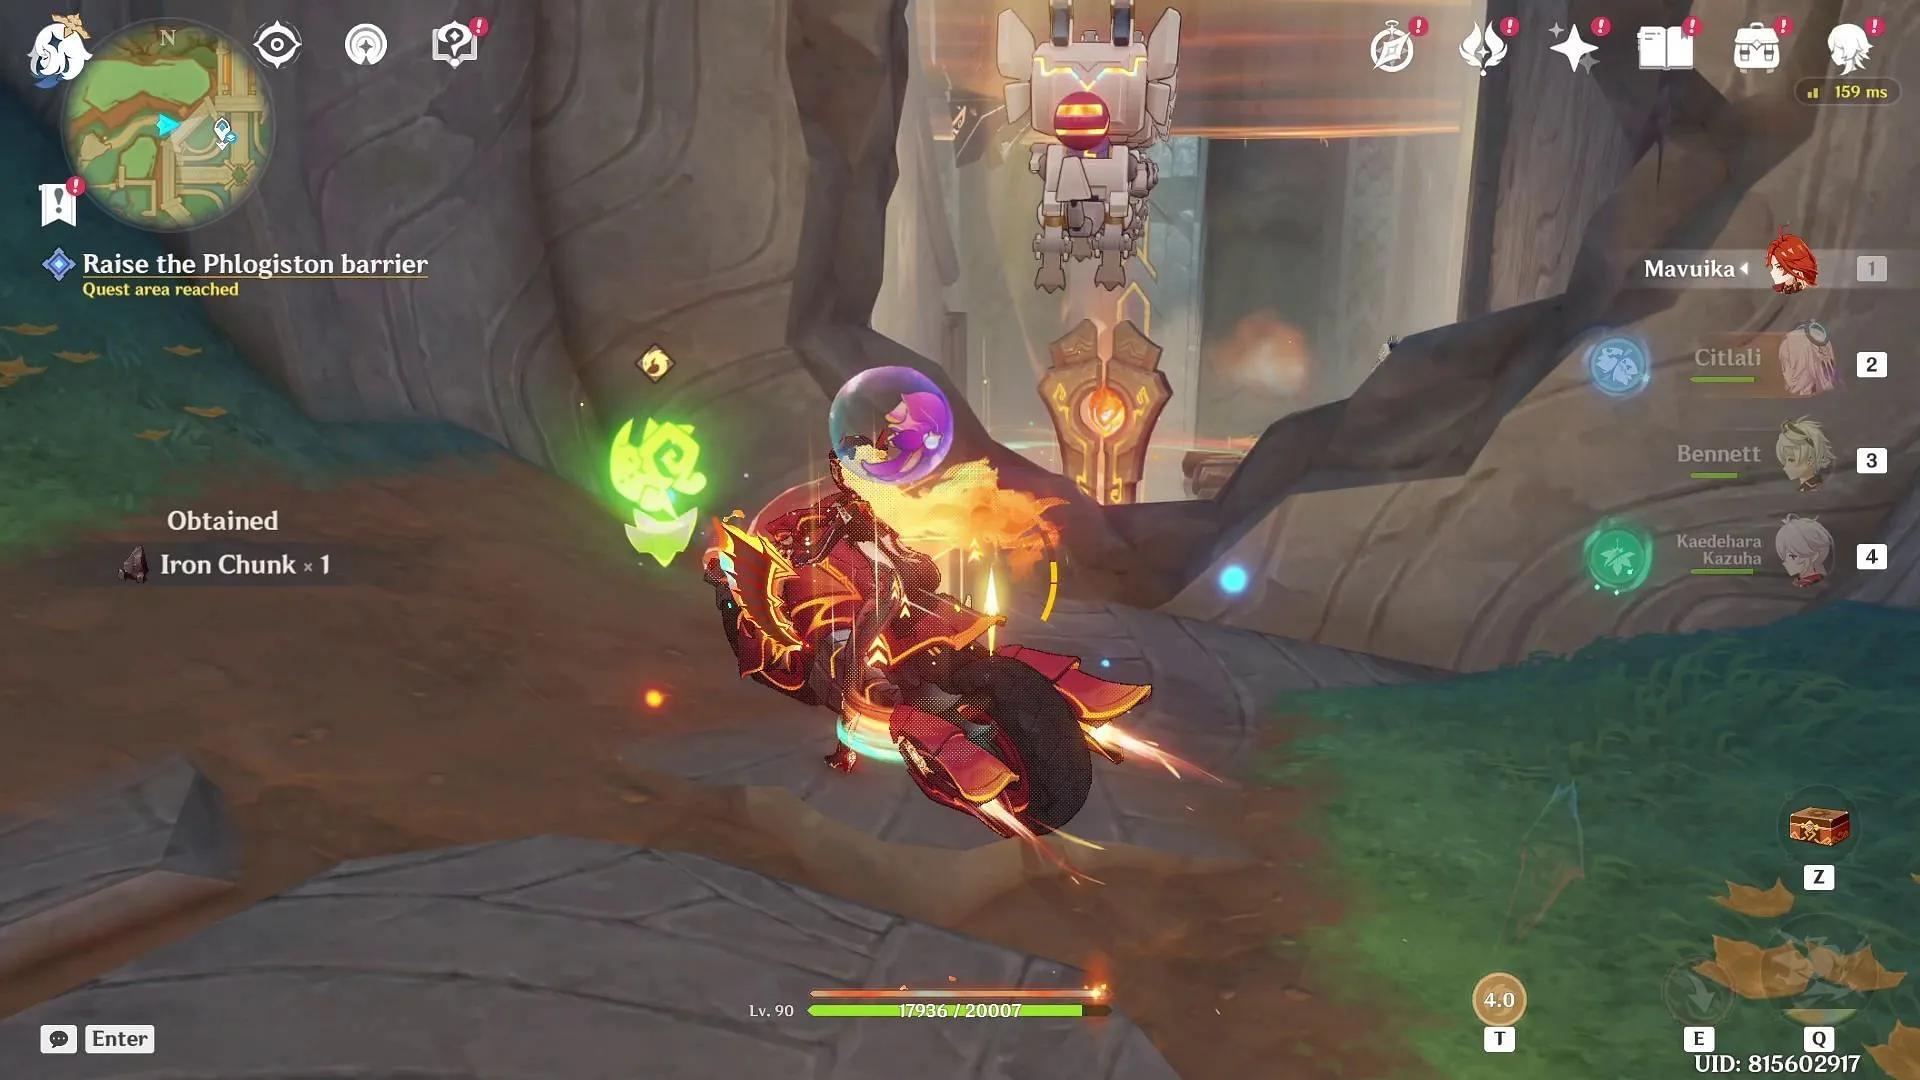
Continue following the Servants until you reach their former prison, where a Coagulation Pearl awaits retrieval. Collect it and target it towards the pedestal in front of you.
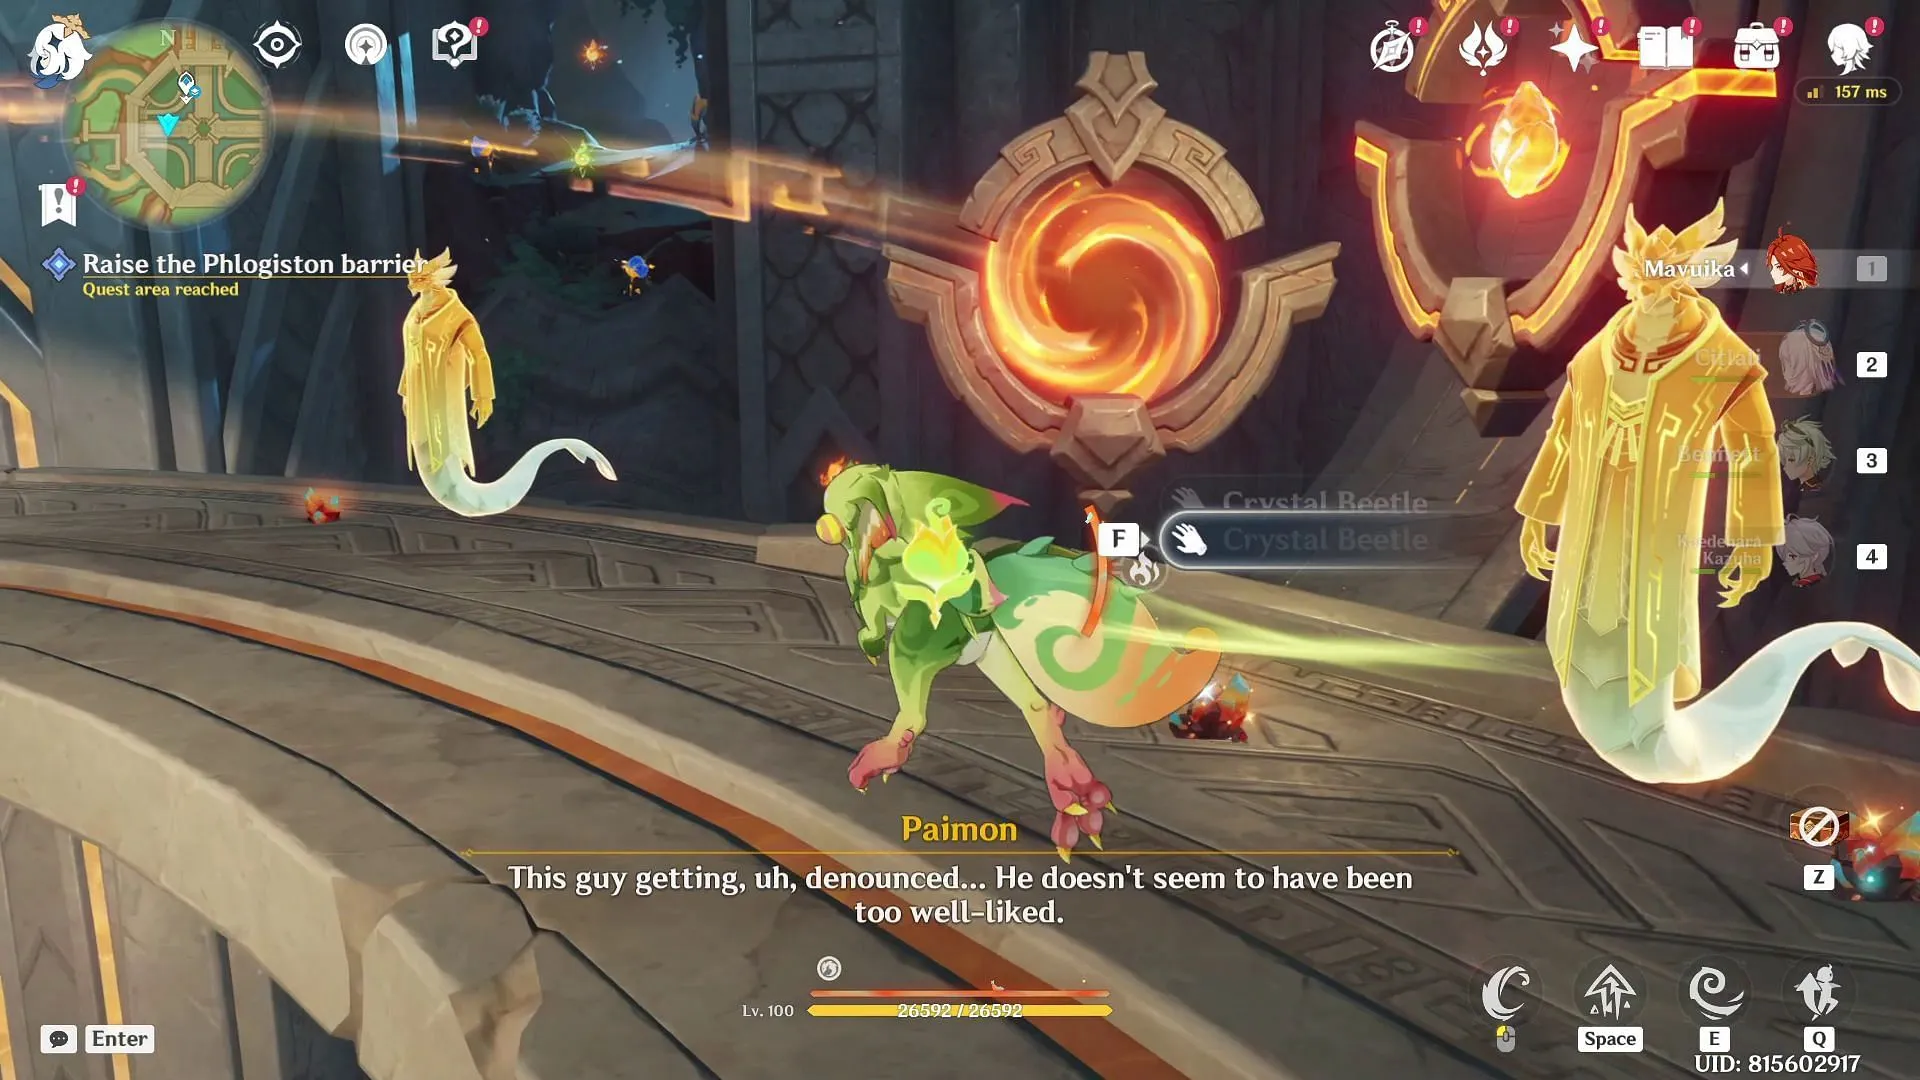
By activating the second pedestal, you will unveil the pathway leading to the next Coagulation Pearl. Clear any barriers obstructing your route, and although you will discover the pearl easily, your exit isn’t straightforward.
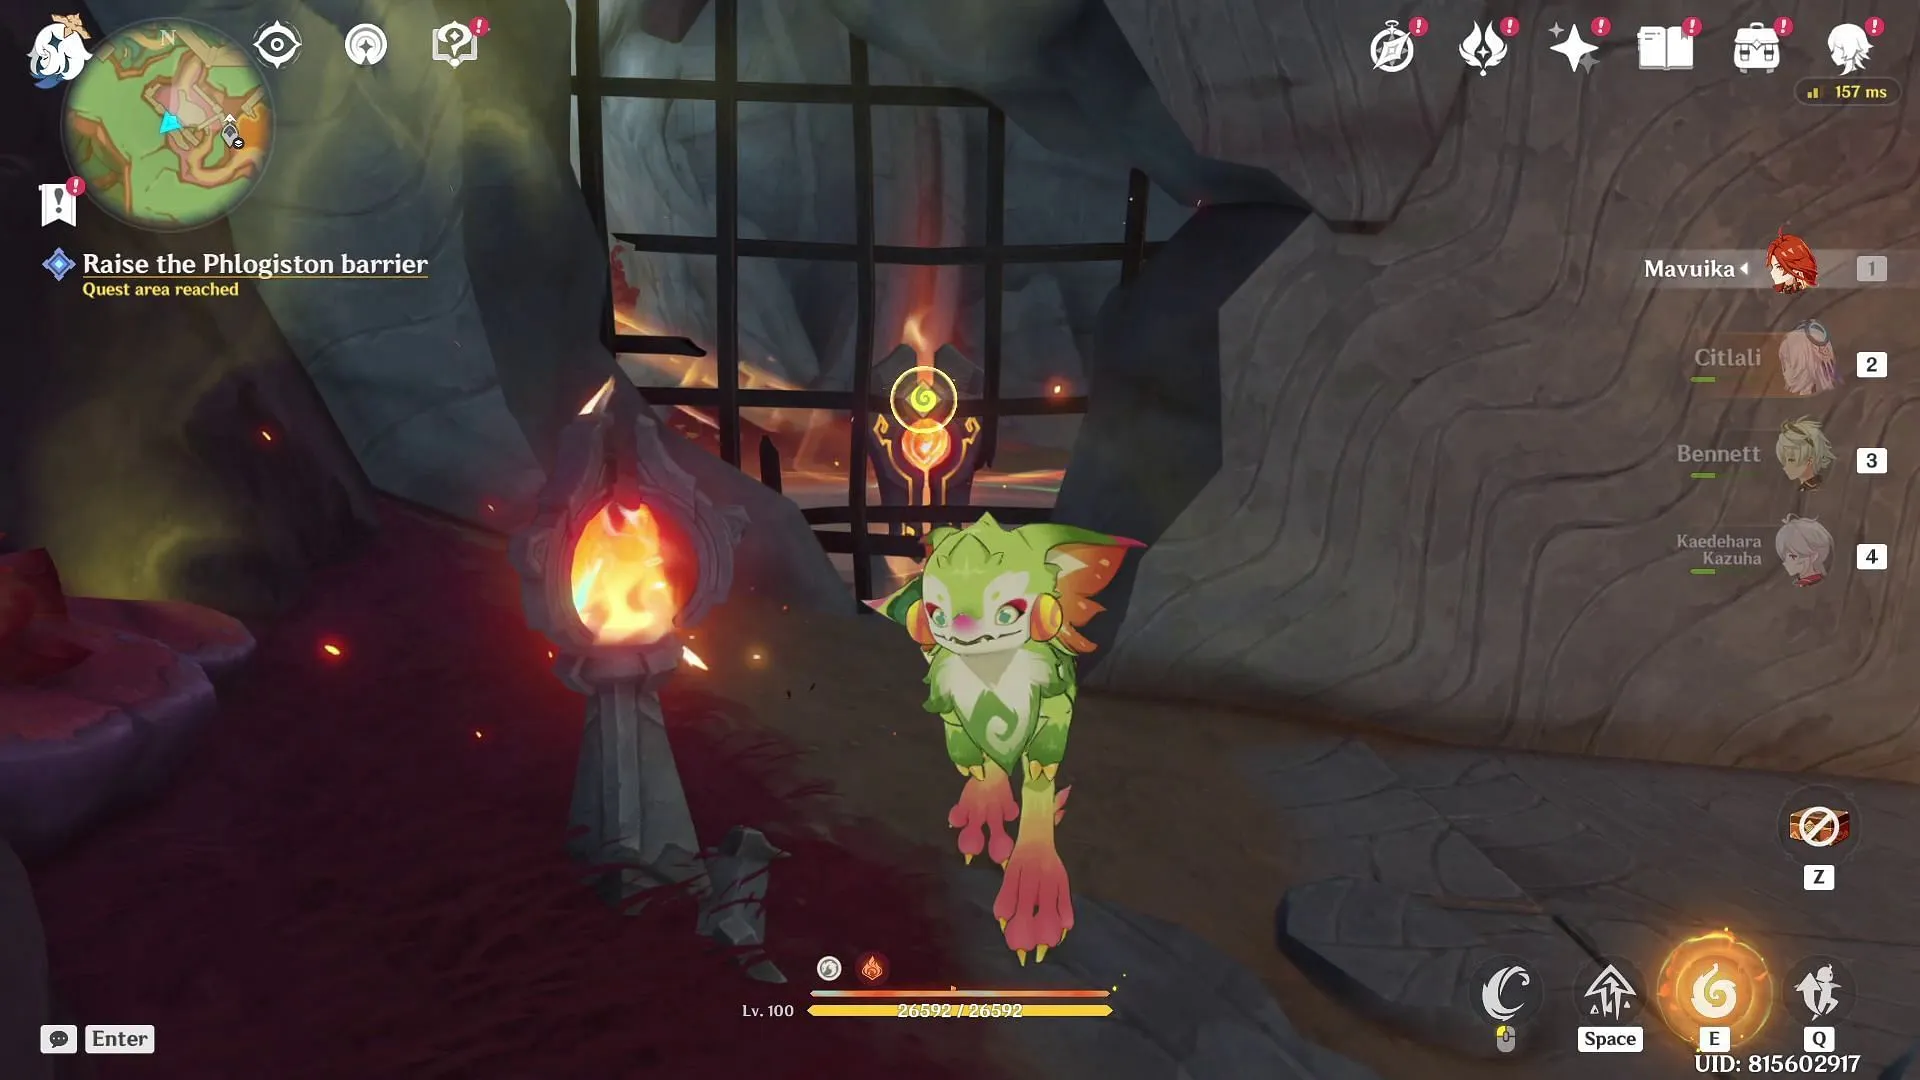
Leave the pearl in its current location and proceed to a chamber housing a Pyroculus. From this vantage point, snatch the Coagulation Pearl through the metallic barrier.
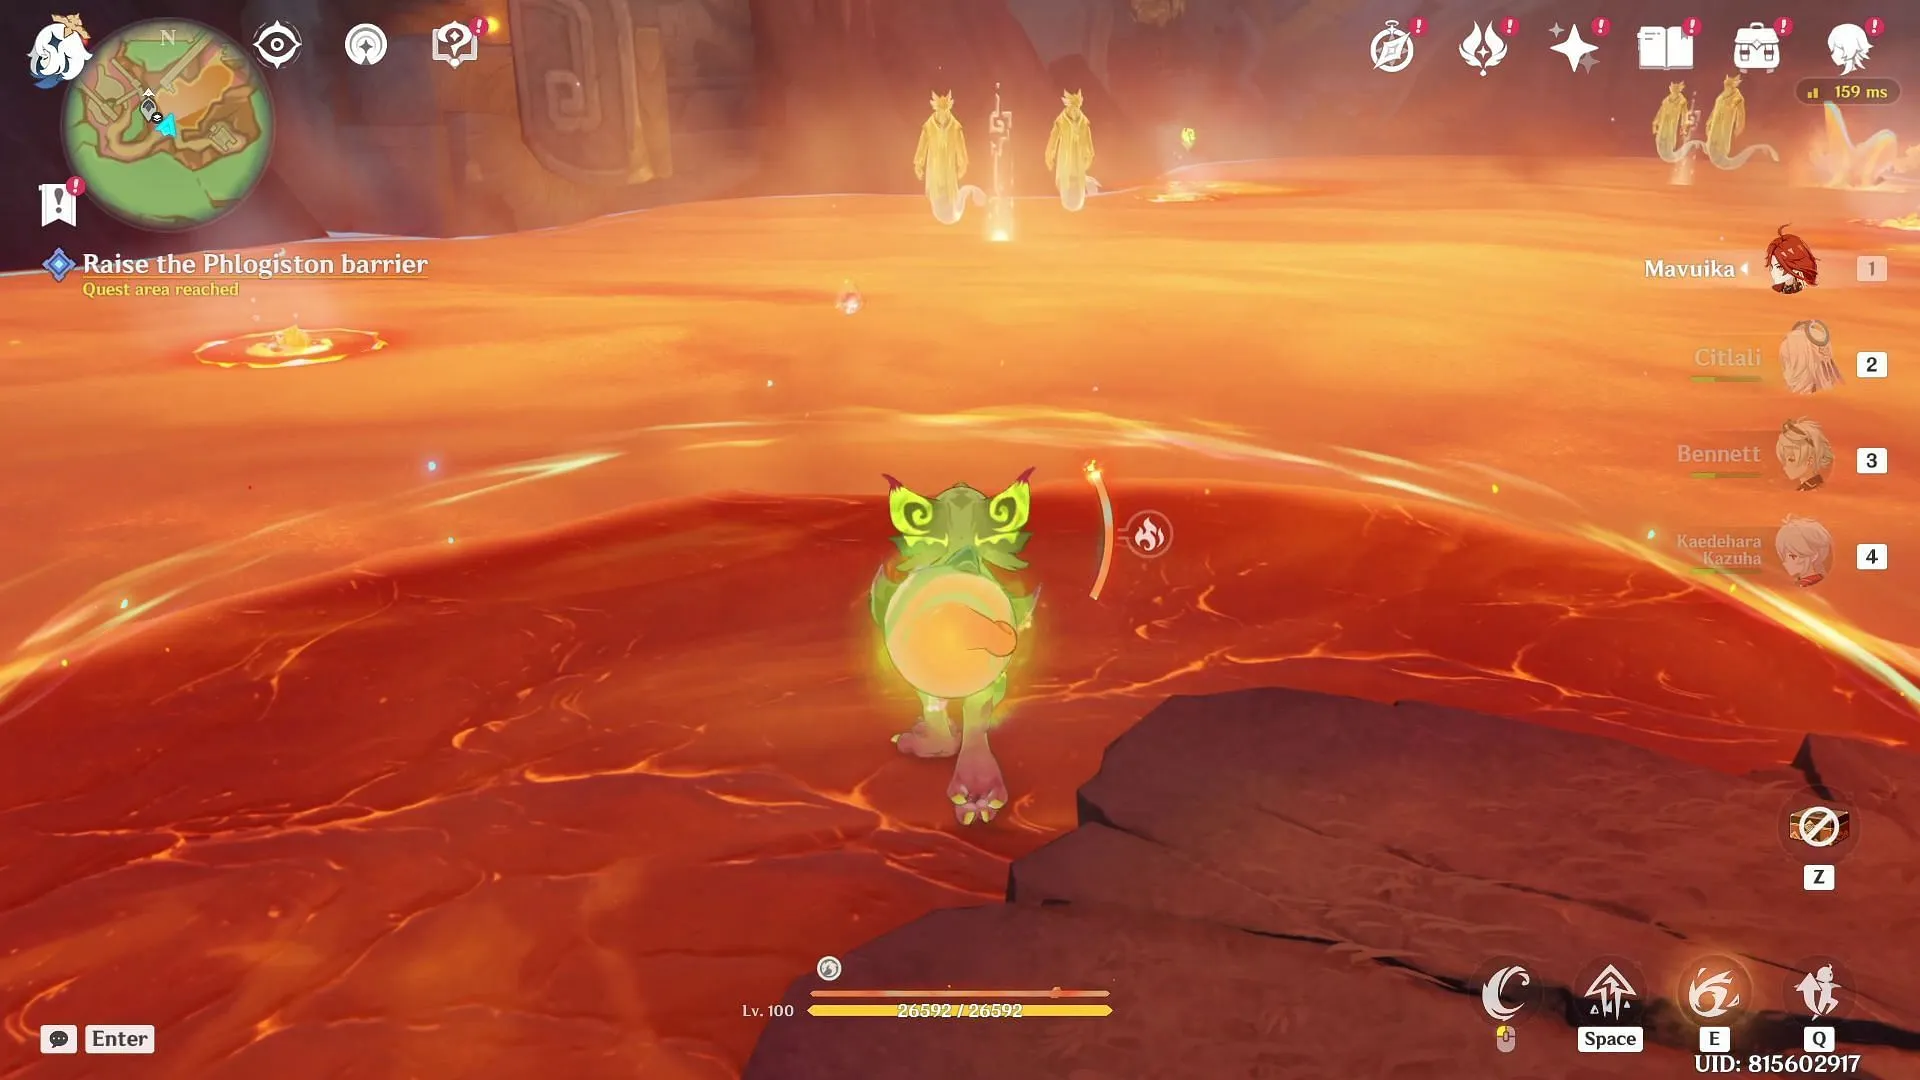
Descend toward the lake of phlogiston where a Secret Source Dragon resides. By gathering a nearby Coagulation Pearl, you’ll gain the ability to traverse the liquid phlogiston. Cross over the lake to reach the pedestal for the third and final Coagulation Pearl.
4. Collect the Permit Receptacle
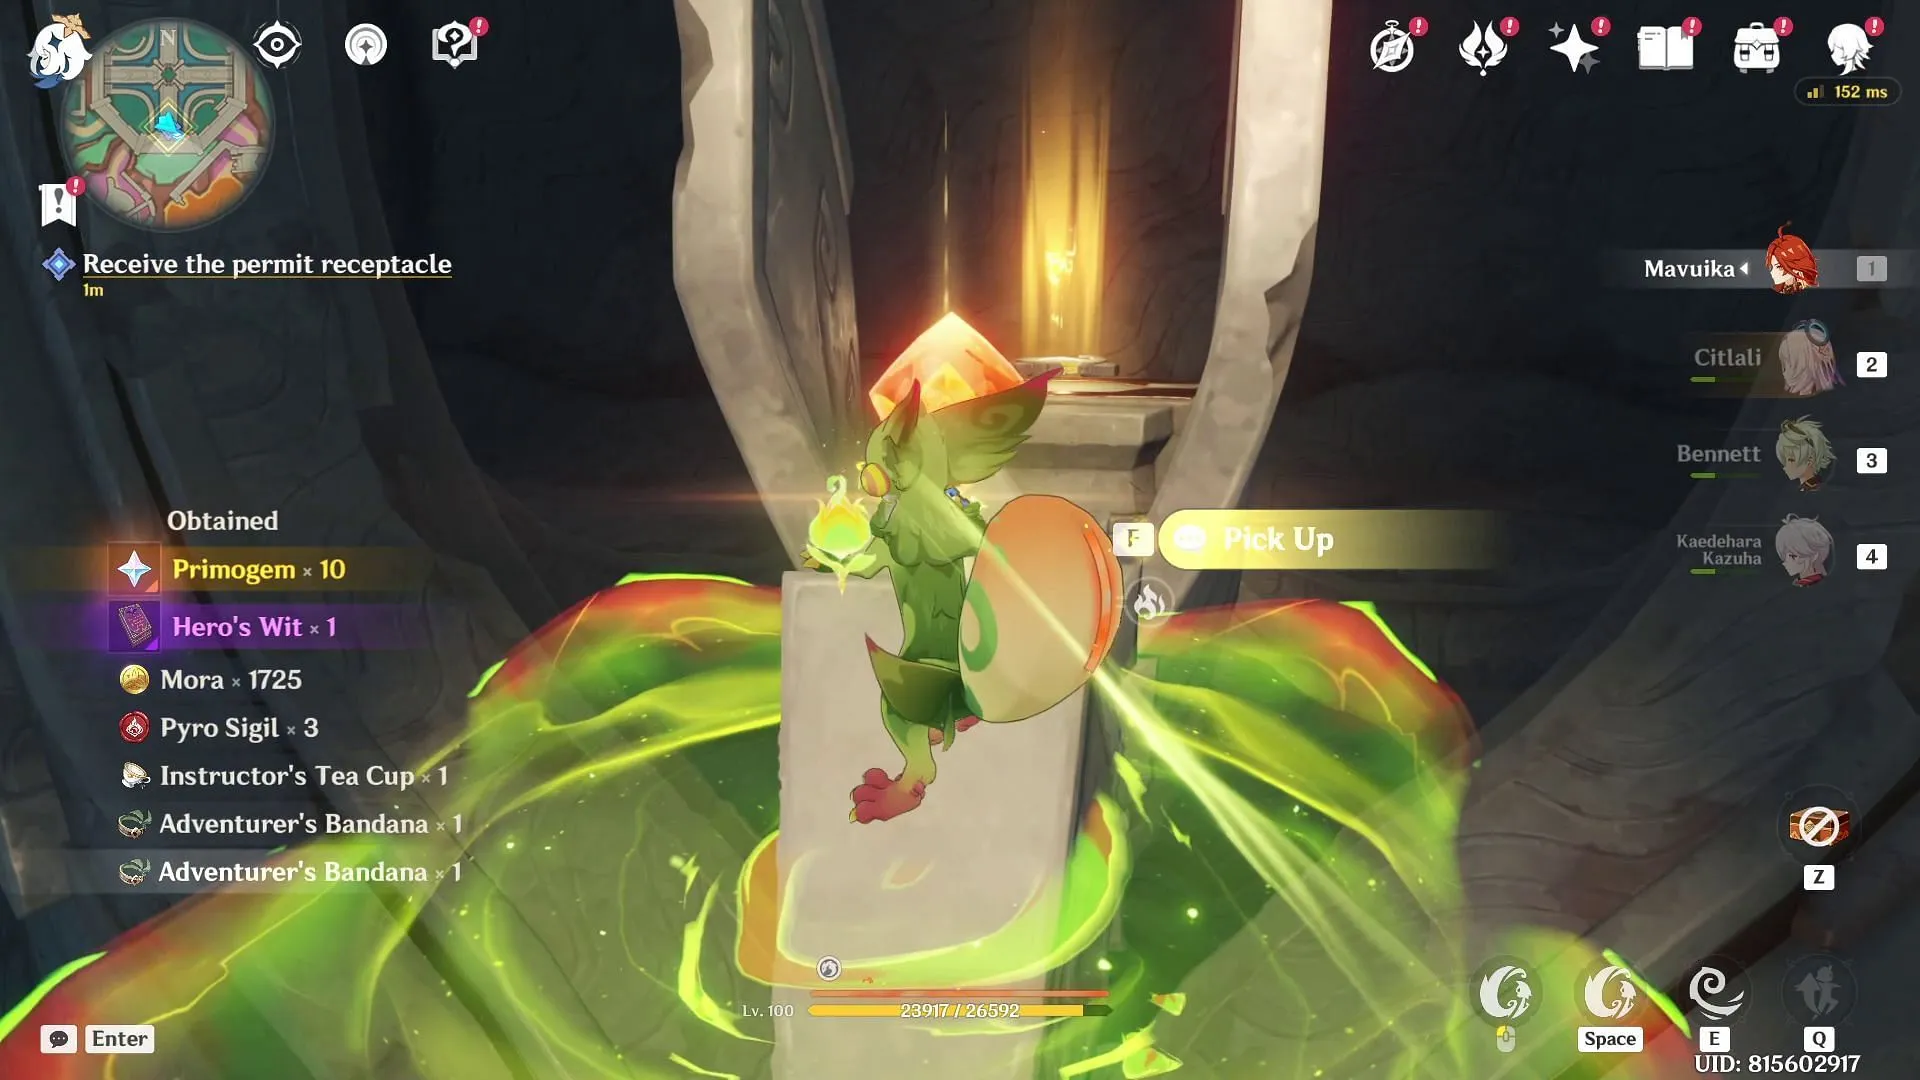
Upon successfully targeting the third pearl at the relevant pedestal, the phlogiston barrier will shift, revealing the permit located atop the dragon statue. Approach and collect the permit receptacle.
5. Evade the Phlogiston Barrier
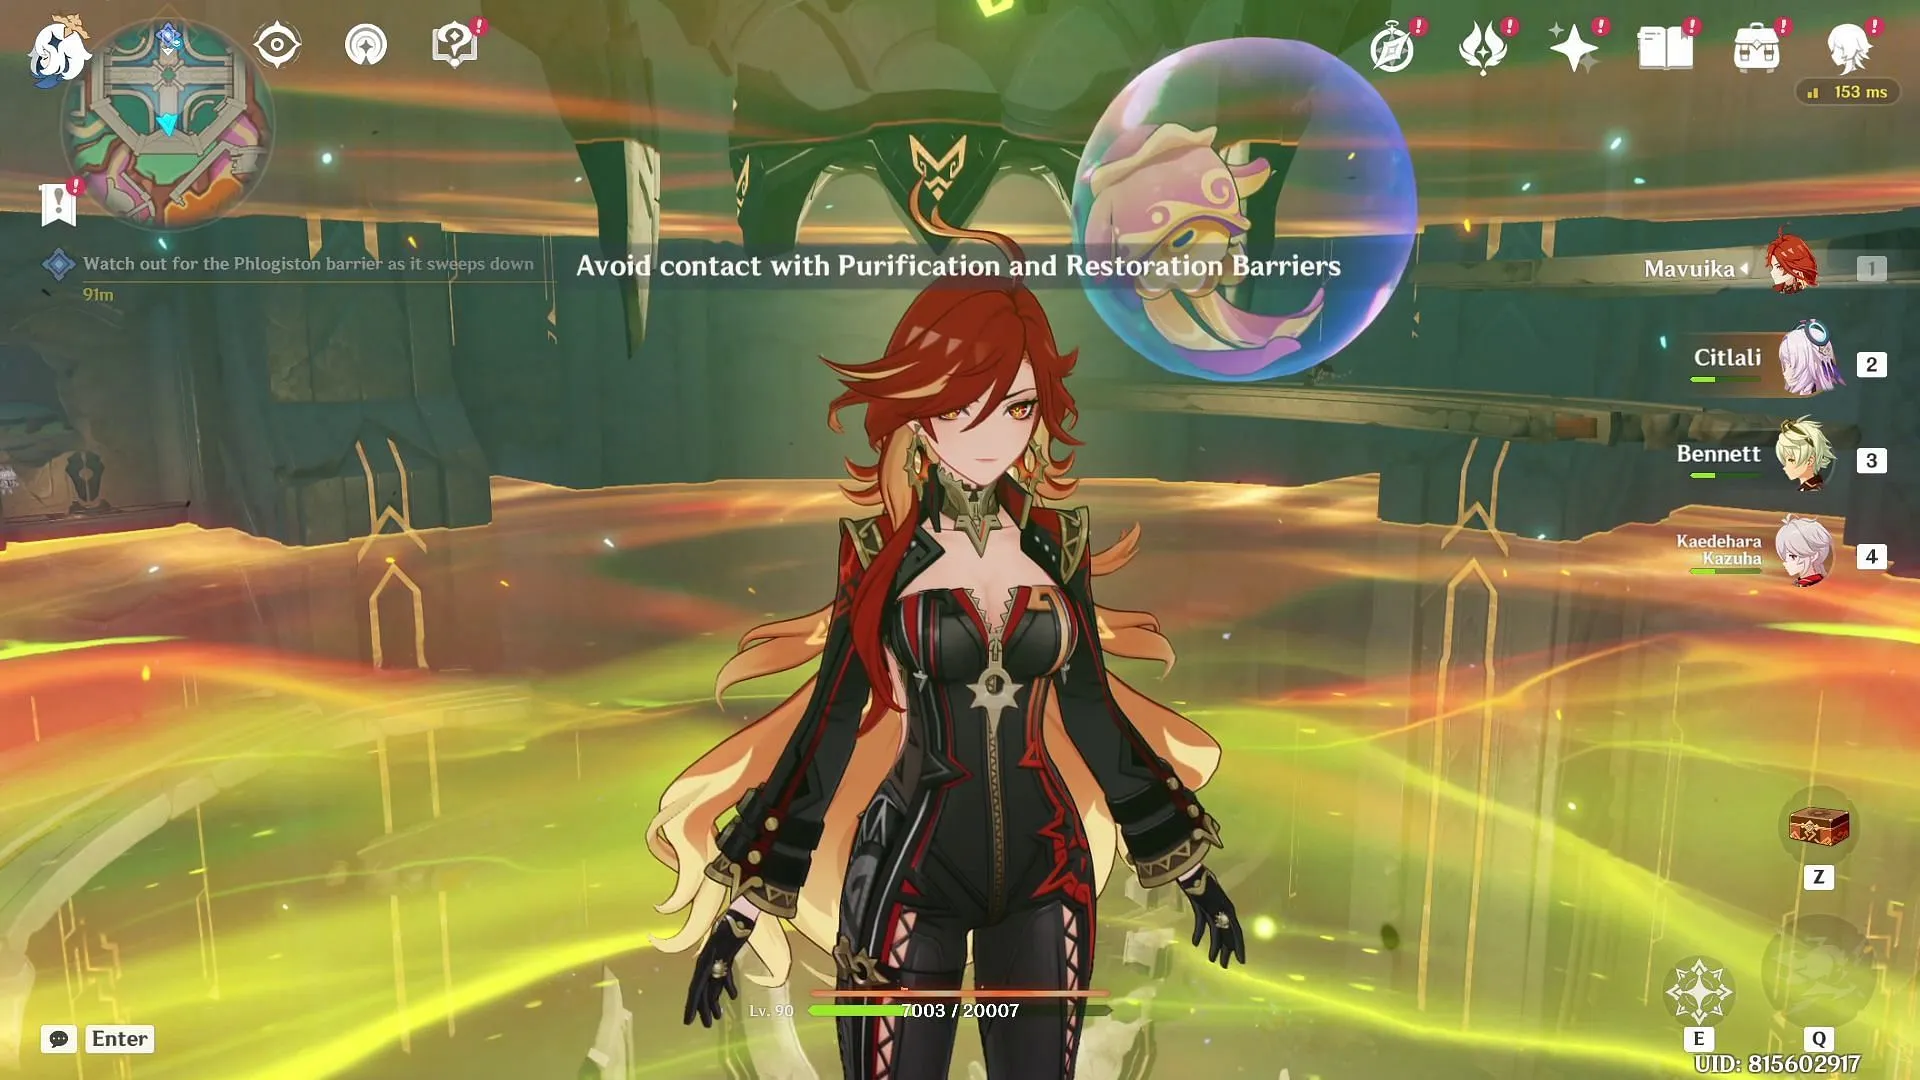
At the moment you acquire the permit receptacle, be prepared for a group of rifthounds to invade and begin attacking the pedestals. This triggers the phlogiston barrier to commence a cleansing scan. You must glide down with great care to avoid contact with the barrier, which results in instant death and necessitates a complete restart.
6. Activate the Permit
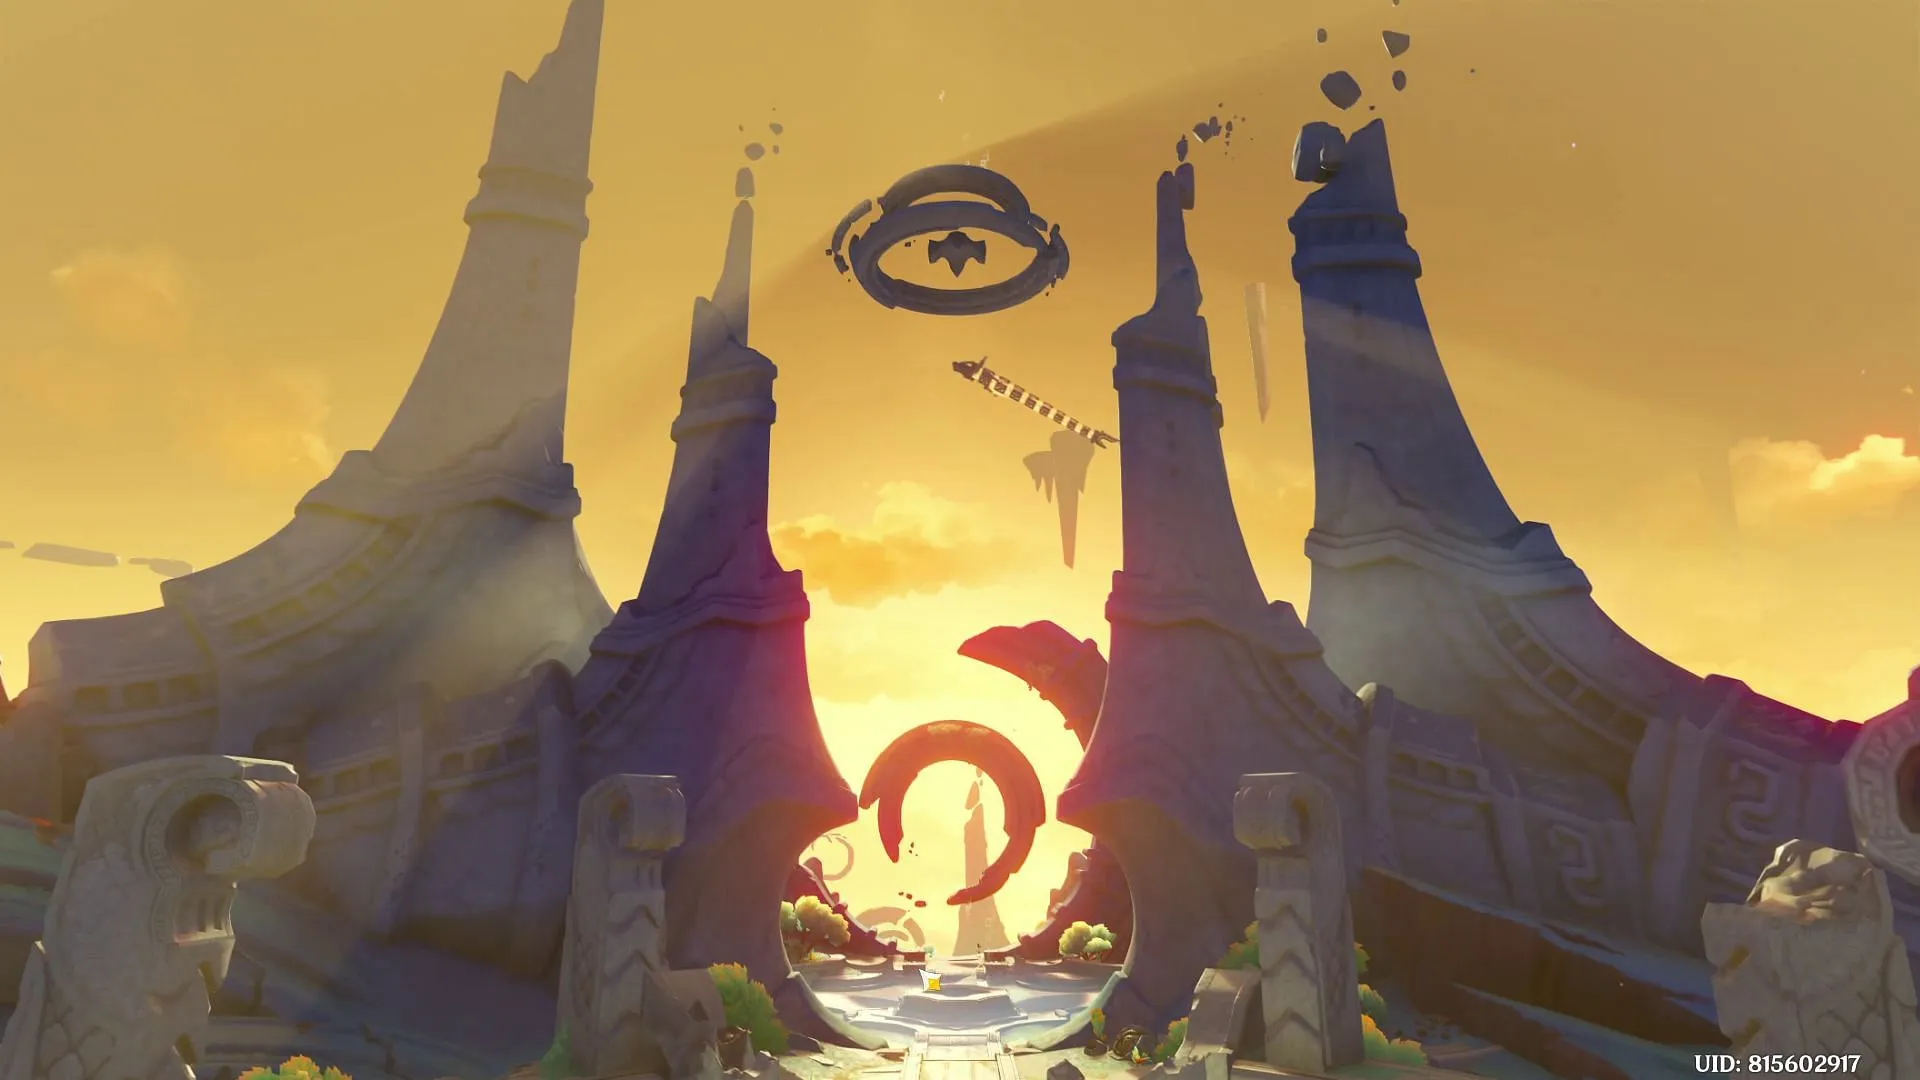
Following the successful scan completion, head to the center of the Chamber of Deliberation to engage an elevator that will transport you to the summit of the chamber. Enjoy a captivating cutscene that showcases the grandeur of the Ancient Sacred Mountain.
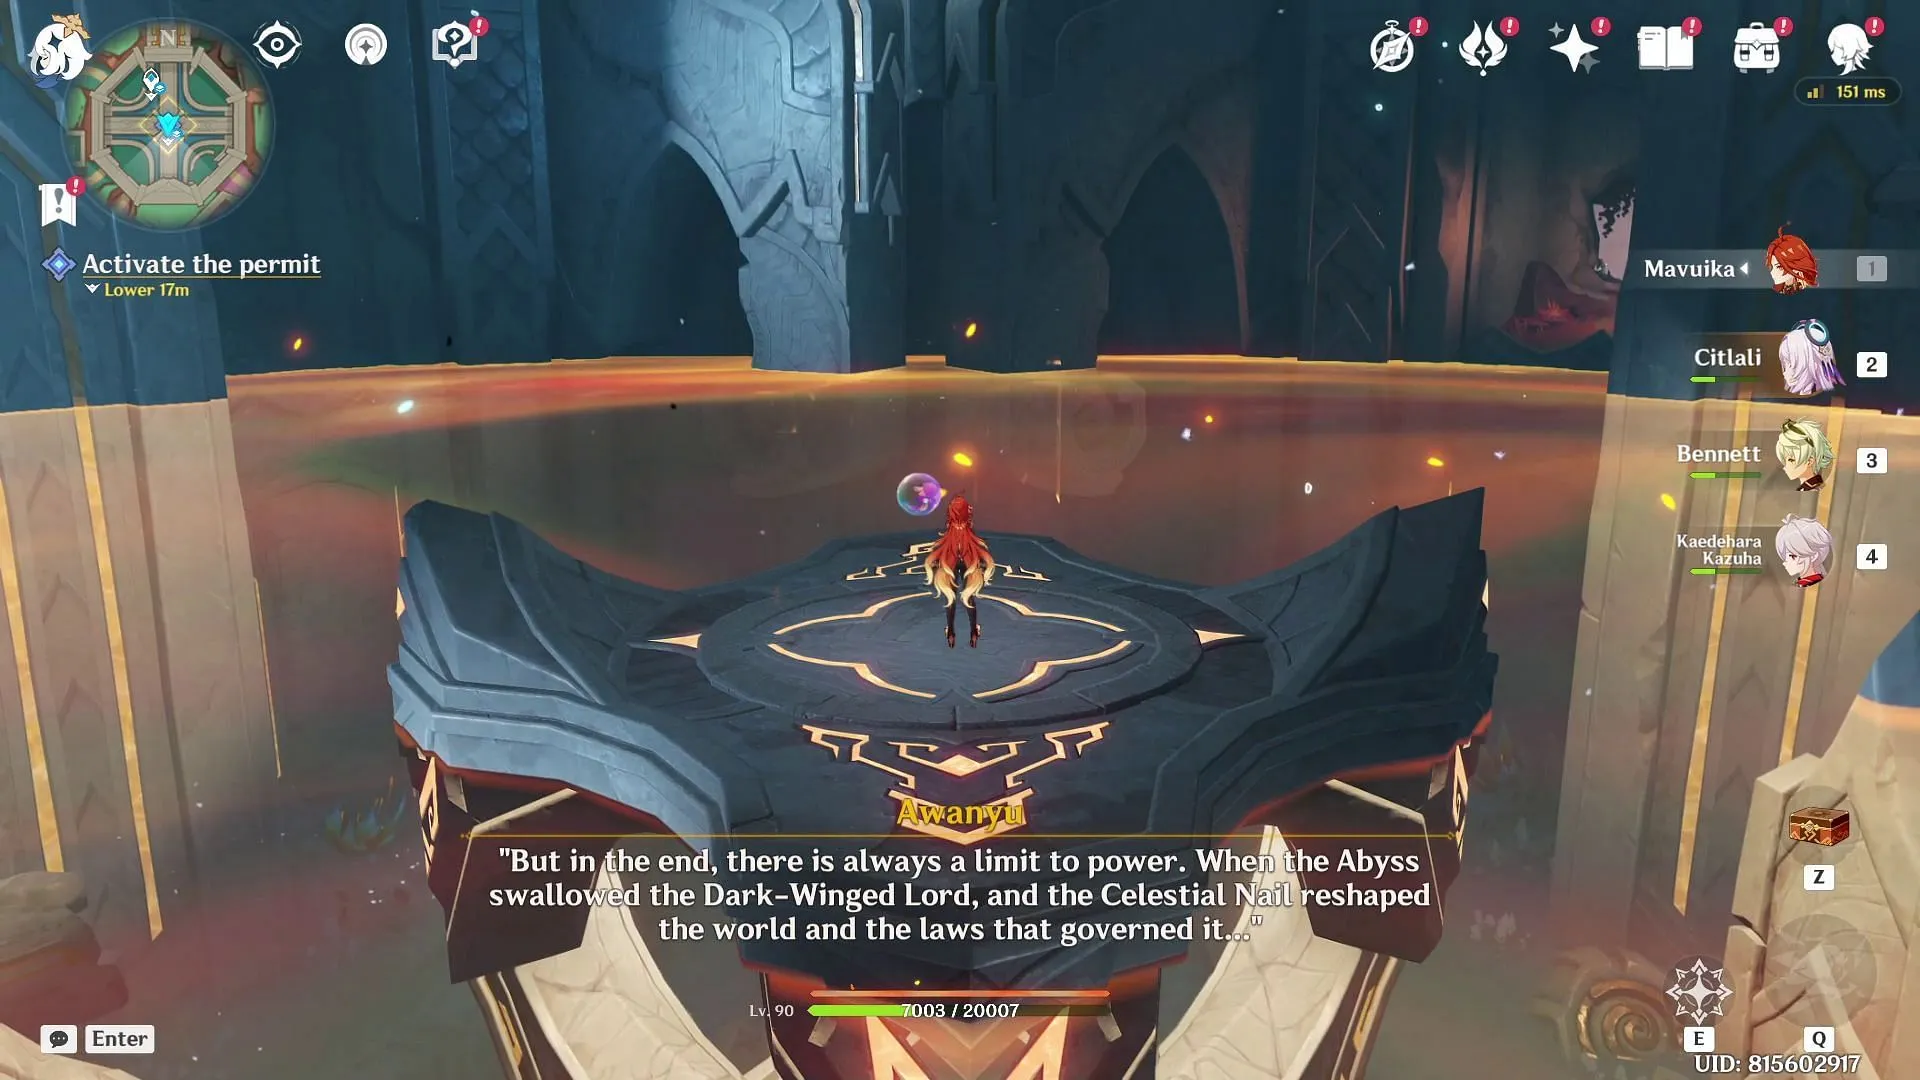
Upon completion of an extensive dialogue sequence, you will be awarded with the Permit to the Sacred Heart, in addition to two Luxurious Chests, marking the successful conclusion of the Once, the Sacred Seat of Judgement quest in Genshin Impact.


Leave a Reply ▼