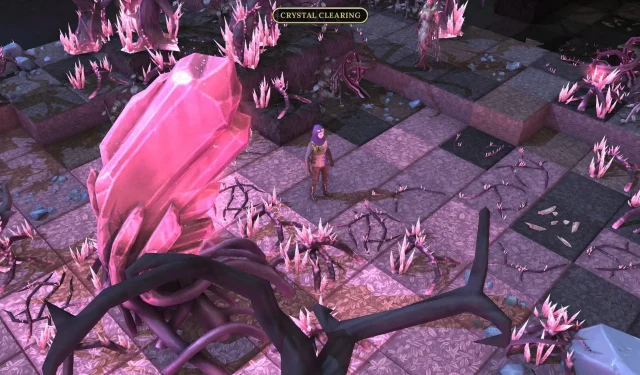
At the conclusion of the Nullify The Corruption quest in Brighter Shores Episode Two, players must gather four magical items essential for healing the Giant Crystal and dispelling the dark magic from the forest. Without these critical items, the corrupted magic poses a threat, transforming wild creatures and other recruits into dangerous adversaries, such as the Mutant Stag and Jermais (a fellow recruit).
Locating these items can prove challenging. Dryad will provide riddles that lead you to unexplored territories filled with formidable bosses. It’s advisable to engage in some grinding, particularly if you’re focusing on Scout and Woodcutter professions, to ease the journey ahead. This guide outlines strategies for locating all the Giant Crystal items in Brighter Shores.
How To Find All Giant Crystal Items In Brighter Shores
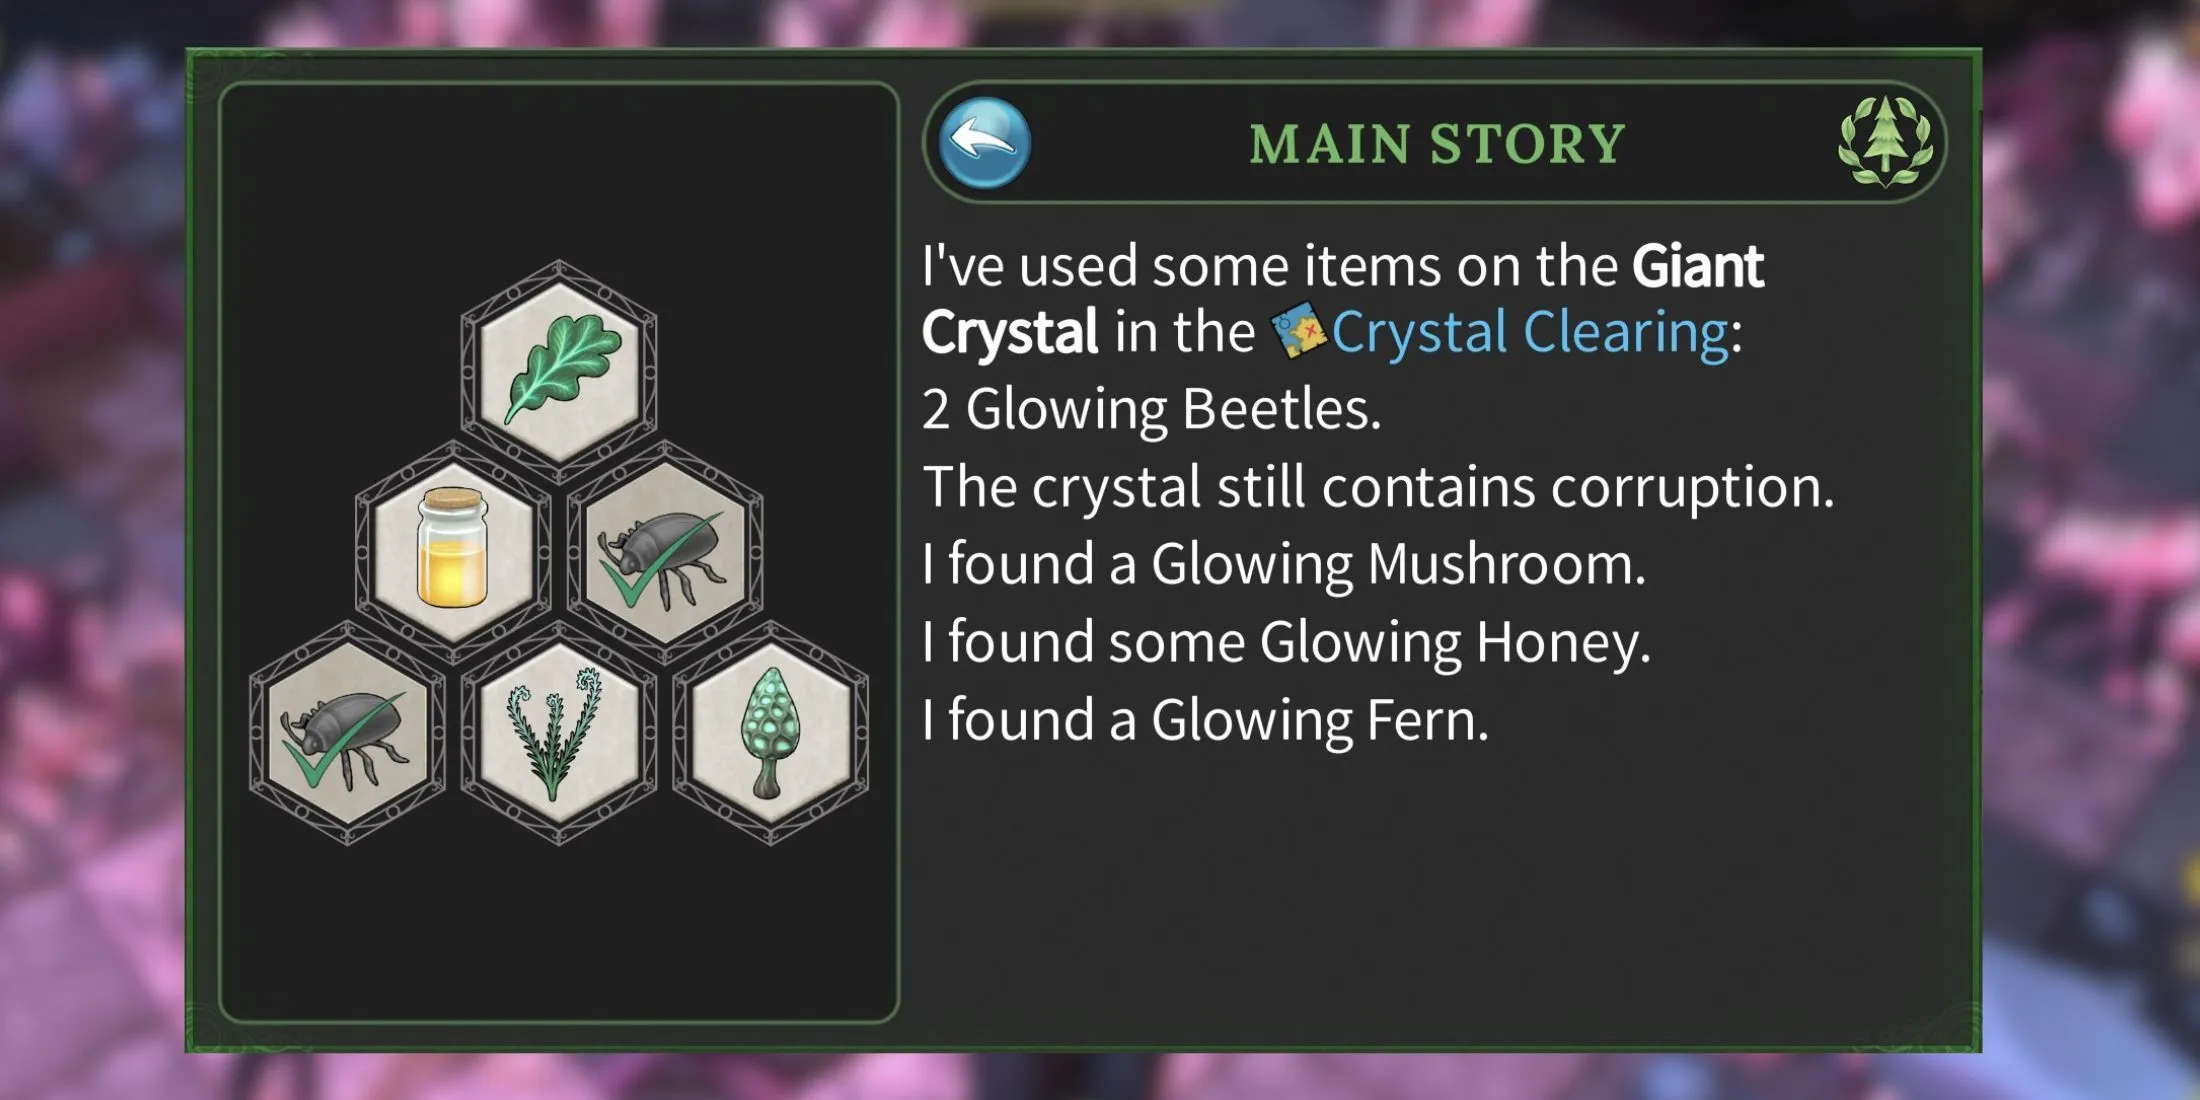
While Dryad initially reveals the first magical item, Glowing Beetles, located along the Overgrown Trail near the Crystal Clearing, the remaining three items are scattered throughout Hopeforest, requiring you to embark on a search. Here’s a summary of what you’ll need:
|
Giant Crystal Items |
Hint |
|
Glowing Beetles |
Information provided by Dryad. |
|
Glowing Mushroom |
Located beyond the Tangled Briar. |
|
Glowing Honey |
Guarded by a Multi-Headed Creature. |
|
Glowing Fern |
Found somewhere beyond a river. |
Locating the Tangled Briar in Brighter Shores
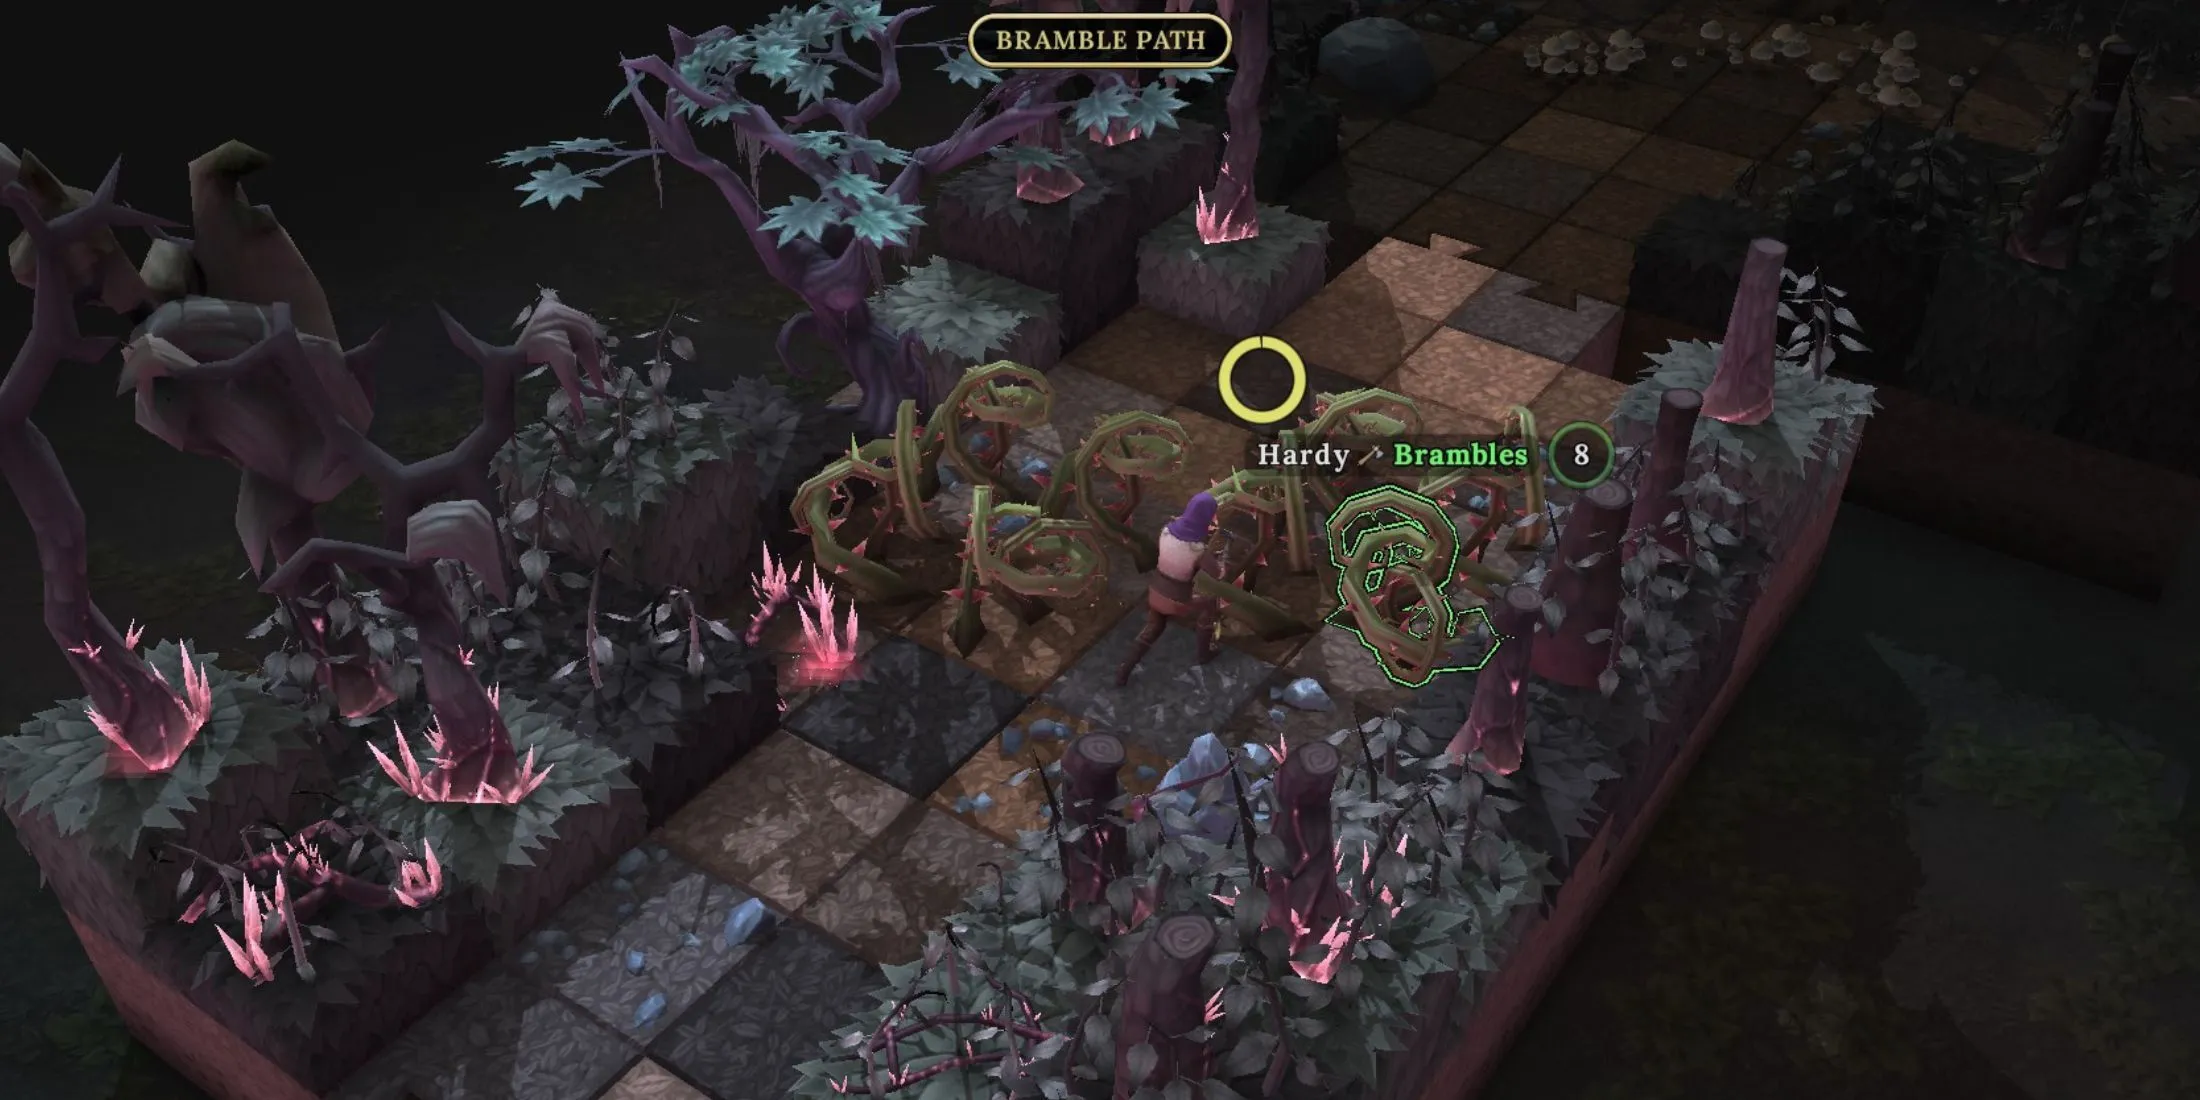
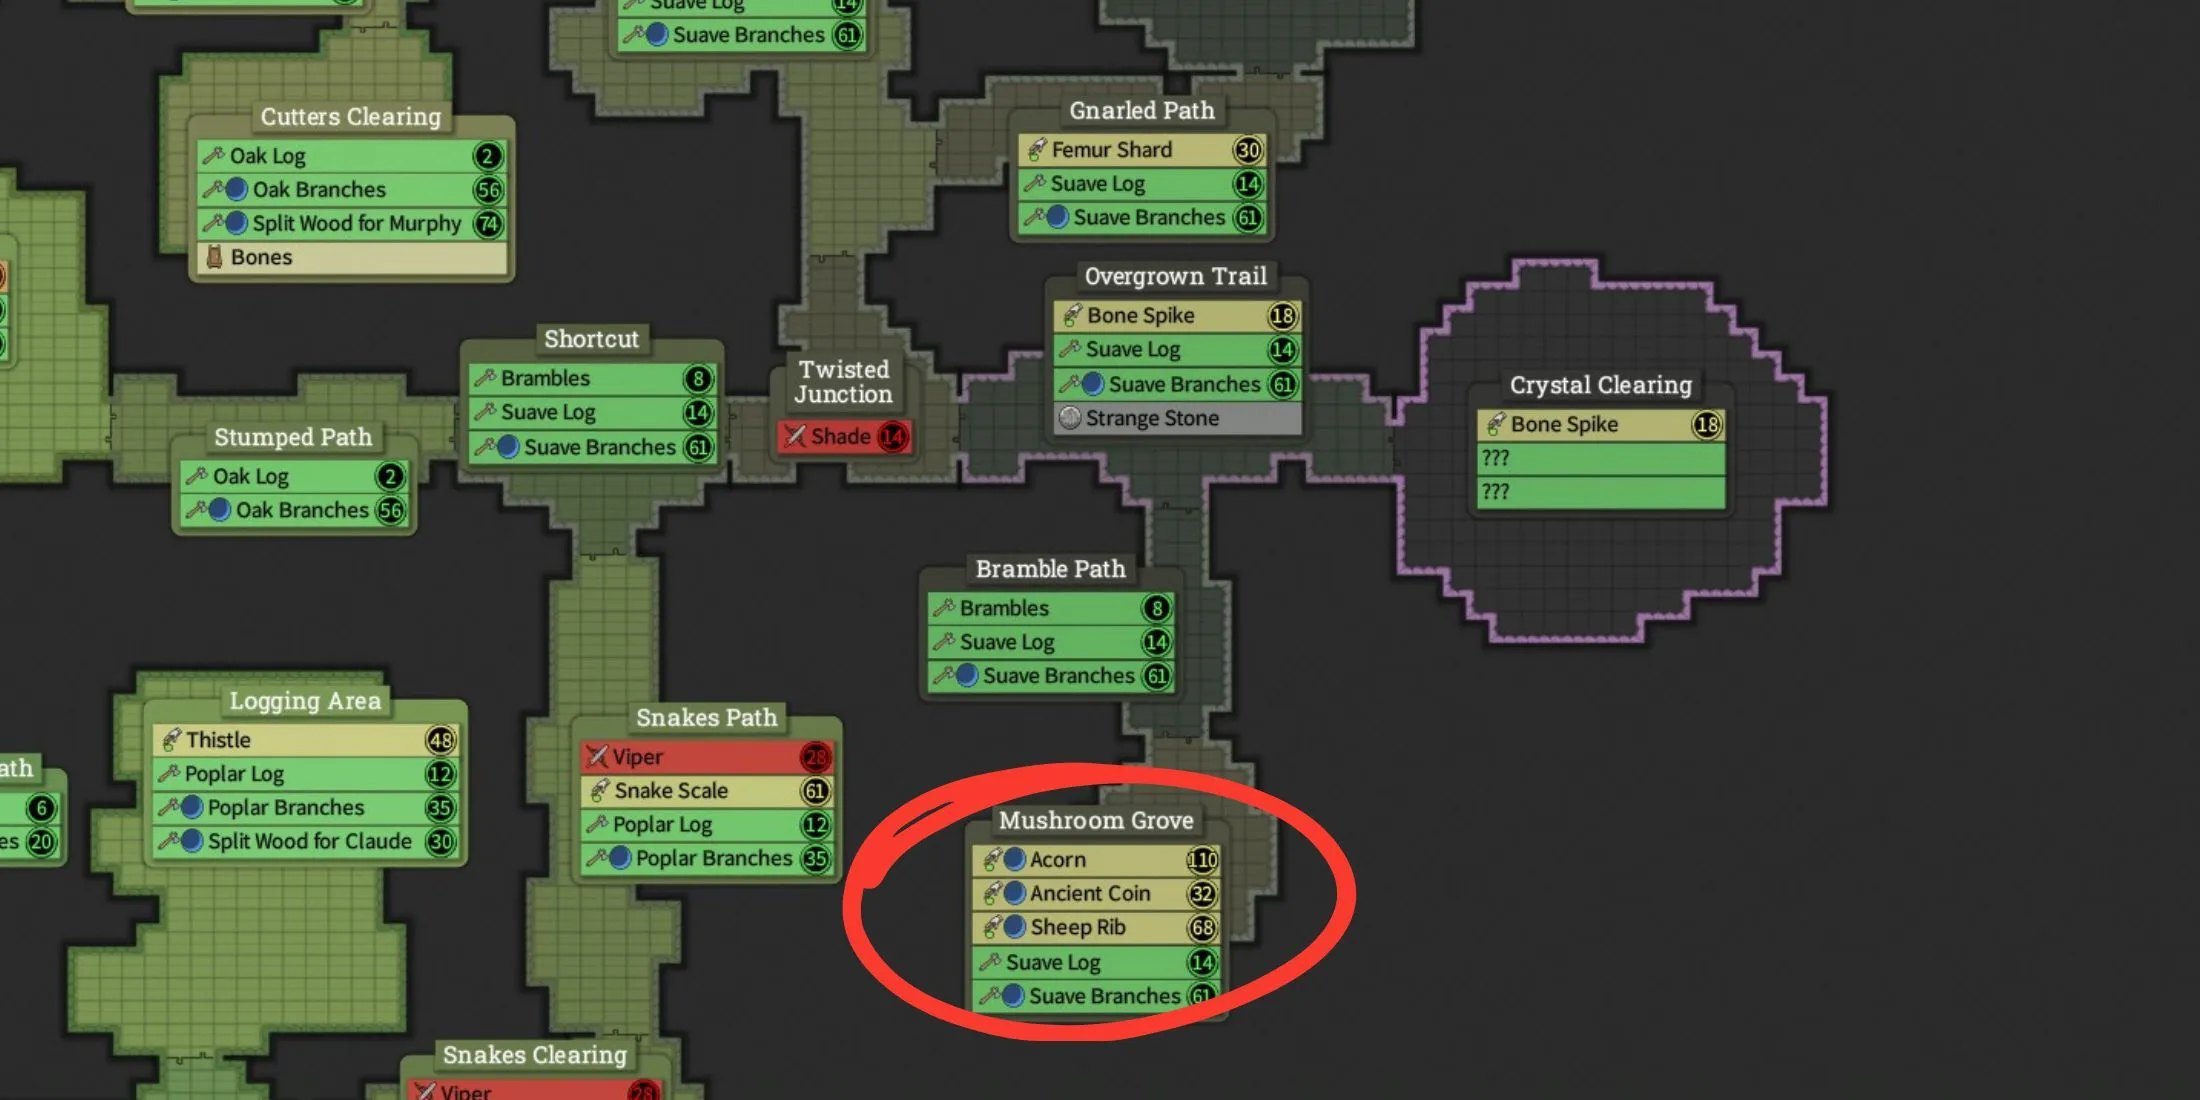
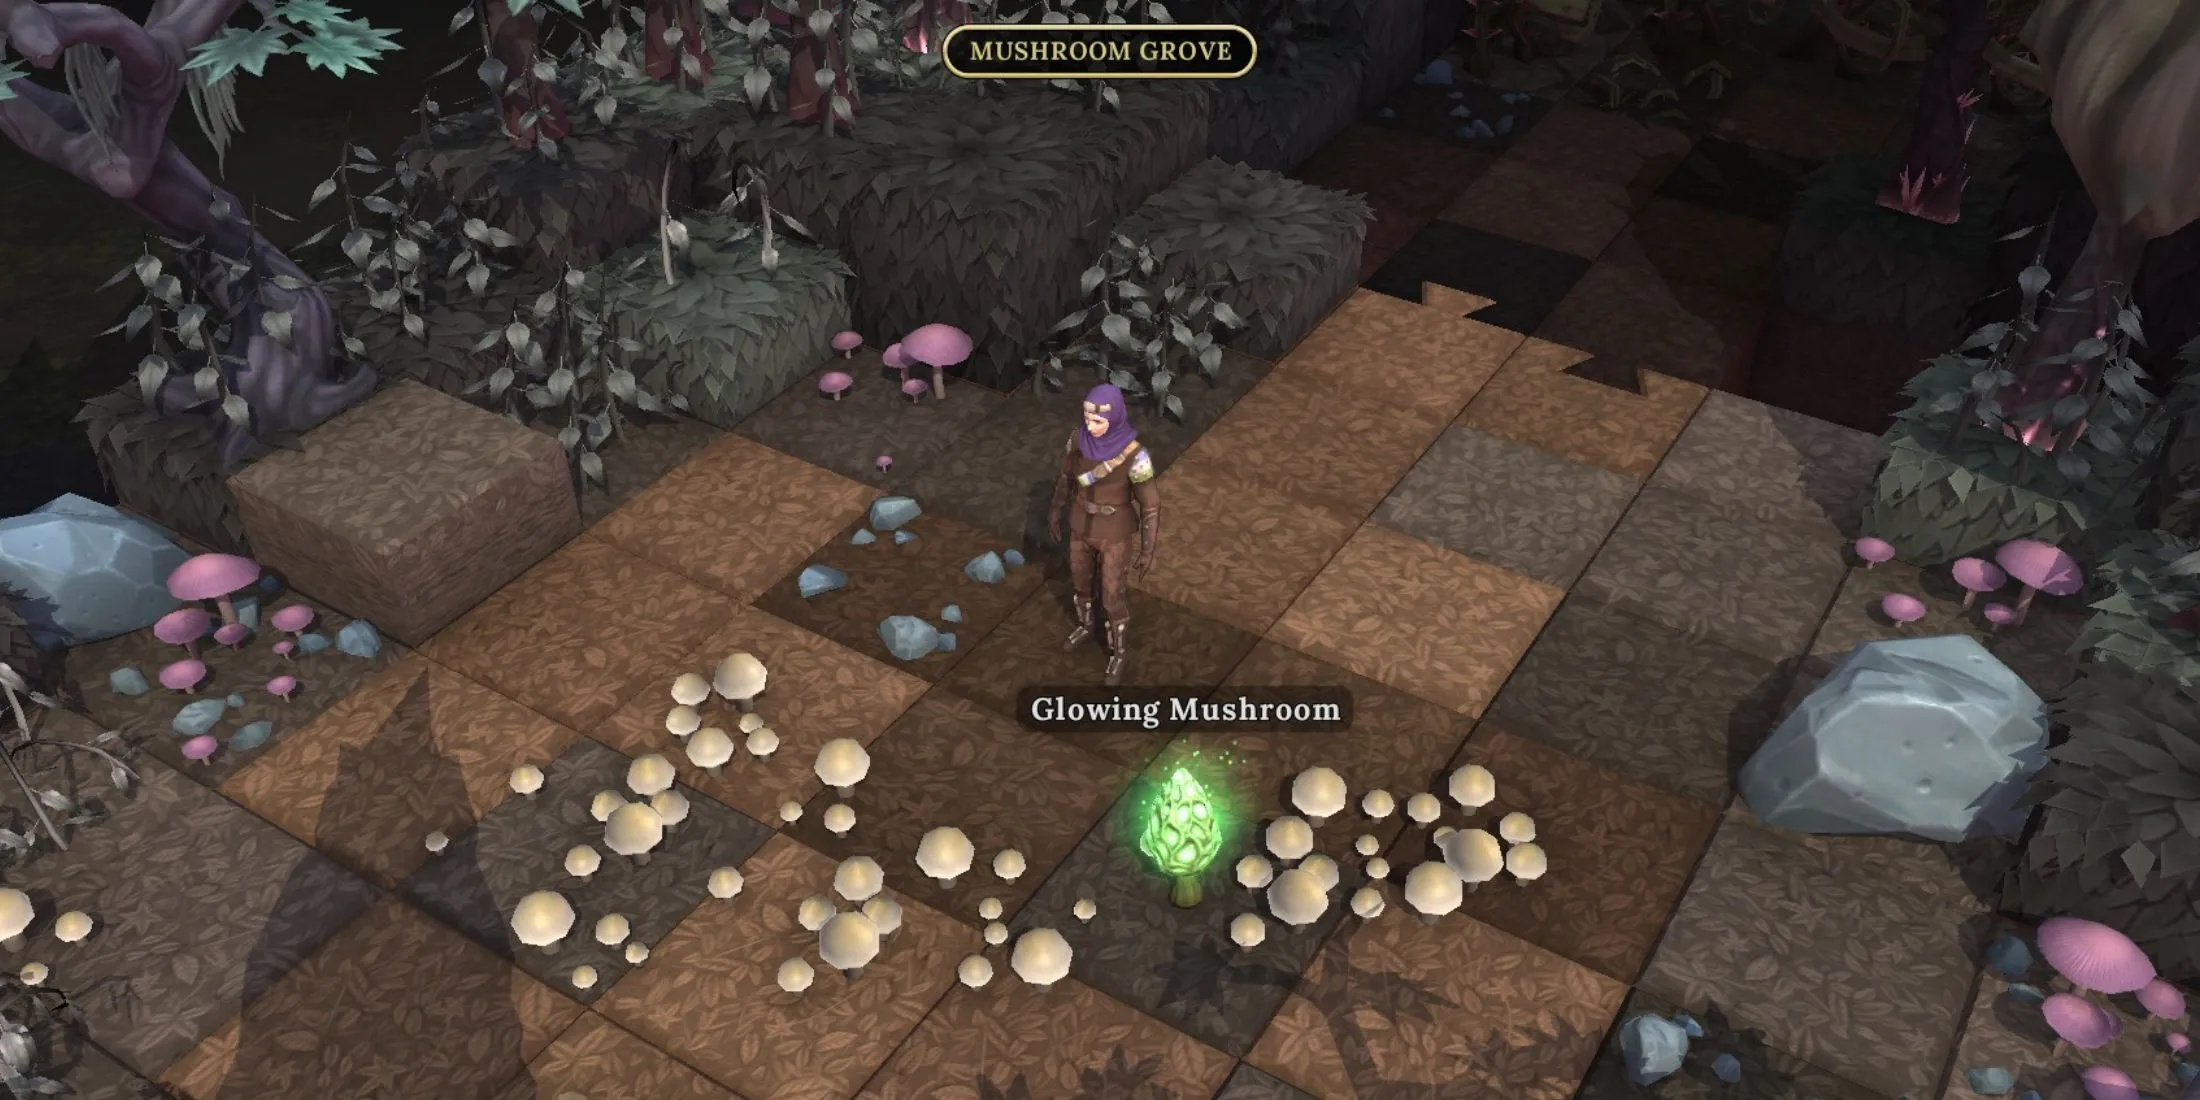
The clue for the Glowing Mushroom directs you beyond the Tangled Briar, an area that players may not have unlocked yet. Fortunately, it’s not too far from Crystal Clearing. Head back to the Overgrown Trail and take a southward route to the Bramble Path, which is obstructed by tough Hardy Brambles. You will need to clear them away.
To proceed, ensure you’re at least at Woodcutter level eight and possess a hatchet. If your level is insufficient, you’ll want to gather resources by chopping down lower-level trees in Hopeforest to increase your rank. Alternatively, you can purchase a Hatchet for 43 Silver Coins and 200 Bronze Coins from Morauce’s Pointy Implements in Timberwell Green.
After successfully clearing the brambles, proceed south, and you will arrive at Mushroom Grove, where you can find the Glowing Mushroom. Simply click on it and select ‘Pick’ to add it to your main quest.
Finding the Multi-Headed Creature in Brighter Shores
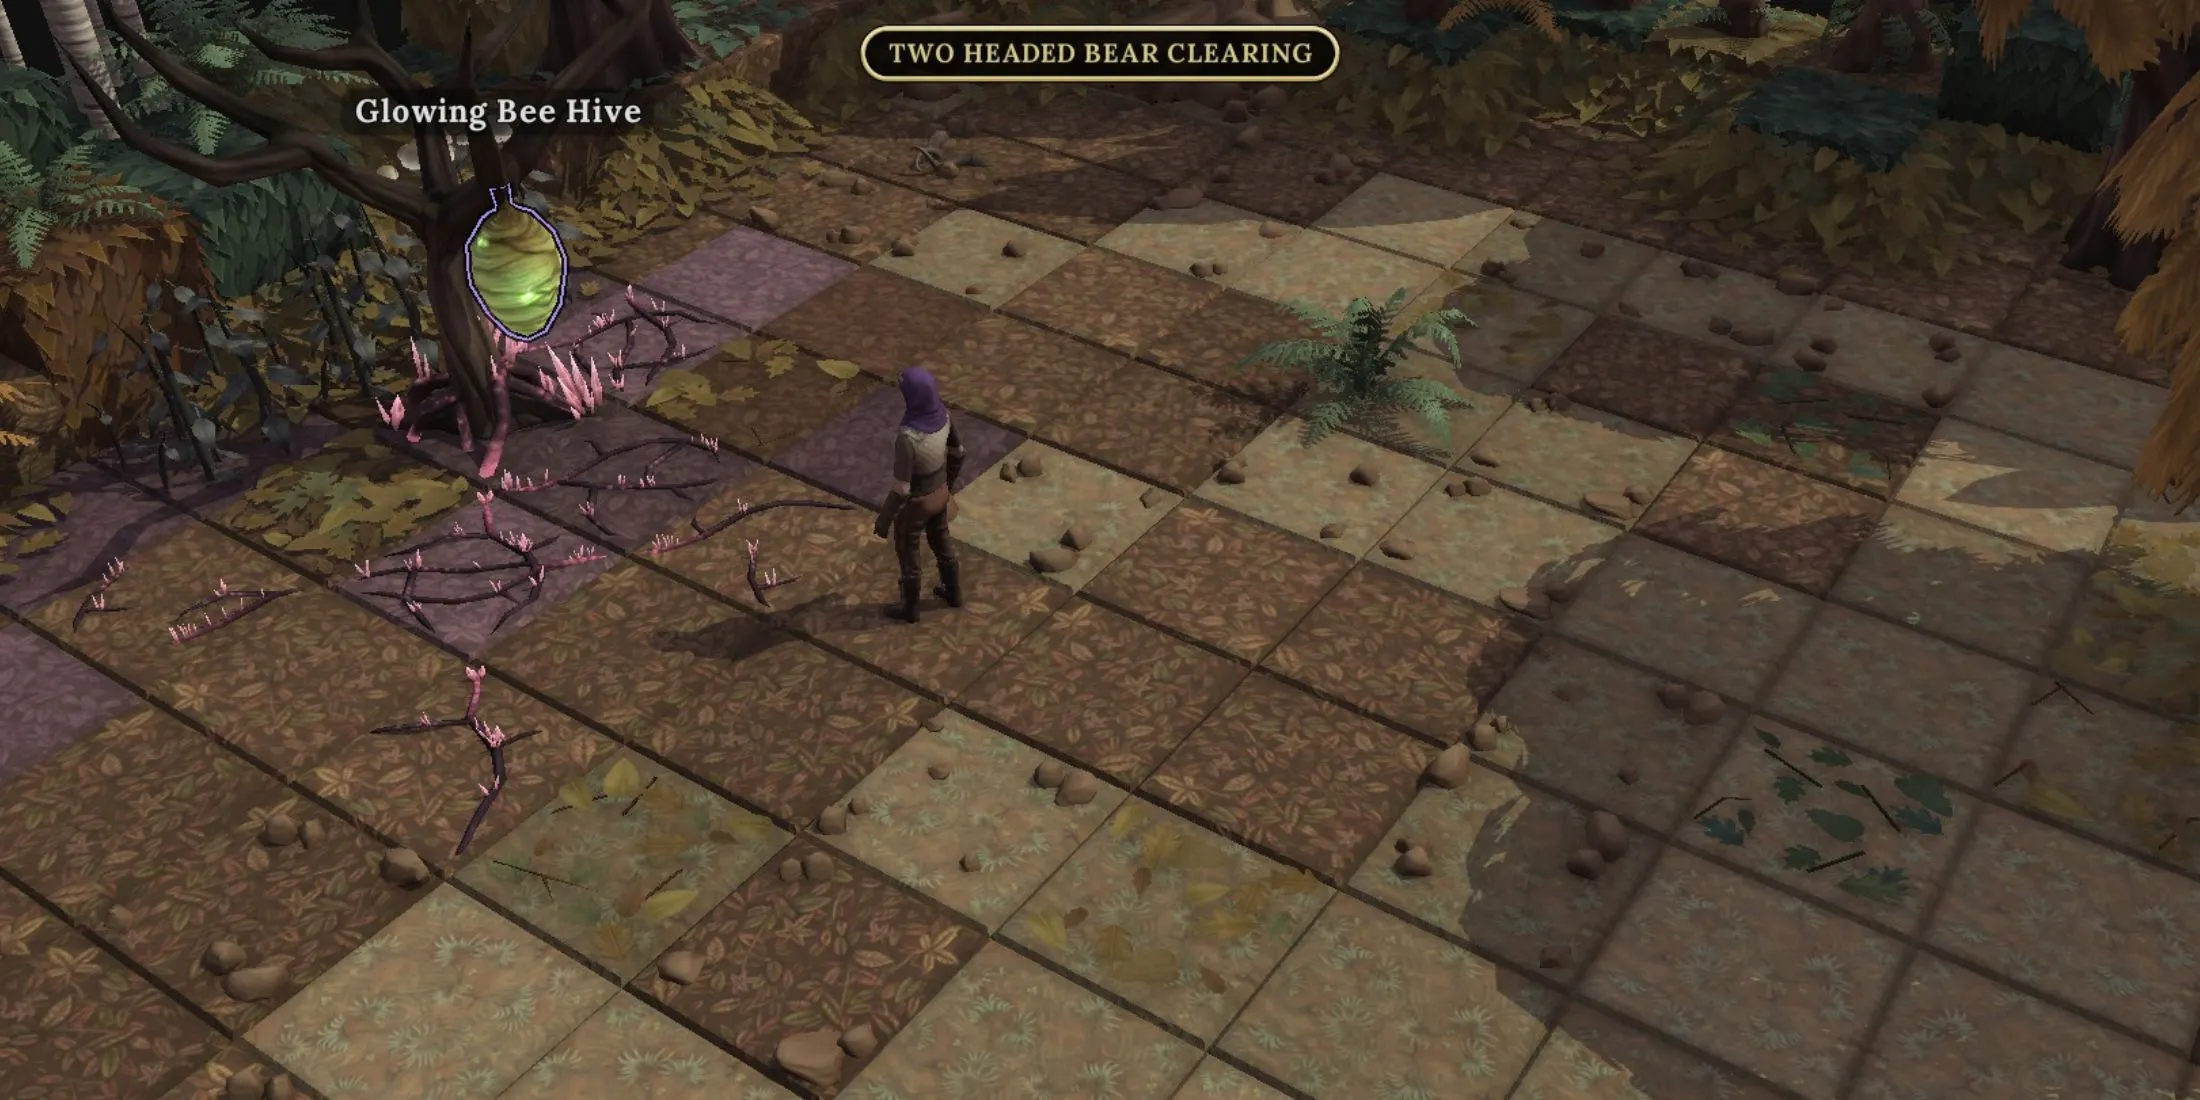
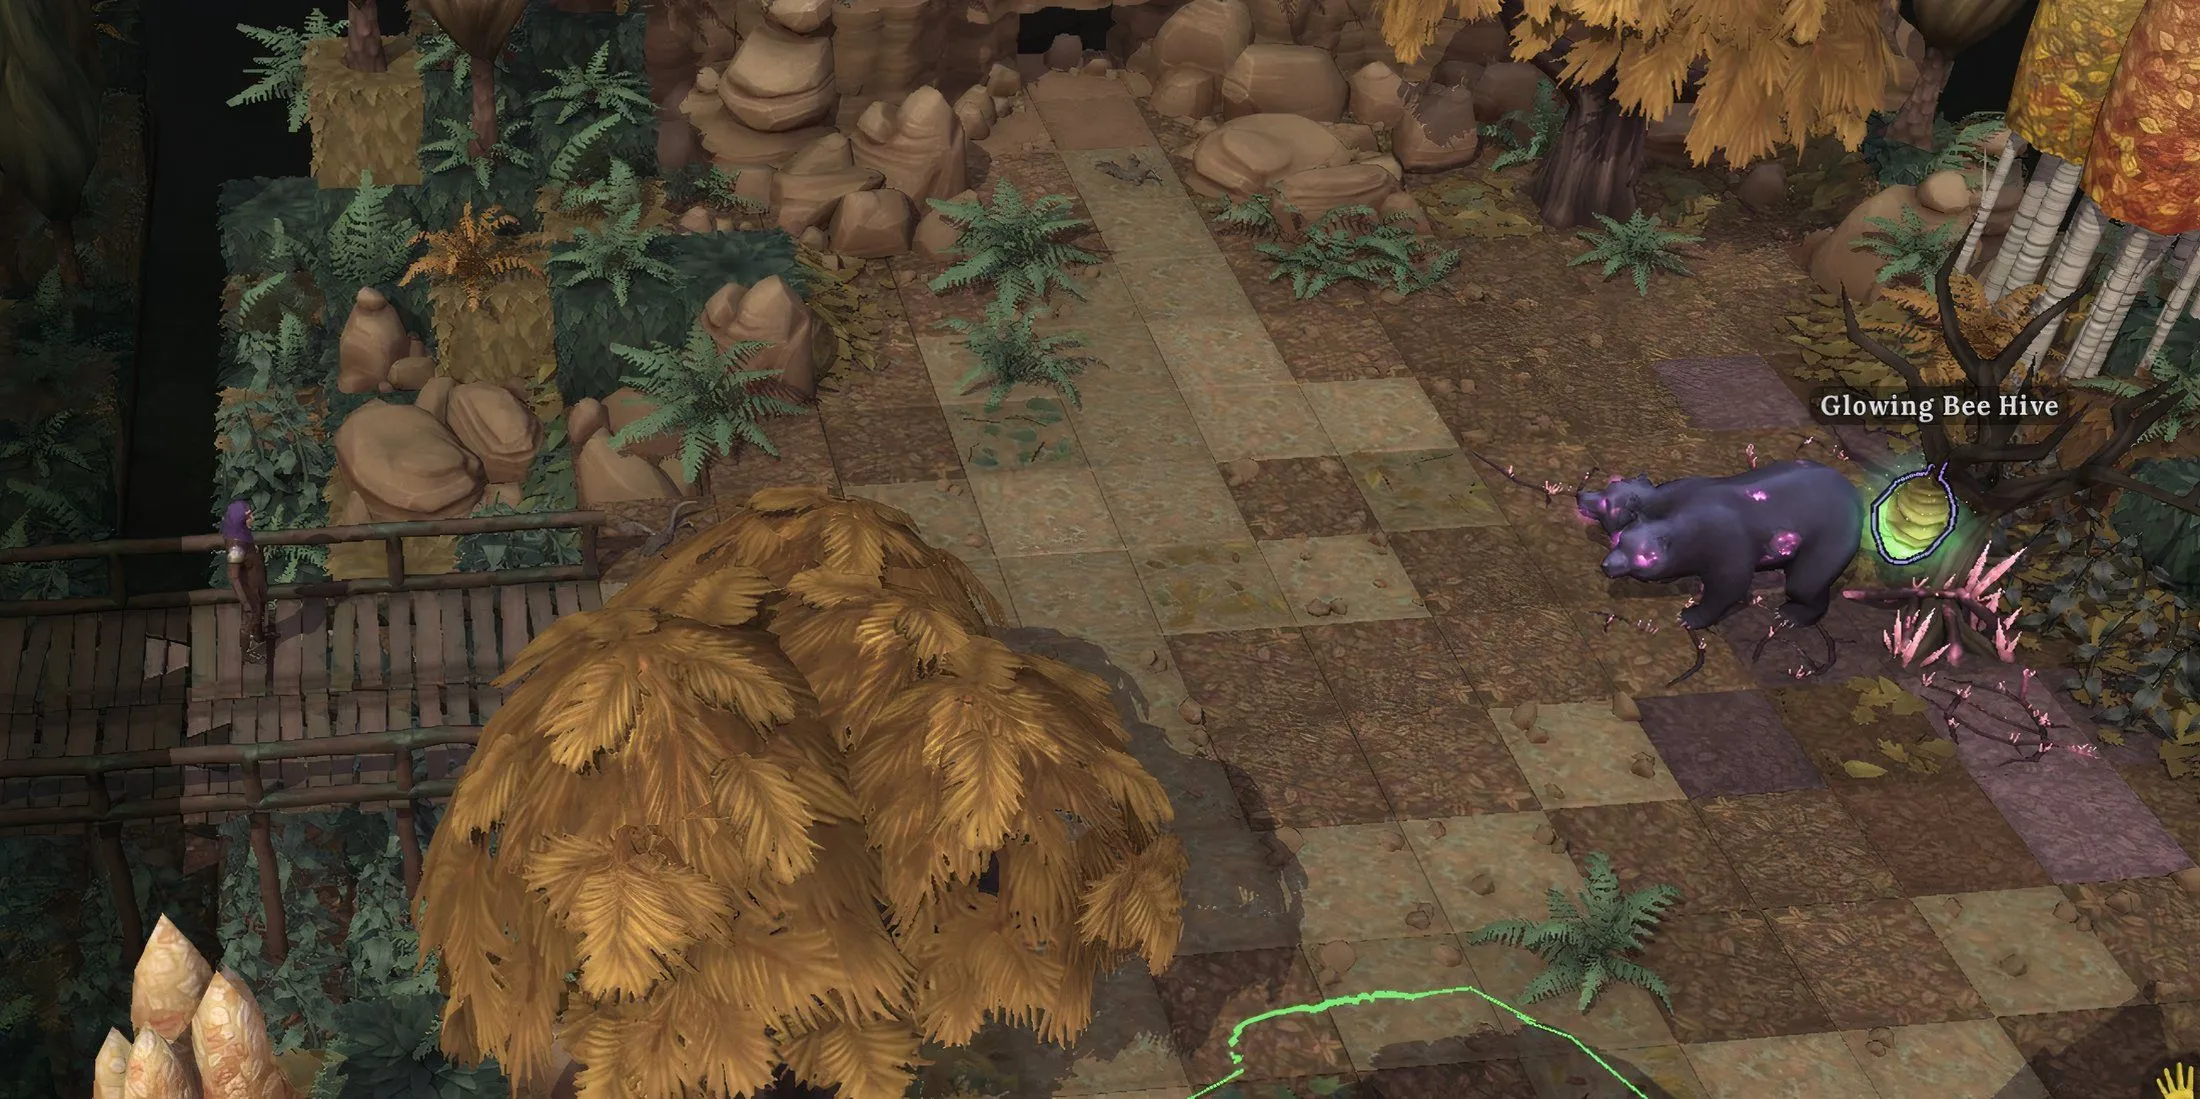
Your next goal is to confront the Giant Two-Headed Bear located in the Two-Headed Bear Clearing, which is guarding the Glowing Bee Hive containing the Glowing Honey, the third Giant Crystal item. To get there, start at the Stump Clearing (north of the Hopeforest Central Portal Stone—use teleportation for convenience) and head left to the Tangled Path, continuing west through Tangled Lane, Leafy Junction, and Bear Clearing. From here, turn north to reach the Two-Headed Bear Clearing.
Upon arrival, prepare for battle with the Giant Two-Headed Bear, a level 20 boss that can be formidable. Use the following strategies to overcome this challenge:
- Level up your Scout to levels 18-20 for safety.
- Strike when the bear initiates its ground slam charge.
- Utilize weapons featuring Cryonae, Tempestae, or Necromae elements, as Infernae weapons are ineffective against the bear.
- Avoid damage by quickly moving out of the orange-tiled attack zone.
- Keep 20% Healing Potions handy during combat, avoiding consumption right after the bear’s ground slam.
- Repeat the strategy until the bear is defeated.
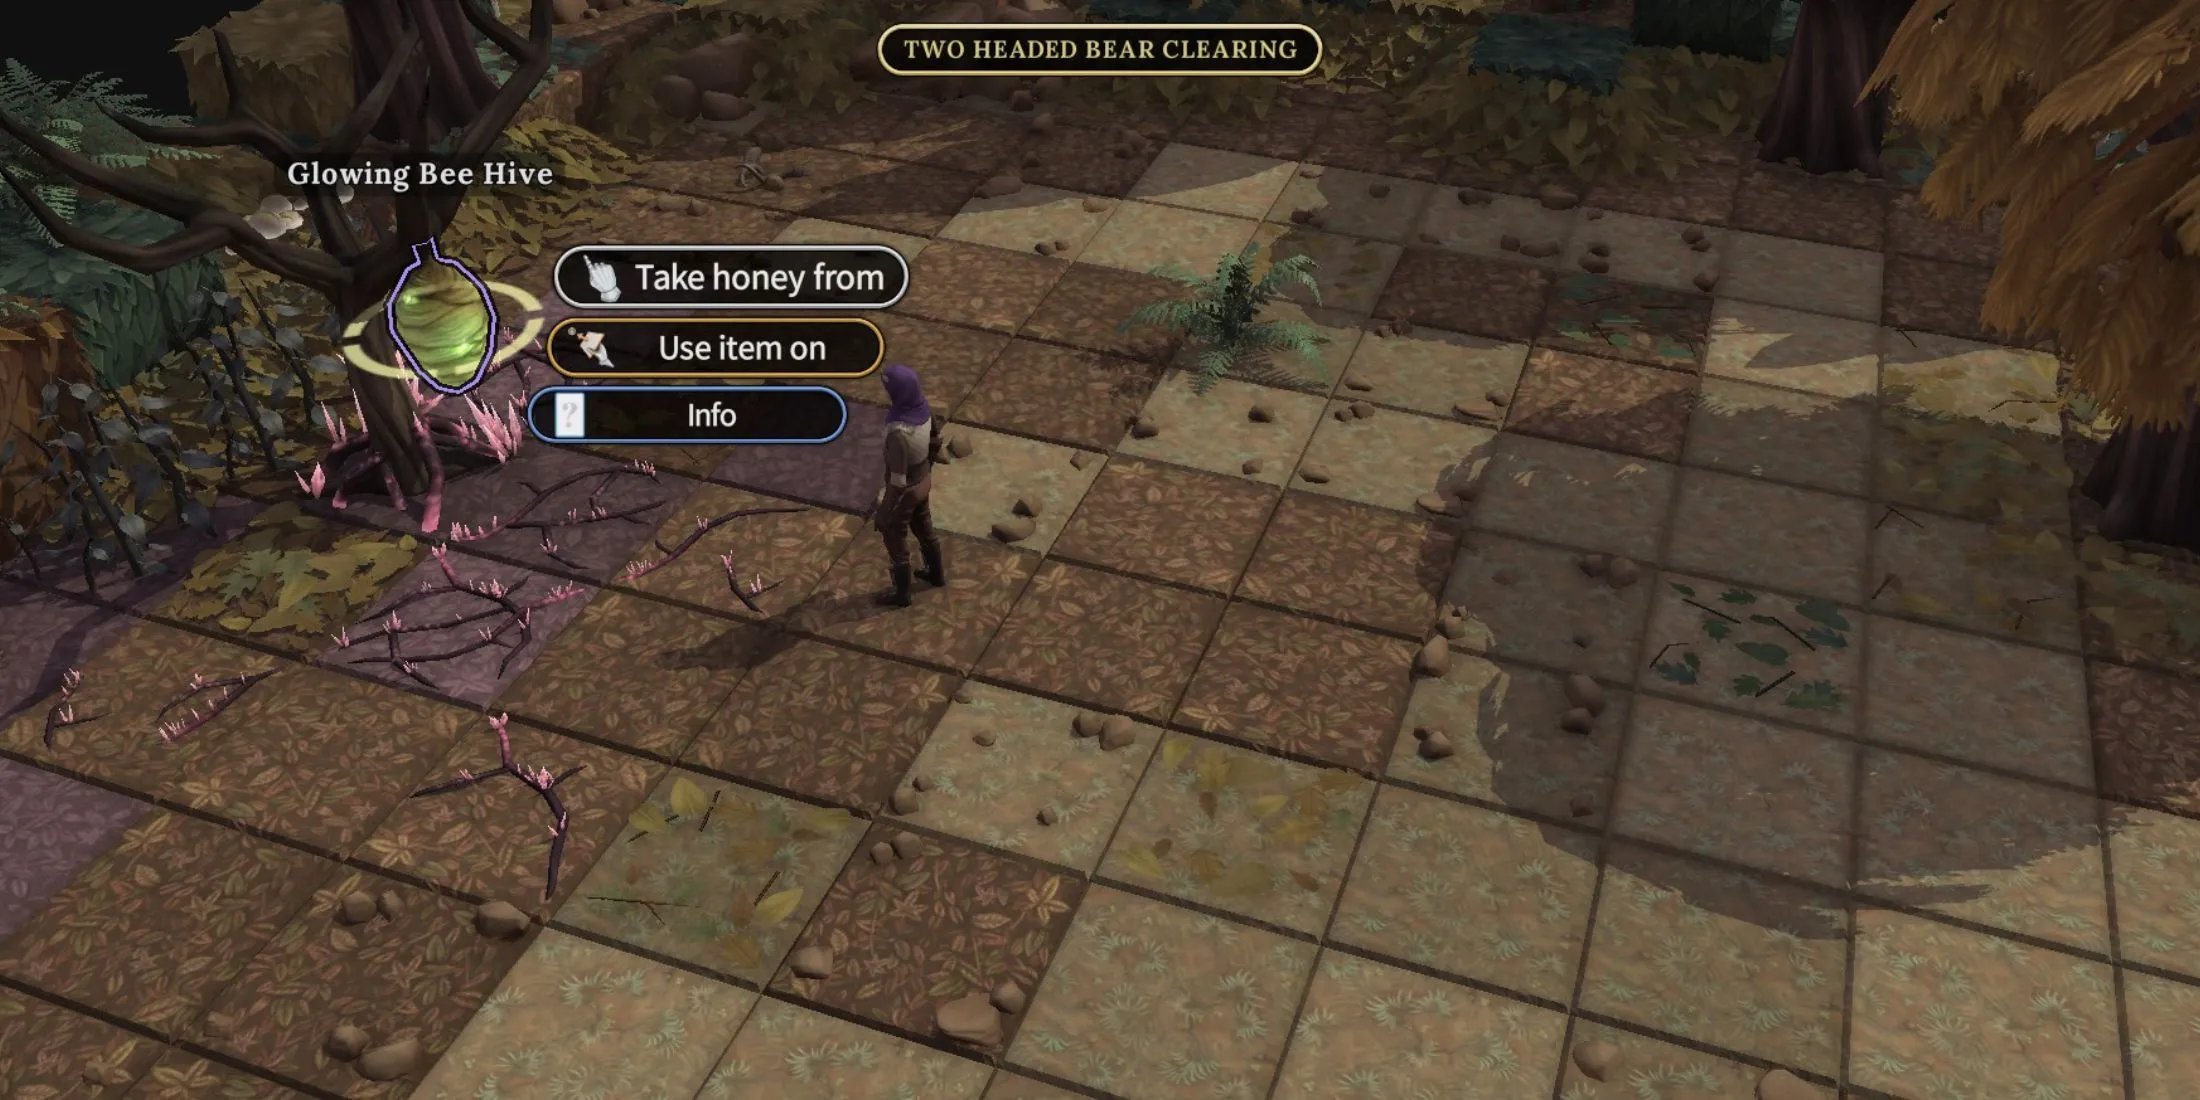
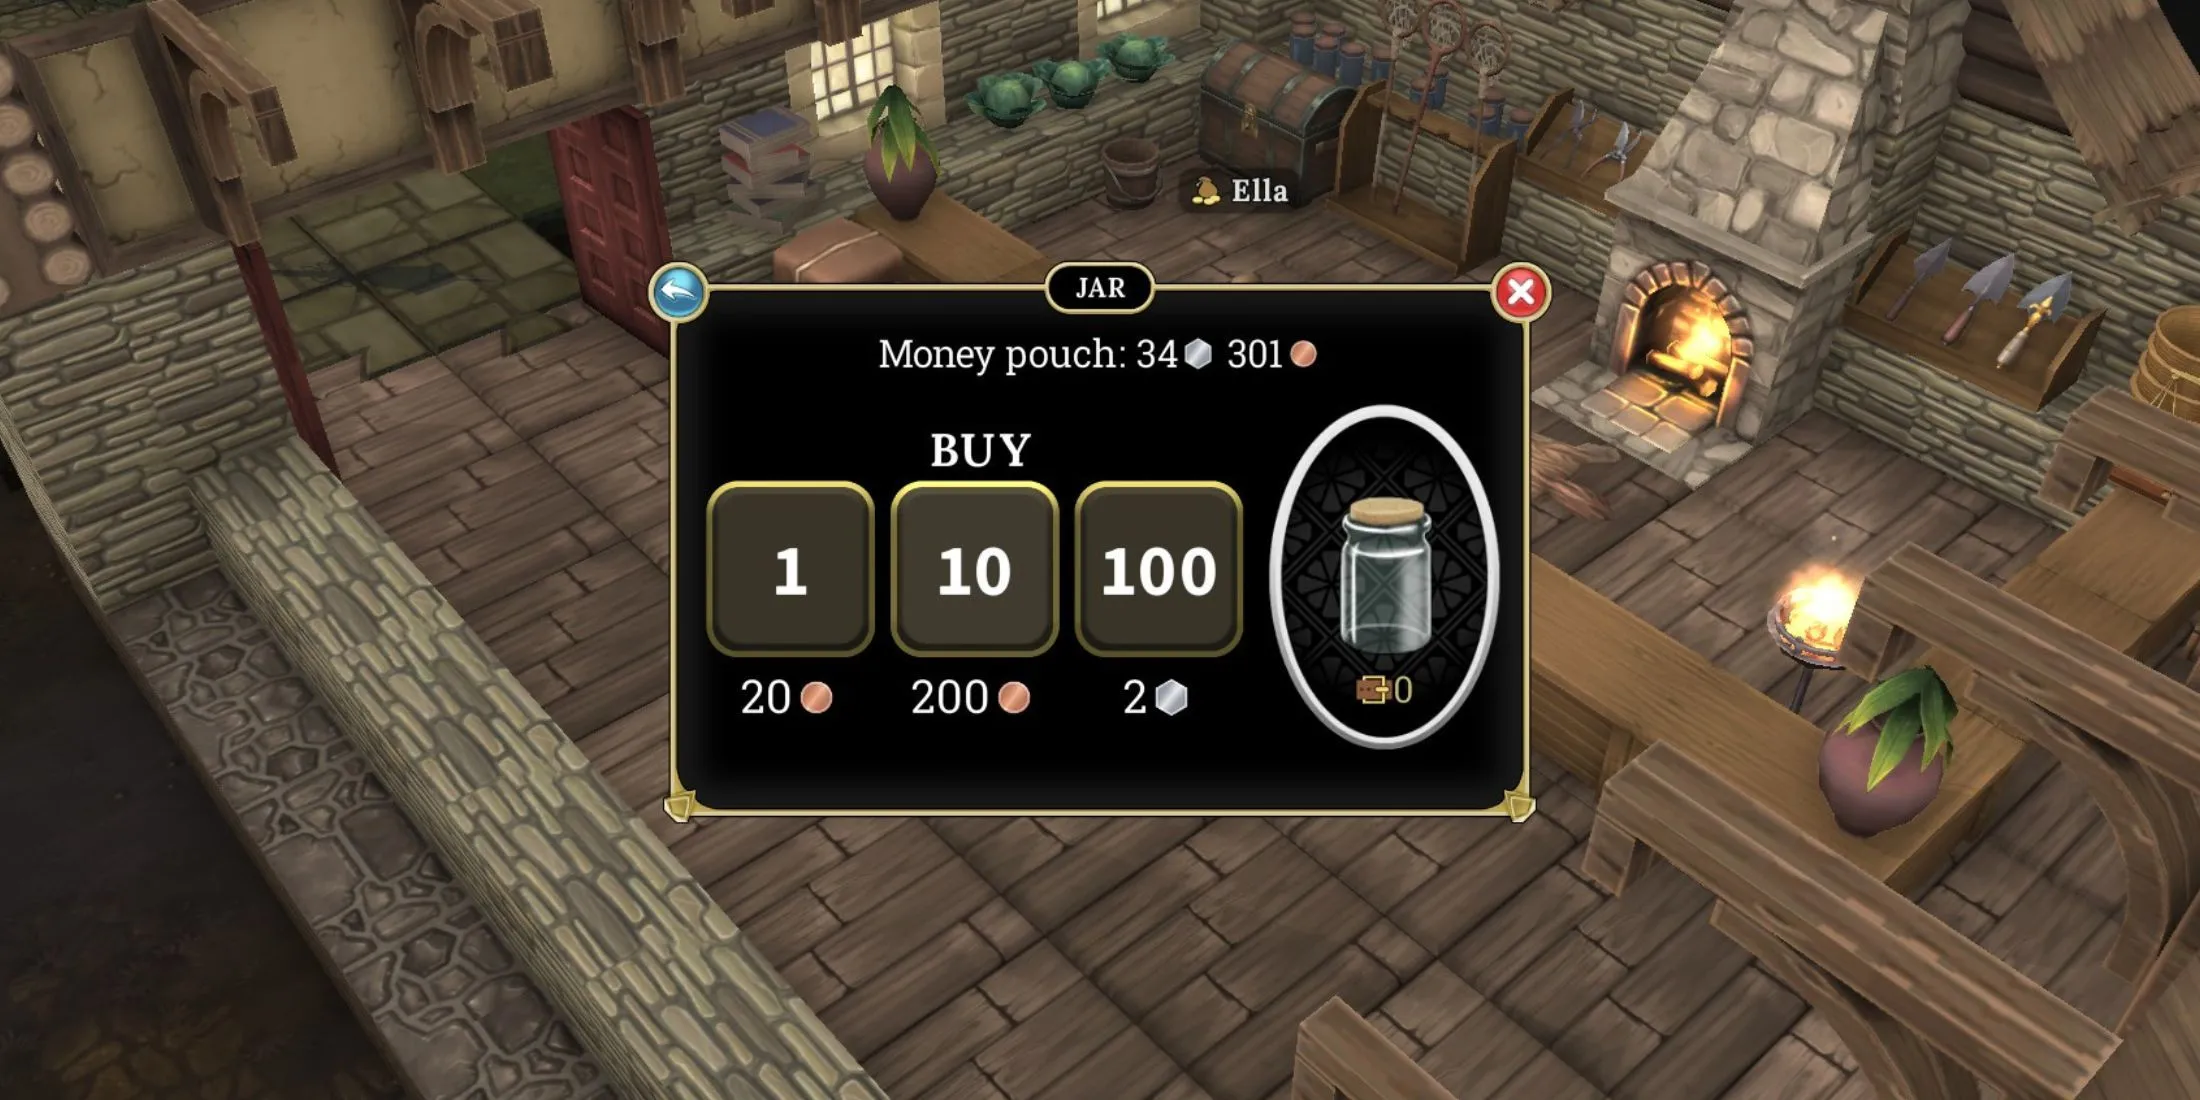
After vanquishing the bear, interact with the Glowing Bee Hive and select ‘Take Honey From’ to collect the Glowing Honey. Note that you’ll require a Jar to extract the honey, which can be purchased for 20 Bronze Coins at The Forager’s Warehouse in Hopeport.
Accessing Beyond the River in Brighter Shores
The final Giant Crystal Item is the Glowing Fern, which resides at the Ferry South Shore in Brighter Shores. To find it, begin at Timberwell Green and head right to Mine Road West. Continue south through Tree Lined Trail, Tree Lined Track, and reach the Hopeforest Ferry, where a Ferryman awaits. You’ll need to repair the boat before you can cross the river.
To repair the ferry, gather two Ash Planks from Ash Trees in Timberwell Green. Process the wood using the Circular Saw at the Carpenter’s Workshop. Once you have your planks, return to the Ferryman and tap on the broken boat to select ‘Fix.’ A cutscene will follow, where a massive Mutant Newt, a creature with 615 health, will attack the ferry during your crossing. This high-level opponent can be defeated with strategic play.
To successfully defeat the Mutant Newt, avoid standing in the orange-tiled areas while attacking it with your weapon. Depending on your weapon’s rarity, the battle may take time. When the Newt returns to the river, quickly repair any damaged areas on the ferry by clicking and selecting ‘Fix.’ Once defeated, you’ll reach the Ferry South Shore, where you can collect the Glowing Fern. Simply click on it and choose ‘Pick’ to harvest.
Upon collecting all the Giant Crystal Items, players will be able to complete the Main Story Quest, Nullify The Corruption, by restoring the Giant Crystal in Hopeforest.


Leave a Reply ▼