The Nintendo 64 boasts an impressive collection of exclusive games, including iconic titles like 007 Goldeneye, Ogre Battle 64, and cherished wrestling classics from AKI, such as WCW/NWO Revenge and WWF No Mercy. With the advent of the Steam Deck and the efficient EmuDeck software, fans can easily revisit these beloved retro games on Valve’s cutting-edge handheld console. This guide is designed to walk you through the entire process of downloading and configuring EmuDeck, ensuring a seamless N64 gaming experience on your device.
Updated December 15, 2024, by Michael Llewellyn: Numerous legendary N64 titles remain relegated to their original platform, like WWF No Mercy and Body Harvest. The Steam Deck serves as a fantastic medium to experience these timeless games with enhanced performance. This updated guide includes essential instructions for installing Decky Loader and the Power Tools plugin, aimed at optimizing your N64 gameplay. Additionally, it details steps to restore Decky Loader and its settings following any significant system updates to the Steam Deck.
Preliminary Steps Before Emulator Installation
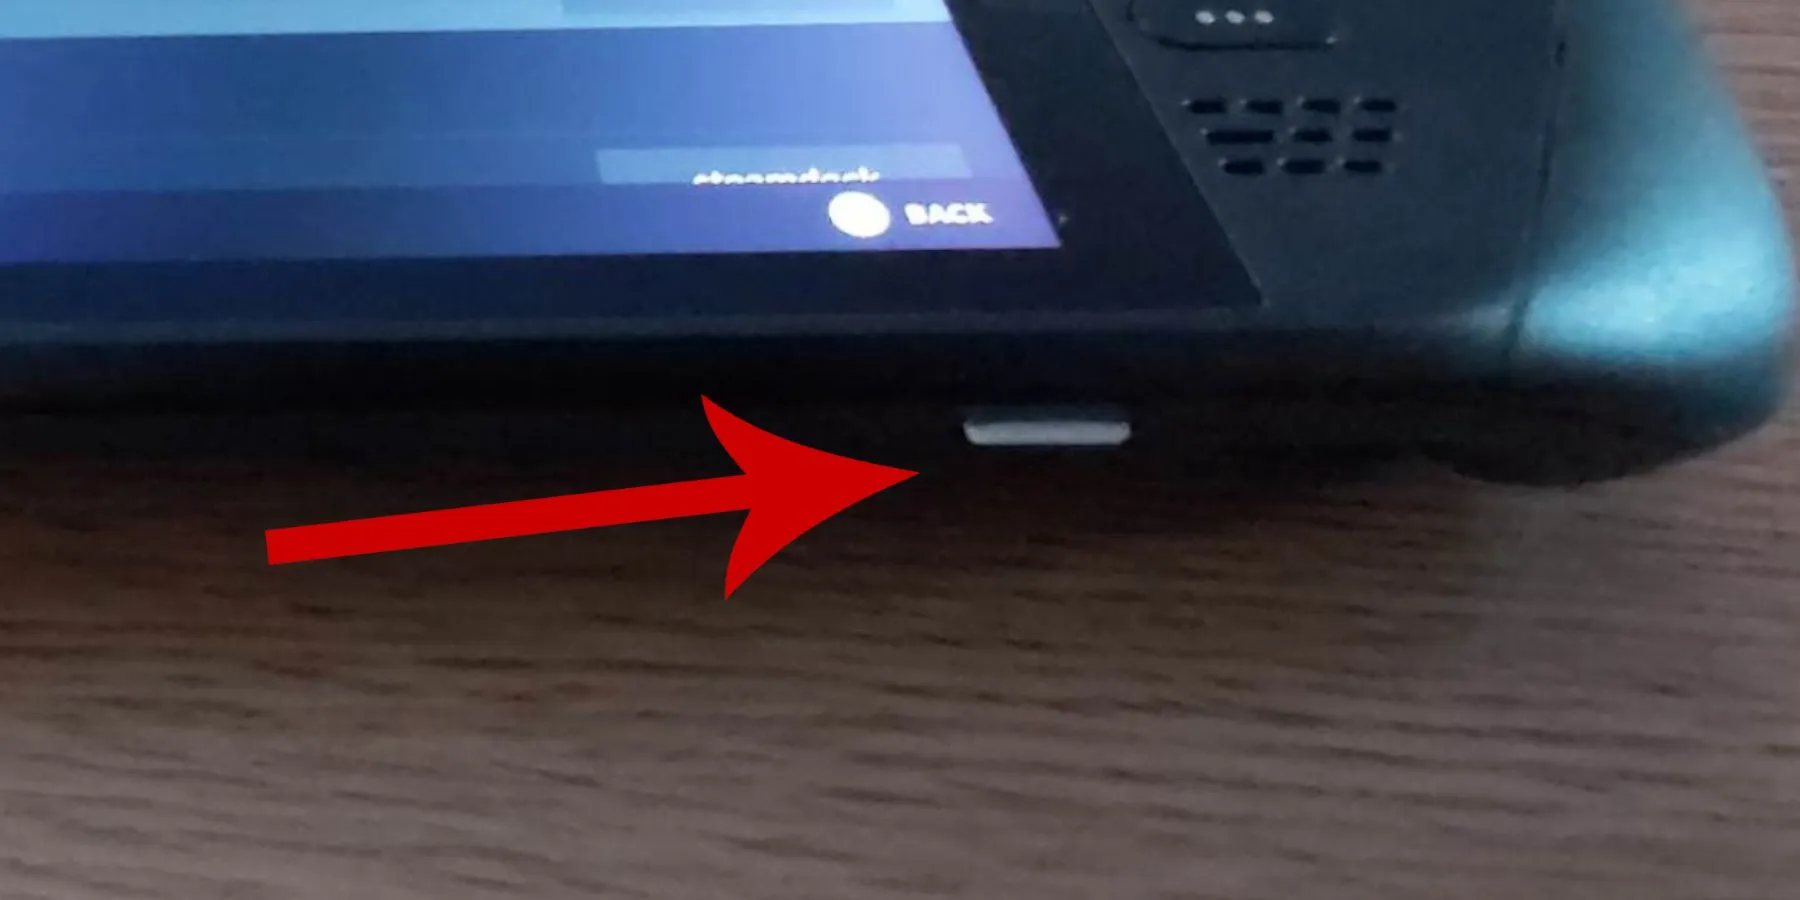
Before you begin downloading the emulator and transferring your ROMs, make sure you have the following essential tools ready:
- Connect a keyboard and mouse using a docking device for easier navigation. Alternatively, summon the built-in keyboard by pressing the Steam button and X button simultaneously.
- Obtain an A2 MicroSD card or an external HDD, especially if you want to use the Steam Deck Dock, as additional storage is necessary for the emulator installation and ROMs.
- Ensure that you possess legally acquired N64 ROMs.
Activating Developer Mode
Engaging the Developer Mode on your Steam Deck unlocks a wealth of customization options and minimizes potential emulator-related issues:
- Press the Steam button.
- Select the System menu.
- Navigate to System Settings and toggle on Enable Developer Mode.
- Return to the left navigation panel.
- Scroll down to Developer.
- Locate Miscellaneous and enable CEF Remote Debugging.
- Restart your Steam Deck.
Getting EmuDeck on Your Steam Deck
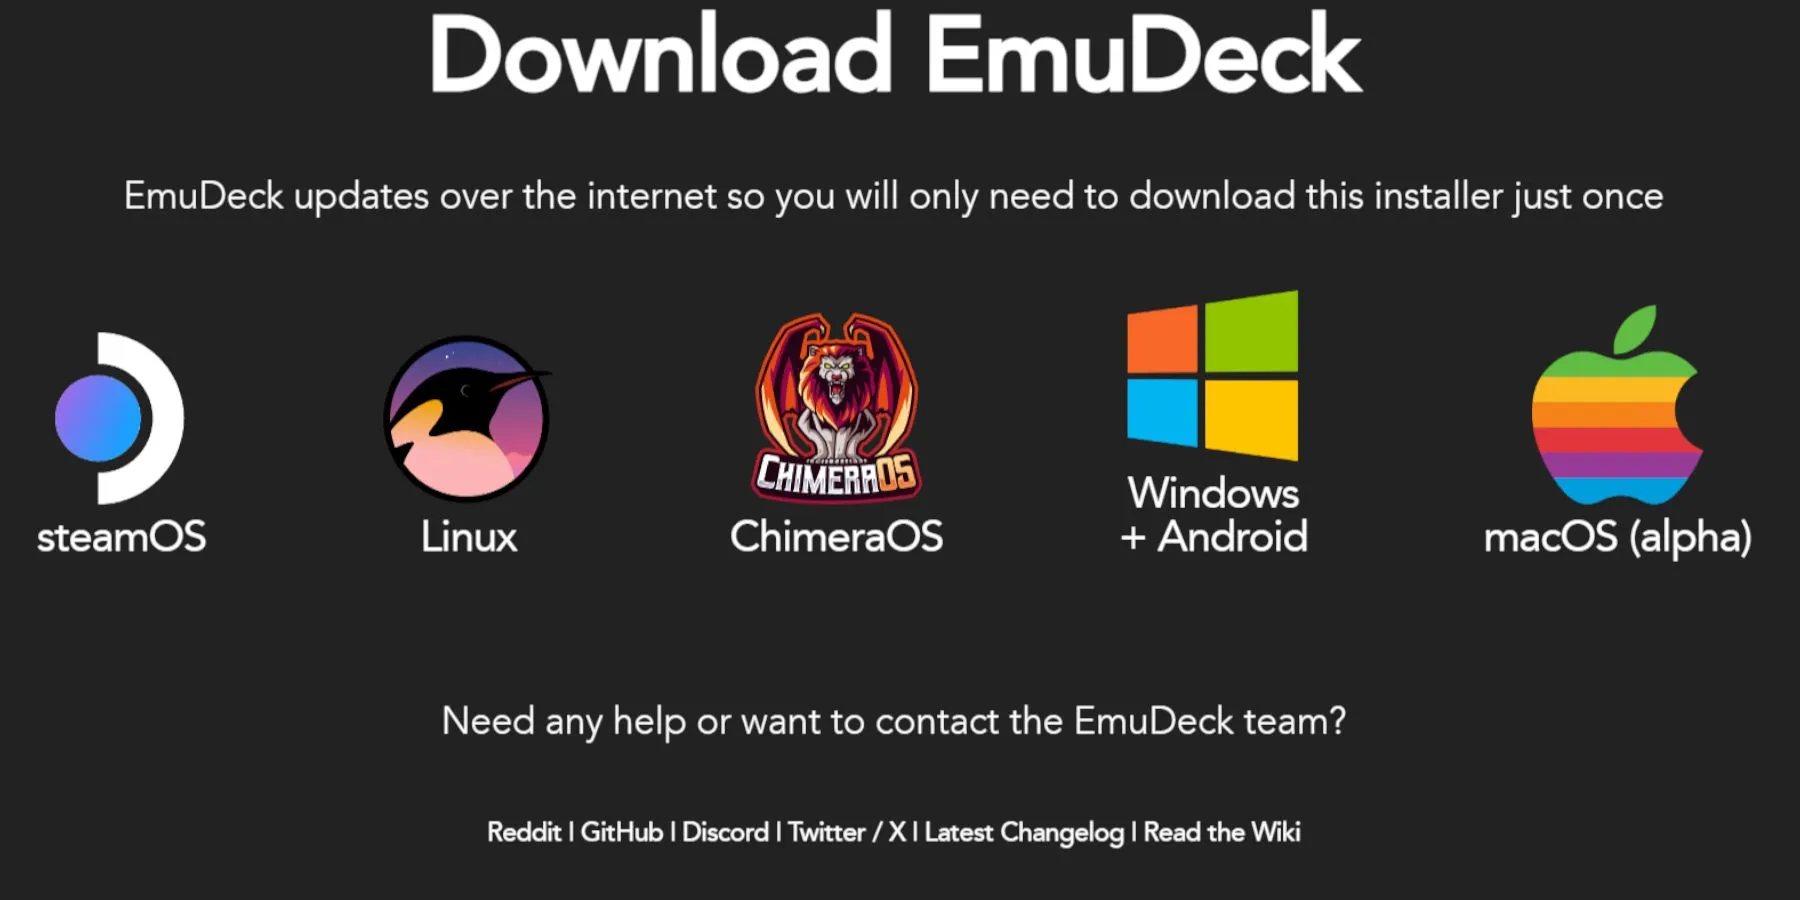
With the necessary tools in hand, you can now download EmuDeck to play your favorite Nintendo 64 titles:
- Press the Steam button.
- Open the System menu and ensure Developer Mode is enabled.
- Scroll to the bottom of the left menu and enable CEF Debugging.
- Select the Power option.
- Then, highlight and choose Switch to Desktop Mode.
Desktop Mode Operations
- Launch a browser such as Firefox, Google Chrome, or DuckDuckGo.
- Visit the EmuDeck website, select download, choose the Steam OS version, and opt for Custom Install.
- In the EmuDeck startup menu, choose the Primary SD Card image.
- Select the desired emulators, particularly N64 emulators, RetroArch, and Steam ROM Manager.
- Skip the following screens and click Finish to complete the installation.
Transferring N64 ROMs
- Open the Dolphin File Manager.
- Choose Primary from Removable Devices.
- Select the Emulation folder.
- Navigate to the ROMs folder and access the N64 folder.
- Transfer your N64 ROMs into this directory.
Note that two N64 folders are created by the emulators; ensure you place the games inside the standard N64 folder and not the N64dd folder.
Also, confirm that your Nintendo 64 ROMs are named correctly. Refer to the table below for acceptable file extensions:
| N64 ROM Formats | .z64,. v64,. n64 |
|---|
Utilizing Steam ROM Manager
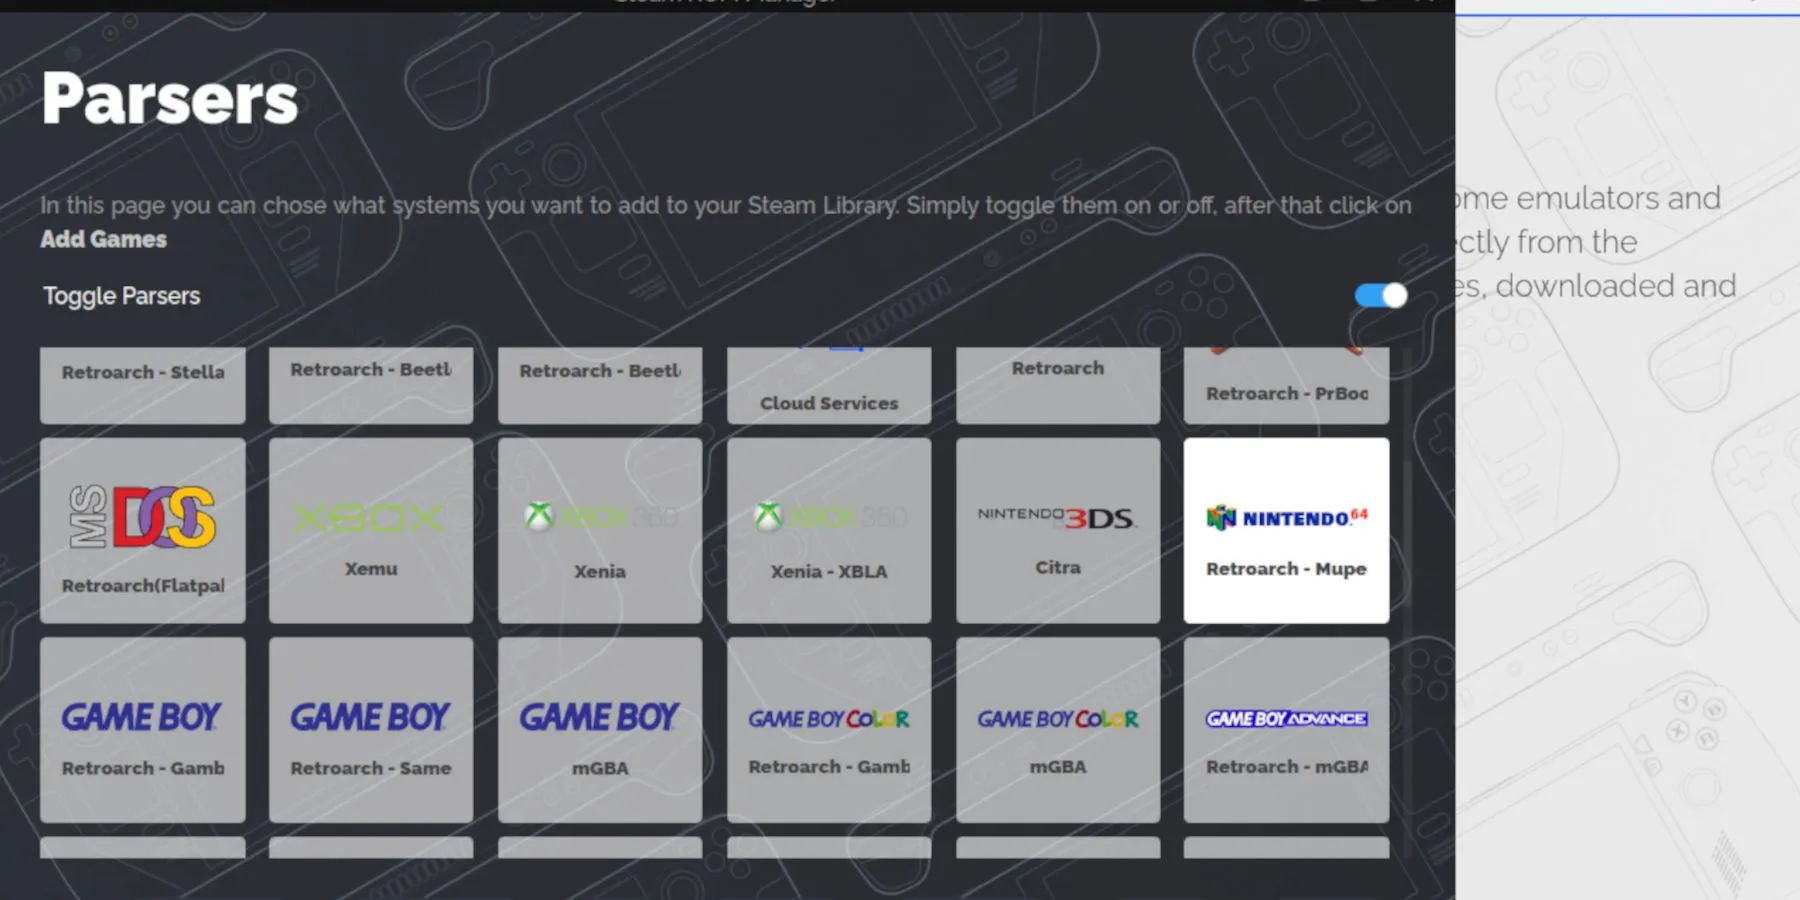
Next, it’s time to add your Nintendo 64 games to Gaming Mode, making them accessible alongside your official games:
- Reopen EmuDeck.
- From the left panel, select Steam ROM Manager and confirm by clicking Yes on the popup.
- Click Next.
- Select the two N64 emulators under Parsers and click Add Games.
- On the next screen, click Parse.
- Ensure that the covers for your N64 games are displayed.
- As two emulators get added, expect the artwork to show up twice.
- Select Save to Steam.
- Wait for the confirmation box indicating Done adding/removing entries and close the window.
- Return to Gaming Mode by double-clicking on the Desktop background option labeled Return to Gaming Mode.
How to Play N64 Games on the Steam Deck
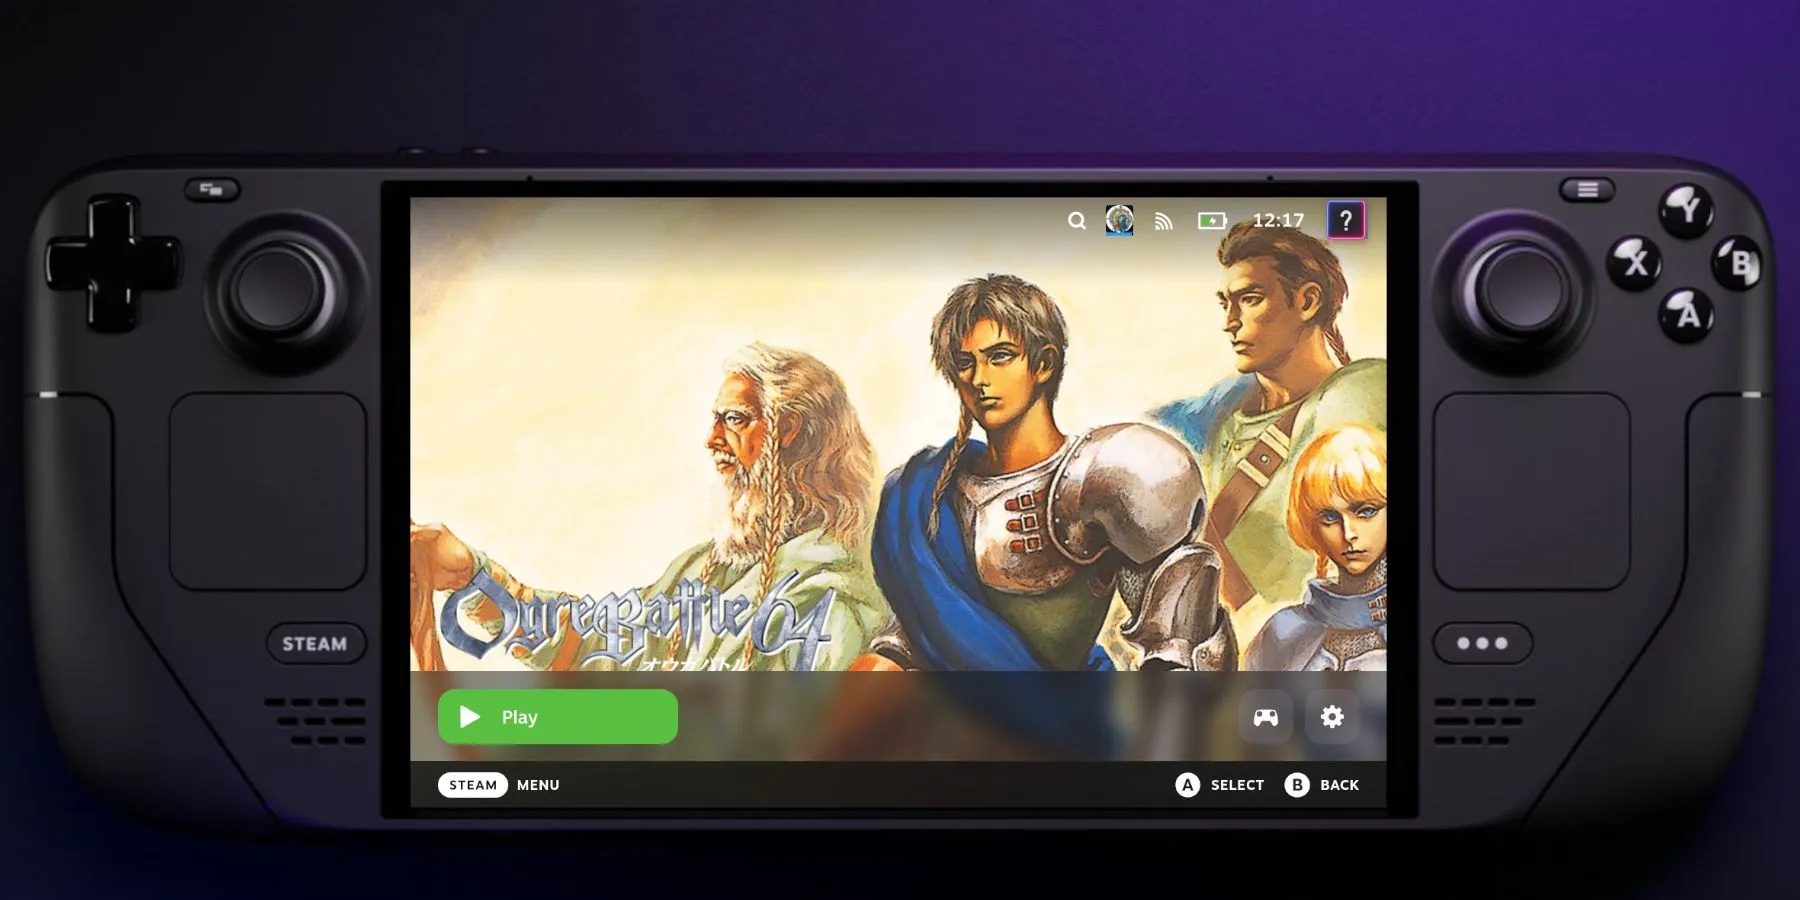
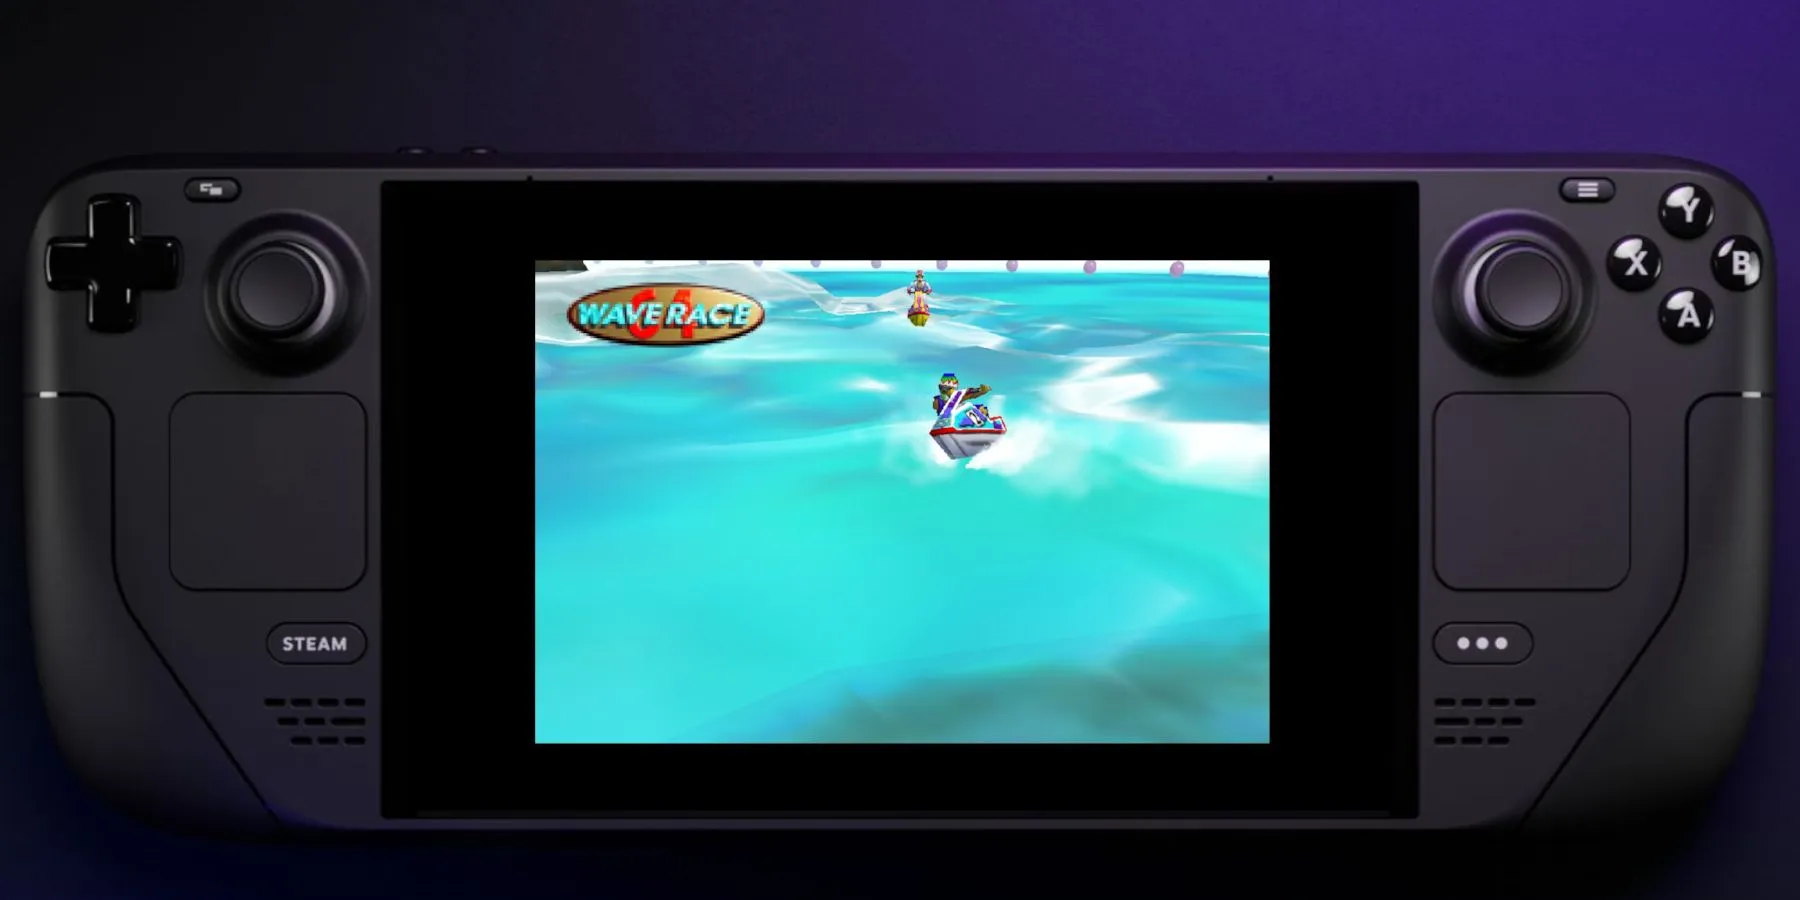
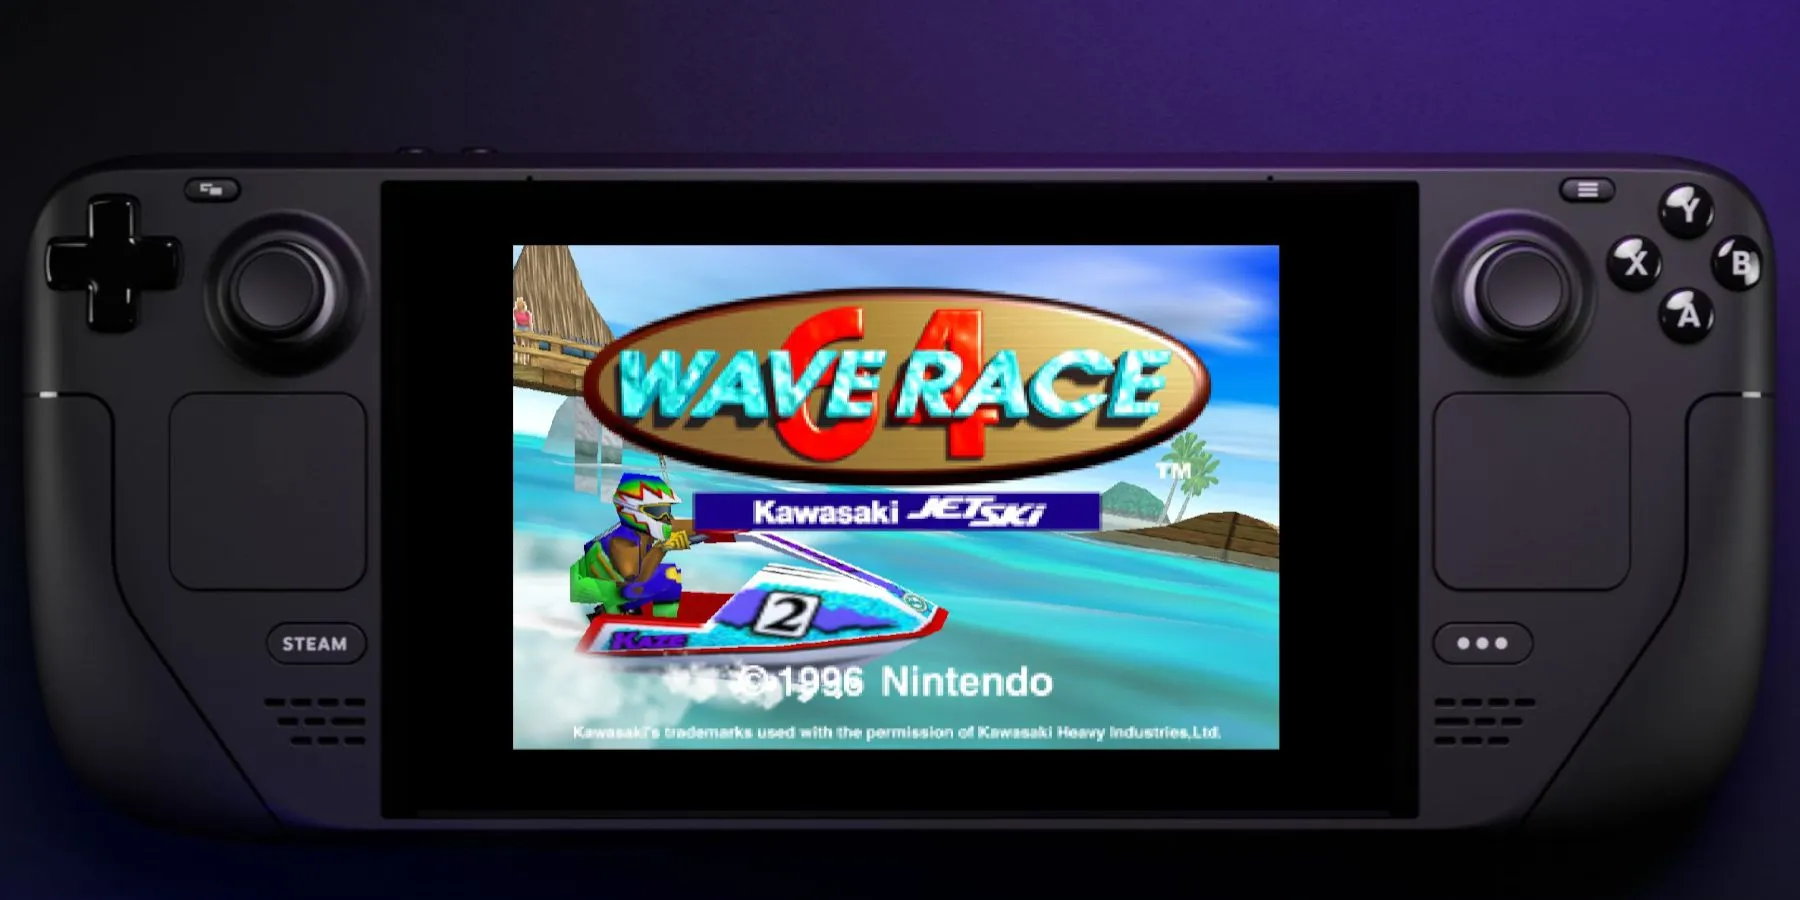
With your Steam Deck in Gaming Mode, proceed to find and launch your N64 titles:
- Press the Steam button.
- Navigate to Library.
- Press the R1 button to access the Collections tab.
- Open the Nintendo 64 category.
- Select your game and click Play.
- Press the QAM button positioned beneath the right trackpad.
- Access the Performance menu.
- Toggle on Use Per Game Profile.
- Set the Frame Limit to 60 FPS (60 Hz).
Setting Up Decky Loader on Your Device
If you find that your N64 games are still underperforming, it may be necessary to install the Decky Loader program along with the Power Tools plugin. The Decky Loader is instrumental in adding various handy plugins that enhance your Steam Deck experience. Follow these steps to install it:
For optimal navigation, consider connecting a wireless or wired keyboard and mouse to your Steam Deck. Alternatively, you can utilize the on-screen keyboard and trackpads.
- In Gaming Mode, press the Steam button, then open the Power Menu.
- Choose Switch to Desktop Mode.
- Open a browser and visit the Decky Loader GitHub page.
- Click on the large Download icon to start the download.
- Once the download is complete, double-click on the launcher and select Recommended Install.
- After installation, restart your Steam Deck in Gaming Mode.
Integrating the Power Tools Plugin
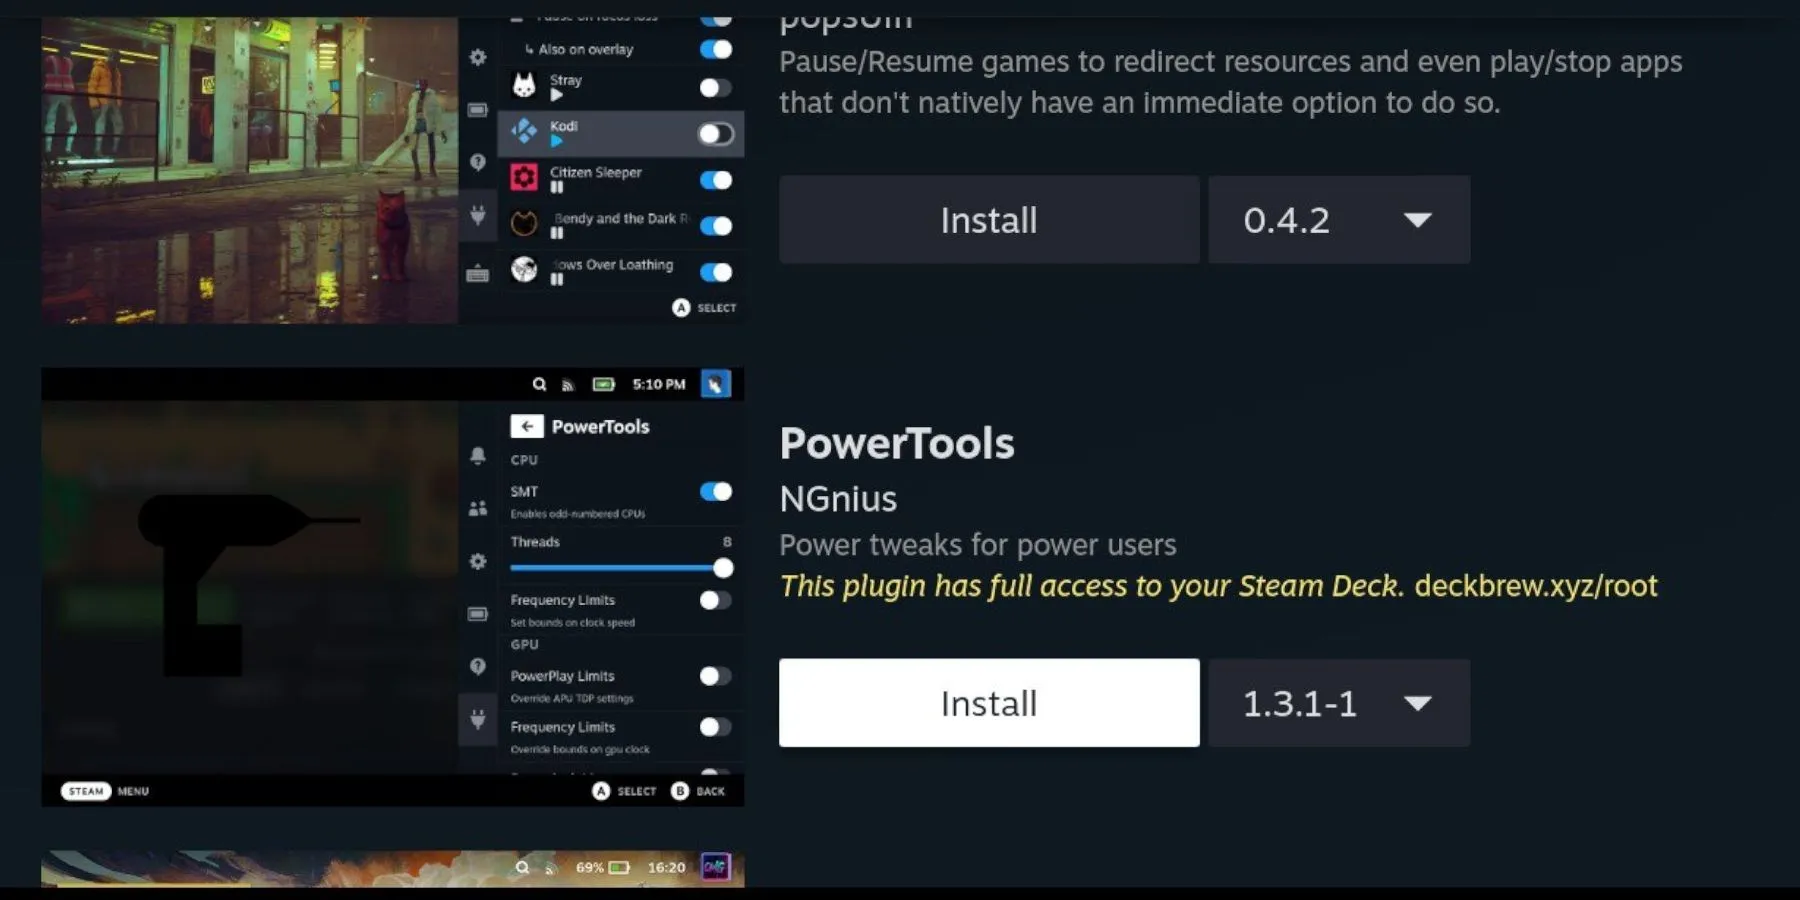
To optimize the performance of N64 emulators and games, the developers of EmuDeck recommend installing the Power Tools plugin. Use the steps outlined below to set up this plugin and adjust its configurations:
- Make sure your Steam Deck is in Gaming Mode.
- Press the QAM button below the right trackpad.
- Select the new plugin icon at the bottom of the QAM.
- Click the store icon next to the settings cog to access the Decky Store.
- Utilize the search bar to type in Power Tools, or scroll until you find the plugin, and install it.
Configuration Settings for Power Tools and Emulated Games
- Press the Steam button to access the Library.
- Open one of your N64 games and launch it from the Non-Steam Library or via your Sega Saturn collection.
- While in-game, press the QAM button to open Decky Loader and select the Power Tools menu.
- Toggle off SMTs.
- Adjust the slider for Threads and set it to 4.
- Press the QAM button to return to the Performance menu—the one featuring the battery icon.
- Enable Advanced View within the Performance menu.
- Activate Manual GPU Clock Control.
- Increase GPU Clock Frequency to 1200.
- Check the option for Per Game Profile in order to save these settings for individual games.
Restoring Decky Loader After Updates
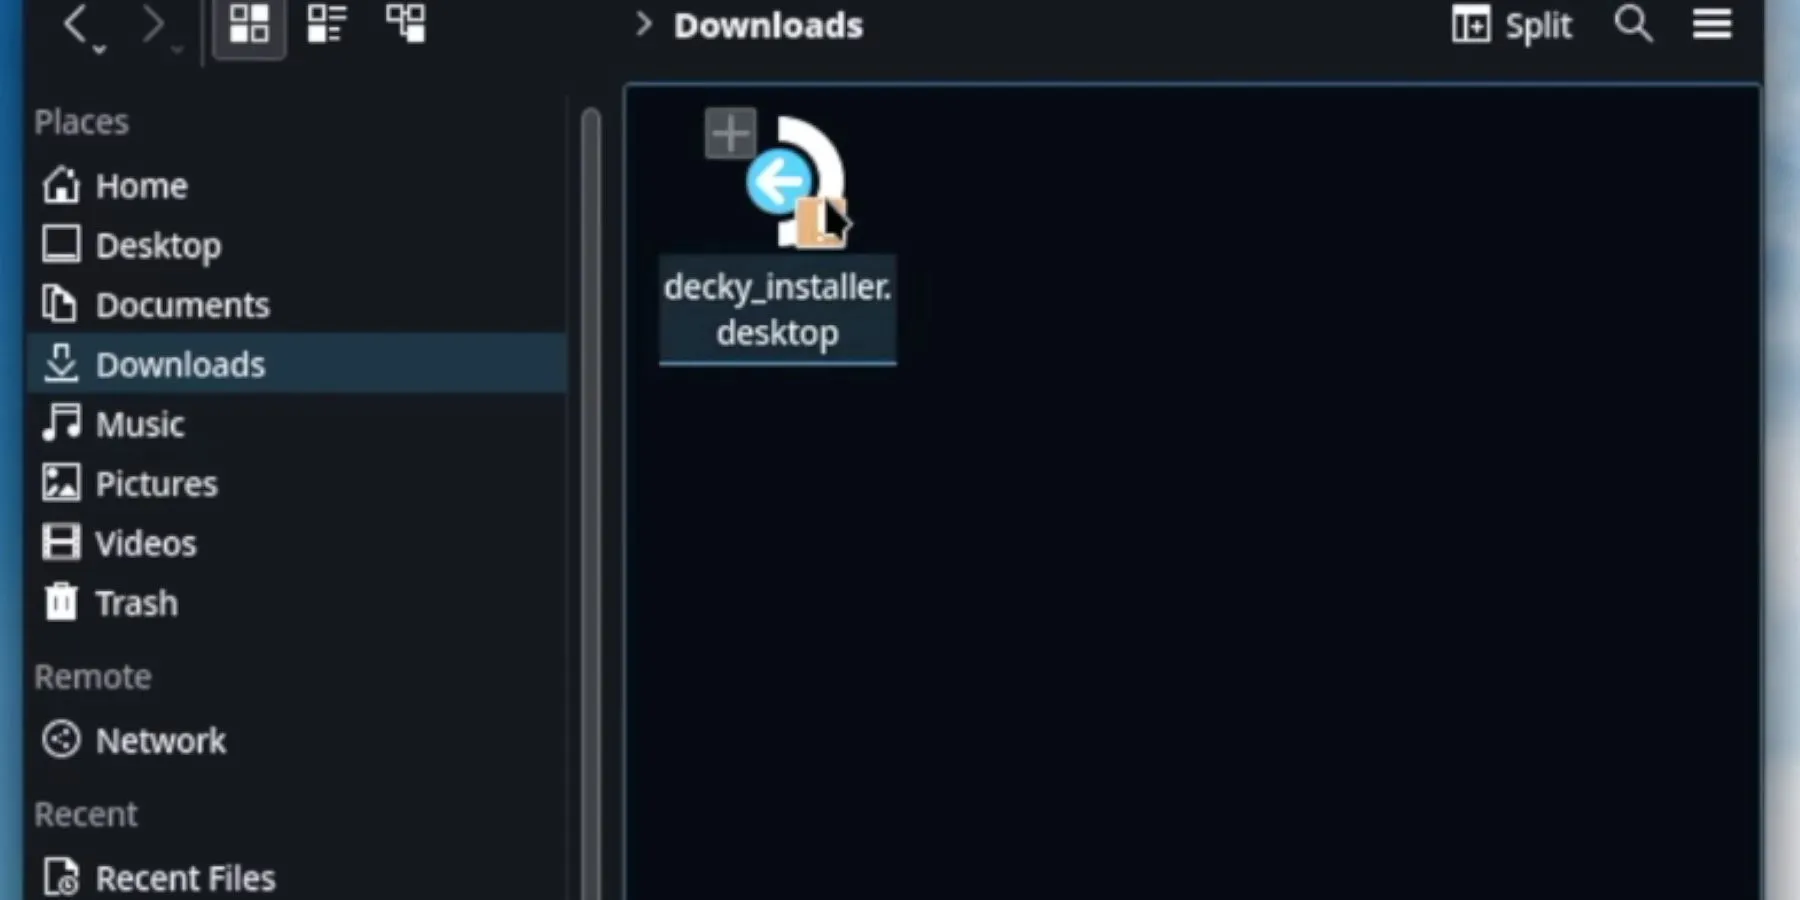
The Steam Deck often undergoes significant updates that might alter the user interface and introduce features that impact compatibility with Decky Loader. This could lead to the app disappearing from your Quick Access Menu. To restore your app, settings, and plugins, follow these steps:
- Switch your Steam Deck to Desktop Mode by pressing the Steam button and navigating to the Power Menu.
- Open a browser in Desktop Mode.
- Select the Execute option, ensuring to avoid the Open action.
- When prompted, input your sudo password in the pop-up.
- If you haven’t set a sudo password yet, follow the instructions displayed to create one. Select something memorable and write it down, especially if you plan to install unofficial applications in the future.
- Upon completion of the process, restart the Steam Deck in Gaming Mode.
- Press the QAM button, and your Decky Loader app, settings, and plugins should return to their prior state before the update. Refer back to this guide for further restoration if needed.


Leave a Reply