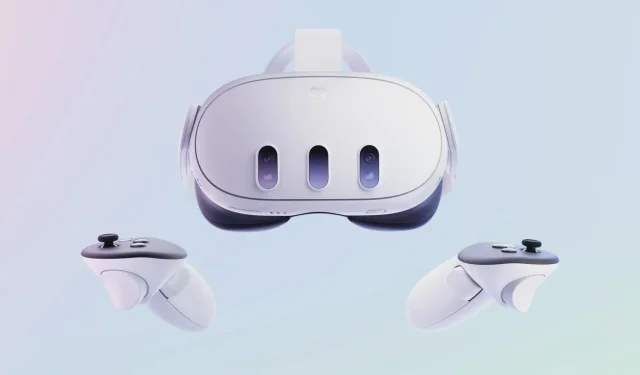
When introducing a new Meta Quest 3 headset into your tech arsenal, users are presented with multiple options for account creation. One of the most convenient pathways is linking a Meta account with an existing Facebook account. However, many users prefer the idea of maintaining a degree of separation between their social media profiles and their VR experience.
If you’re an active user of platforms like Facebook or Instagram, you may have unknowingly interacted with the interconnected Meta ecosystem. This integration allows you to seamlessly share Instagram posts on Facebook or tag friends across both platforms. Your Meta Quest 3 adds another layer to this connectivity, offering options to link your headset with these social accounts.
Is a Facebook Account Necessary for Meta Quest 3?
Exploring Various Setup Options for Meta Quest 3
While linking your Meta Quest 3 to a Facebook account can streamline the setup process, it is essential to note that a Facebook login is not mandatory. If you have the Facebook app connected to your mobile device, you may encounter a prompt to log in during the setup. Nevertheless, you always have the option to create a Meta account solely dedicated to your headset.
This independent account gives you the privacy and separation from social media that you might desire while engaging with your new virtual reality technology. To bypass the Facebook option, simply select the email option during the setup instead. During the installation within the Meta Horizons app, you may also see your Instagram accounts appear, which you can choose to ignore as well.
Creating a Meta Quest 3 Account Without Facebook
Using Email to Create a Meta Account Without Social Media
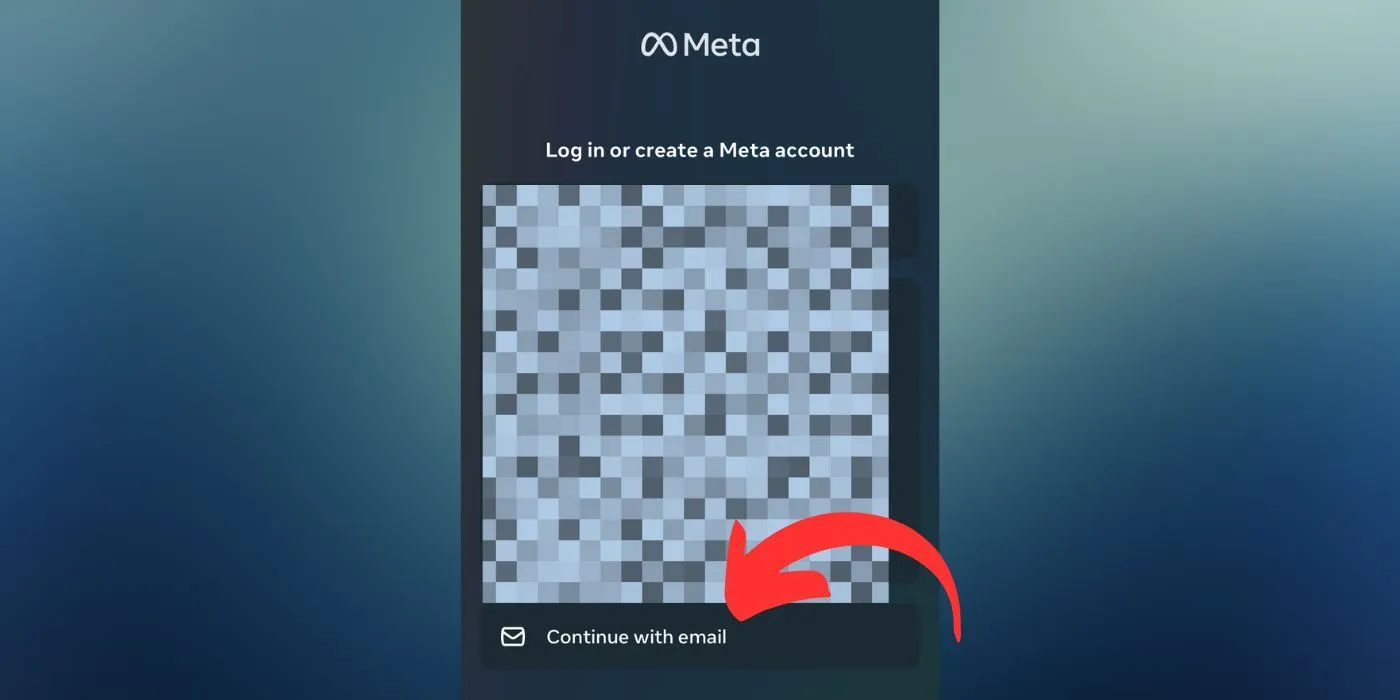
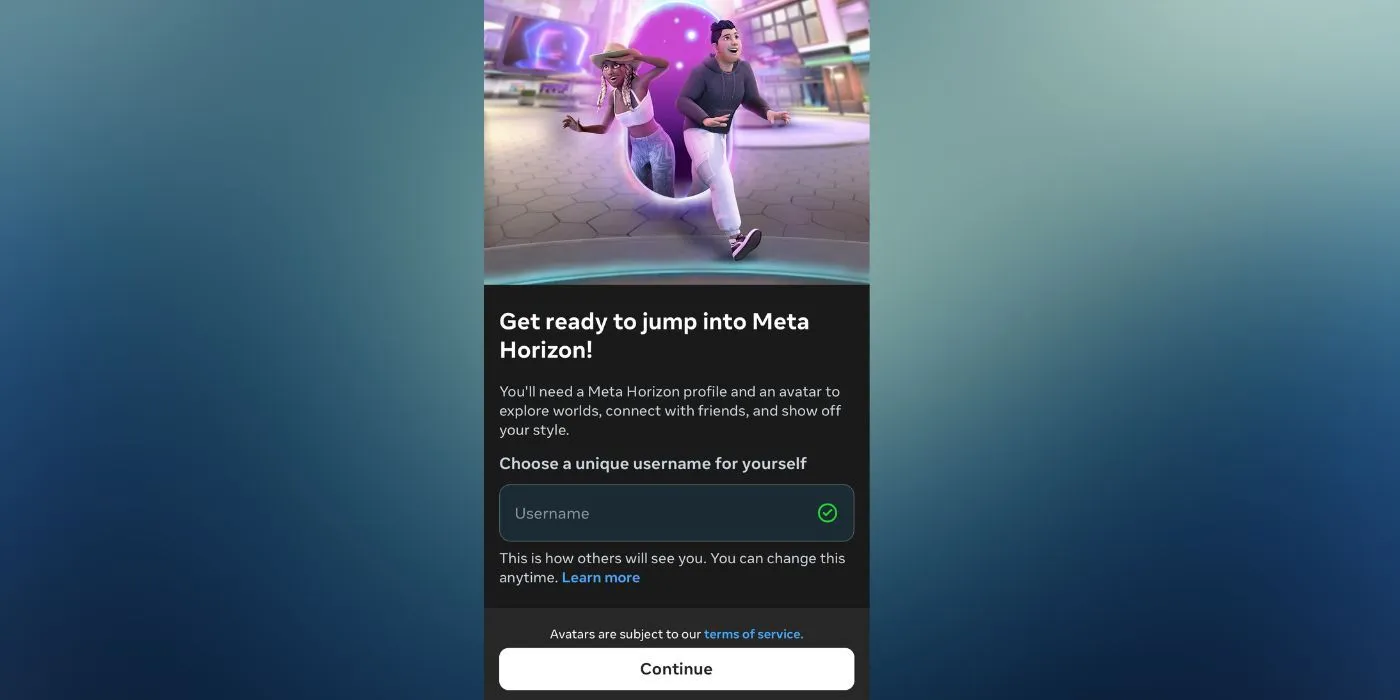
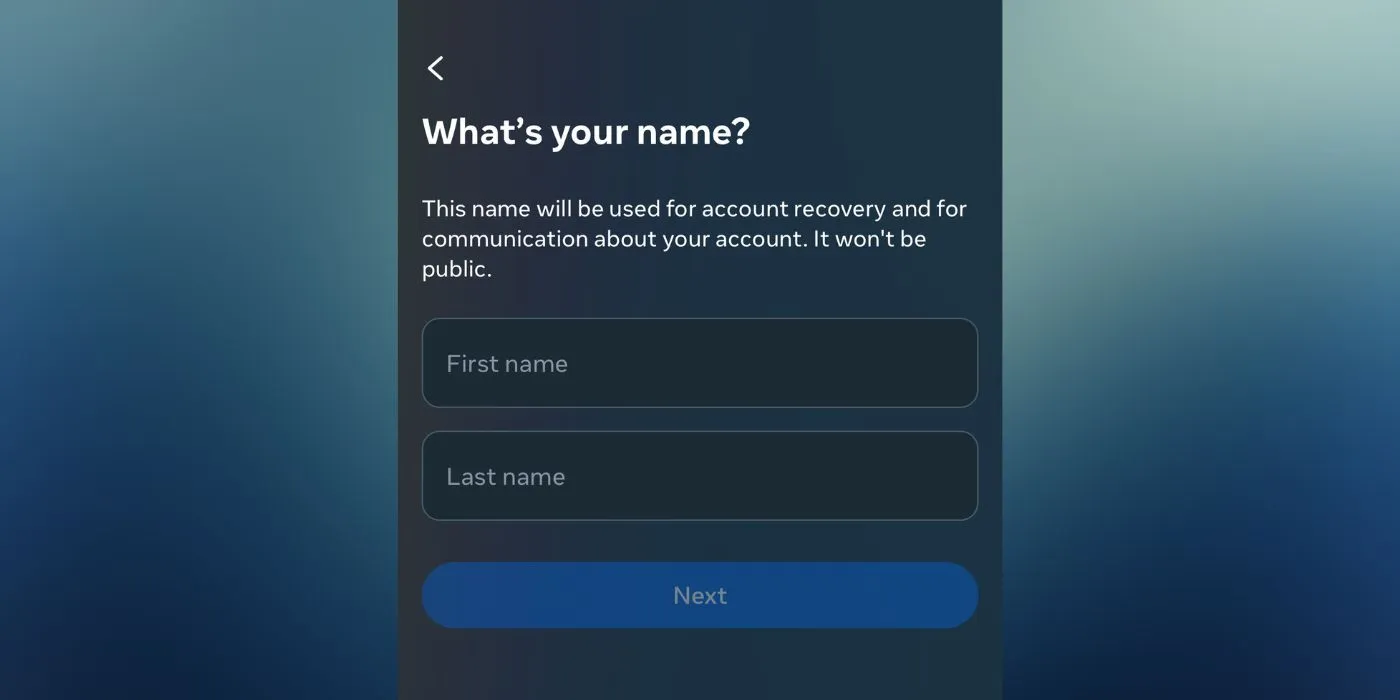
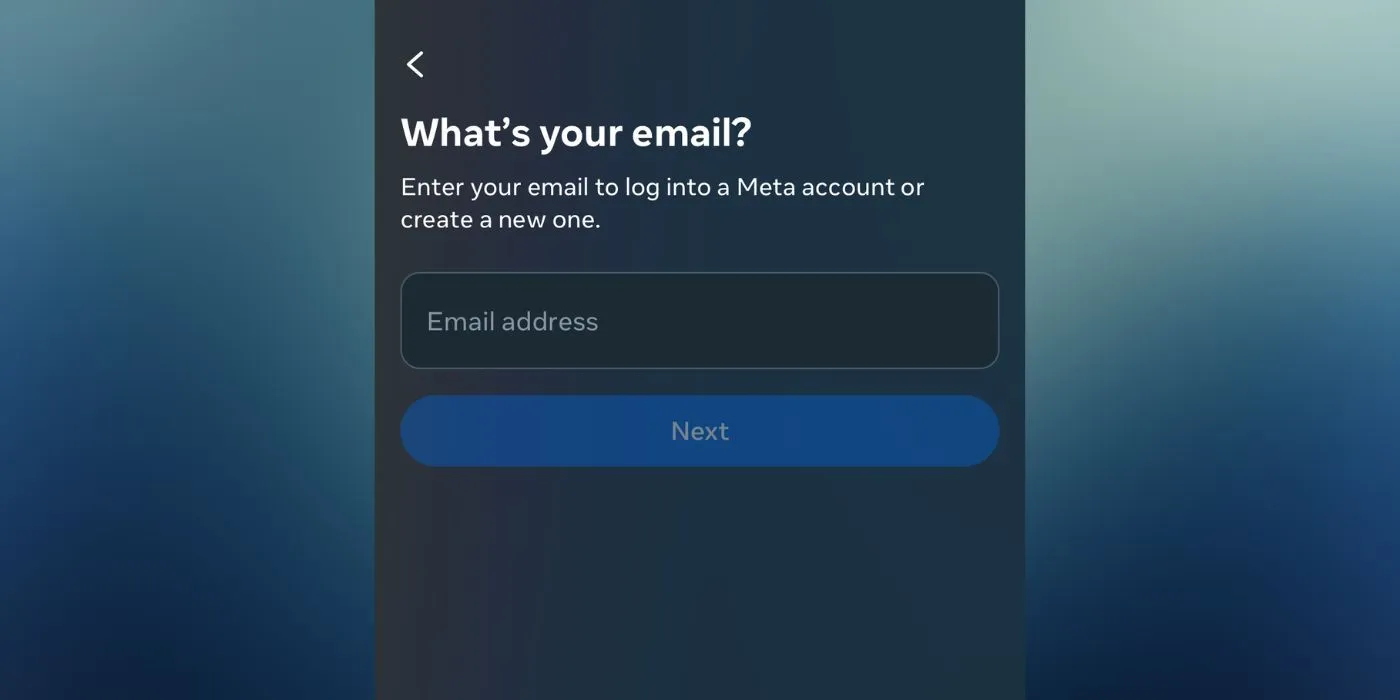
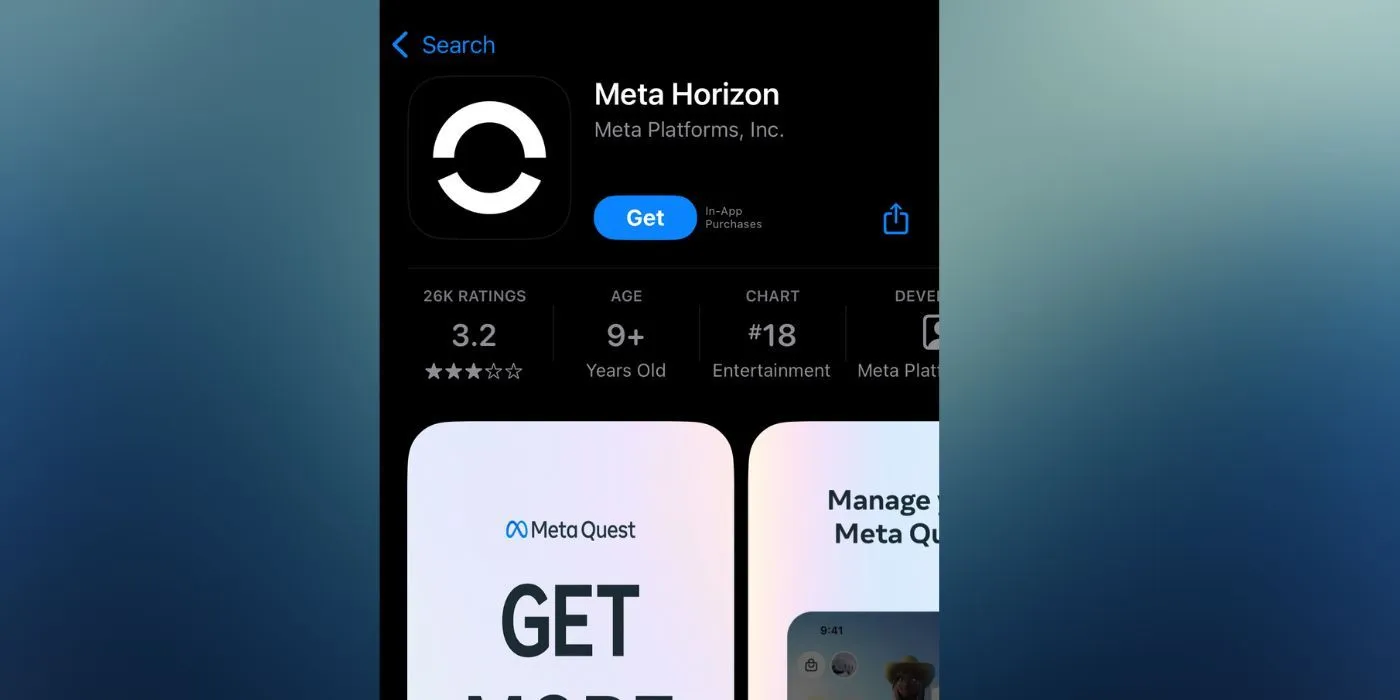
To initiate the account creation process, start by downloading the Meta Horizons app. Upon launching the app, you’ll be greeted by a login screen that allows you to either sign in to an existing account or create a new one. If you have accounts on Facebook or Instagram, their icons will appear here. To steer clear of Facebook, select the option labeled “Continue With Email.”
You can later link your Facebook or Instagram accounts if you choose to do so; just navigate to the home screen or settings within the app to connect them at any time.
Next, provide the email address you wish to use and click continue. The app will require you to input some basic personal information, such as your name, date of birth, and preferred password. Before finalizing your account, you will also need to verify your information by inputting a code sent to your email. After completing these steps, click continue.
If you previously went through setup on a Meta Quest 2, you can log in with that same email, link the new Meta Quest 3 to your account, and transfer any previously purchased content. If you don’t have an existing account, you’ll then be prompted to create an avatar, which you can customize later. To skip this step, simply click the ‘x’ in the top left corner.
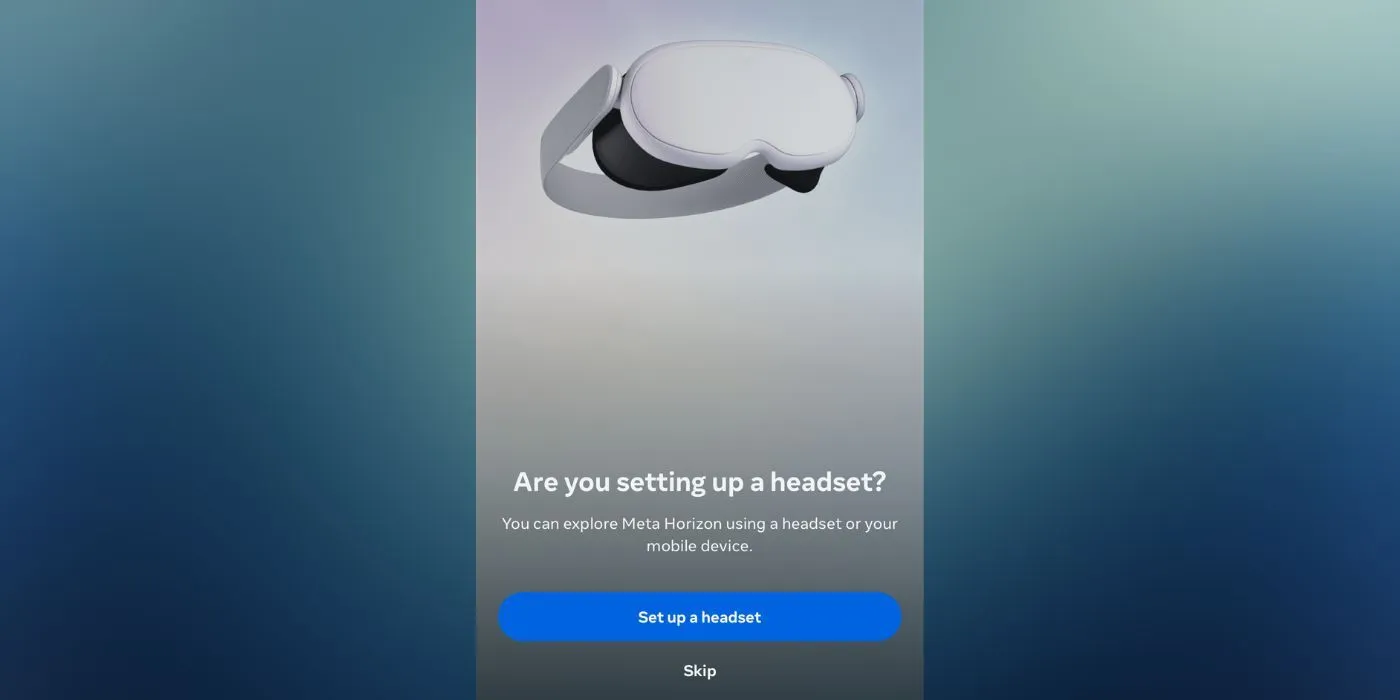
Next, you’ll choose to set your profile as public or private. Opting for a private profile means your account details and gaming activity will remain hidden from others, which may be preferable for many users. Afterward, you will arrive at a prompt asking if you are setting up a new headset.
If you’re configuring your setup for the first time with the Meta Quest 3, select the option labeled “Set up a Headset”and follow the on-screen prompts. If you’re preparing in advance or plan on connecting later, you can skip this step and add a device later via the settings section of the Meta Horizons app. Once completed, your Meta account will be fully established and ready for use.


Leave a Reply ▼