Marvel Rivals presents an engaging hero shooter experience that, while not groundbreaking, serves as an excellent entry point into the genre for devoted Marvel enthusiasts. The game features beloved characters, including Wolverine and Spider-Man. However, the potential to include iconic figures like Goku or Naruto raises intriguing possibilities.
For PC players eager to expand their gameplay, mods offer a creative solution. This guide provides useful instructions for installing mods in Marvel Rivals, a process that may not be widely known among new players.
Installing Mods for Marvel Rivals on PC

Since Marvel Rivals runs on Unreal Engine 5, its mod files take the form of pak files. The installation process is straightforward, essentially revolving around copying and pasting files. Here’s how to install mods for Marvel Rivals on your PC:
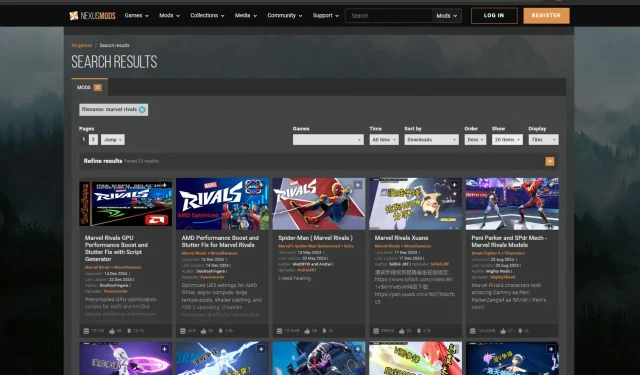
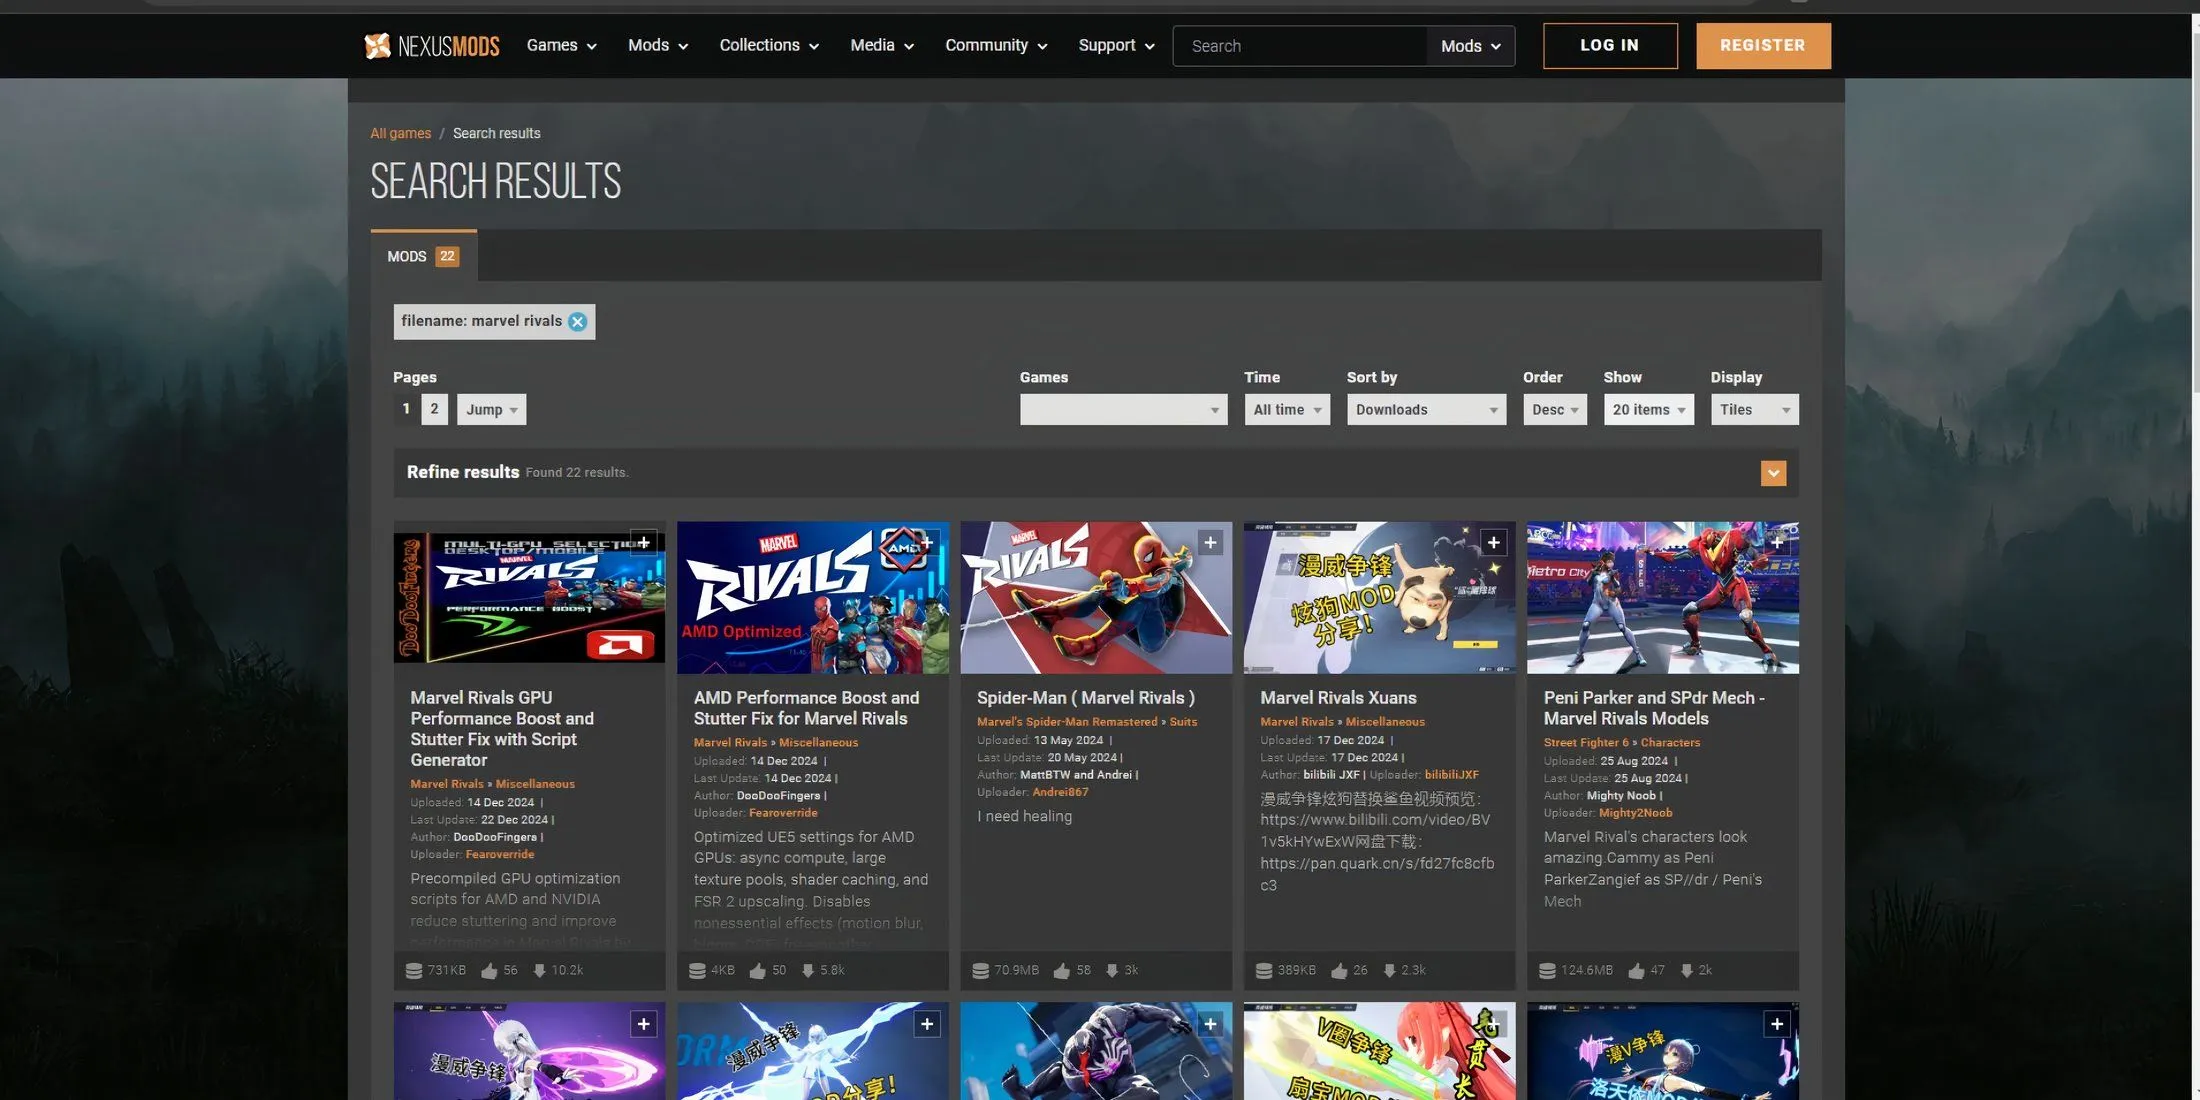
- Search for a mod on Nexus Mods and download your chosen file.
- Open your Steam library, right-click on Marvel Rivals, select Manage, then click on Browse local files.
- Navigate to the Marvel Rivals folder, and find Paks under the path: MarvelGame > Marvel > Content. Create a new folder named “~mods” here.
- Extract the downloaded mod file into the “~mods” folder.
- Launch Marvel Rivals to start exploring your newly installed mod!

If you wish to remove a mod, simply delete the related pak file from the “~mods” folder. Multiple mods can function together, provided there are no conflicts between them.
Although the developers have not clarified the acceptability of cosmetic mods, it is generally understood that alterations enabling cheating or game abuse are discouraged. Cosmetic mods that merely change the aesthetics of characters should typically pose no significant issues; however, be aware that they might still lead to consequences if misused.
Thus, installing mods comes with inherent risks. It’s advisable to follow updates and discussions within the official Marvel Rivals Discord channel to avoid problems in the future.
For more detailed insights, check out our resources:


Leave a Reply ▼