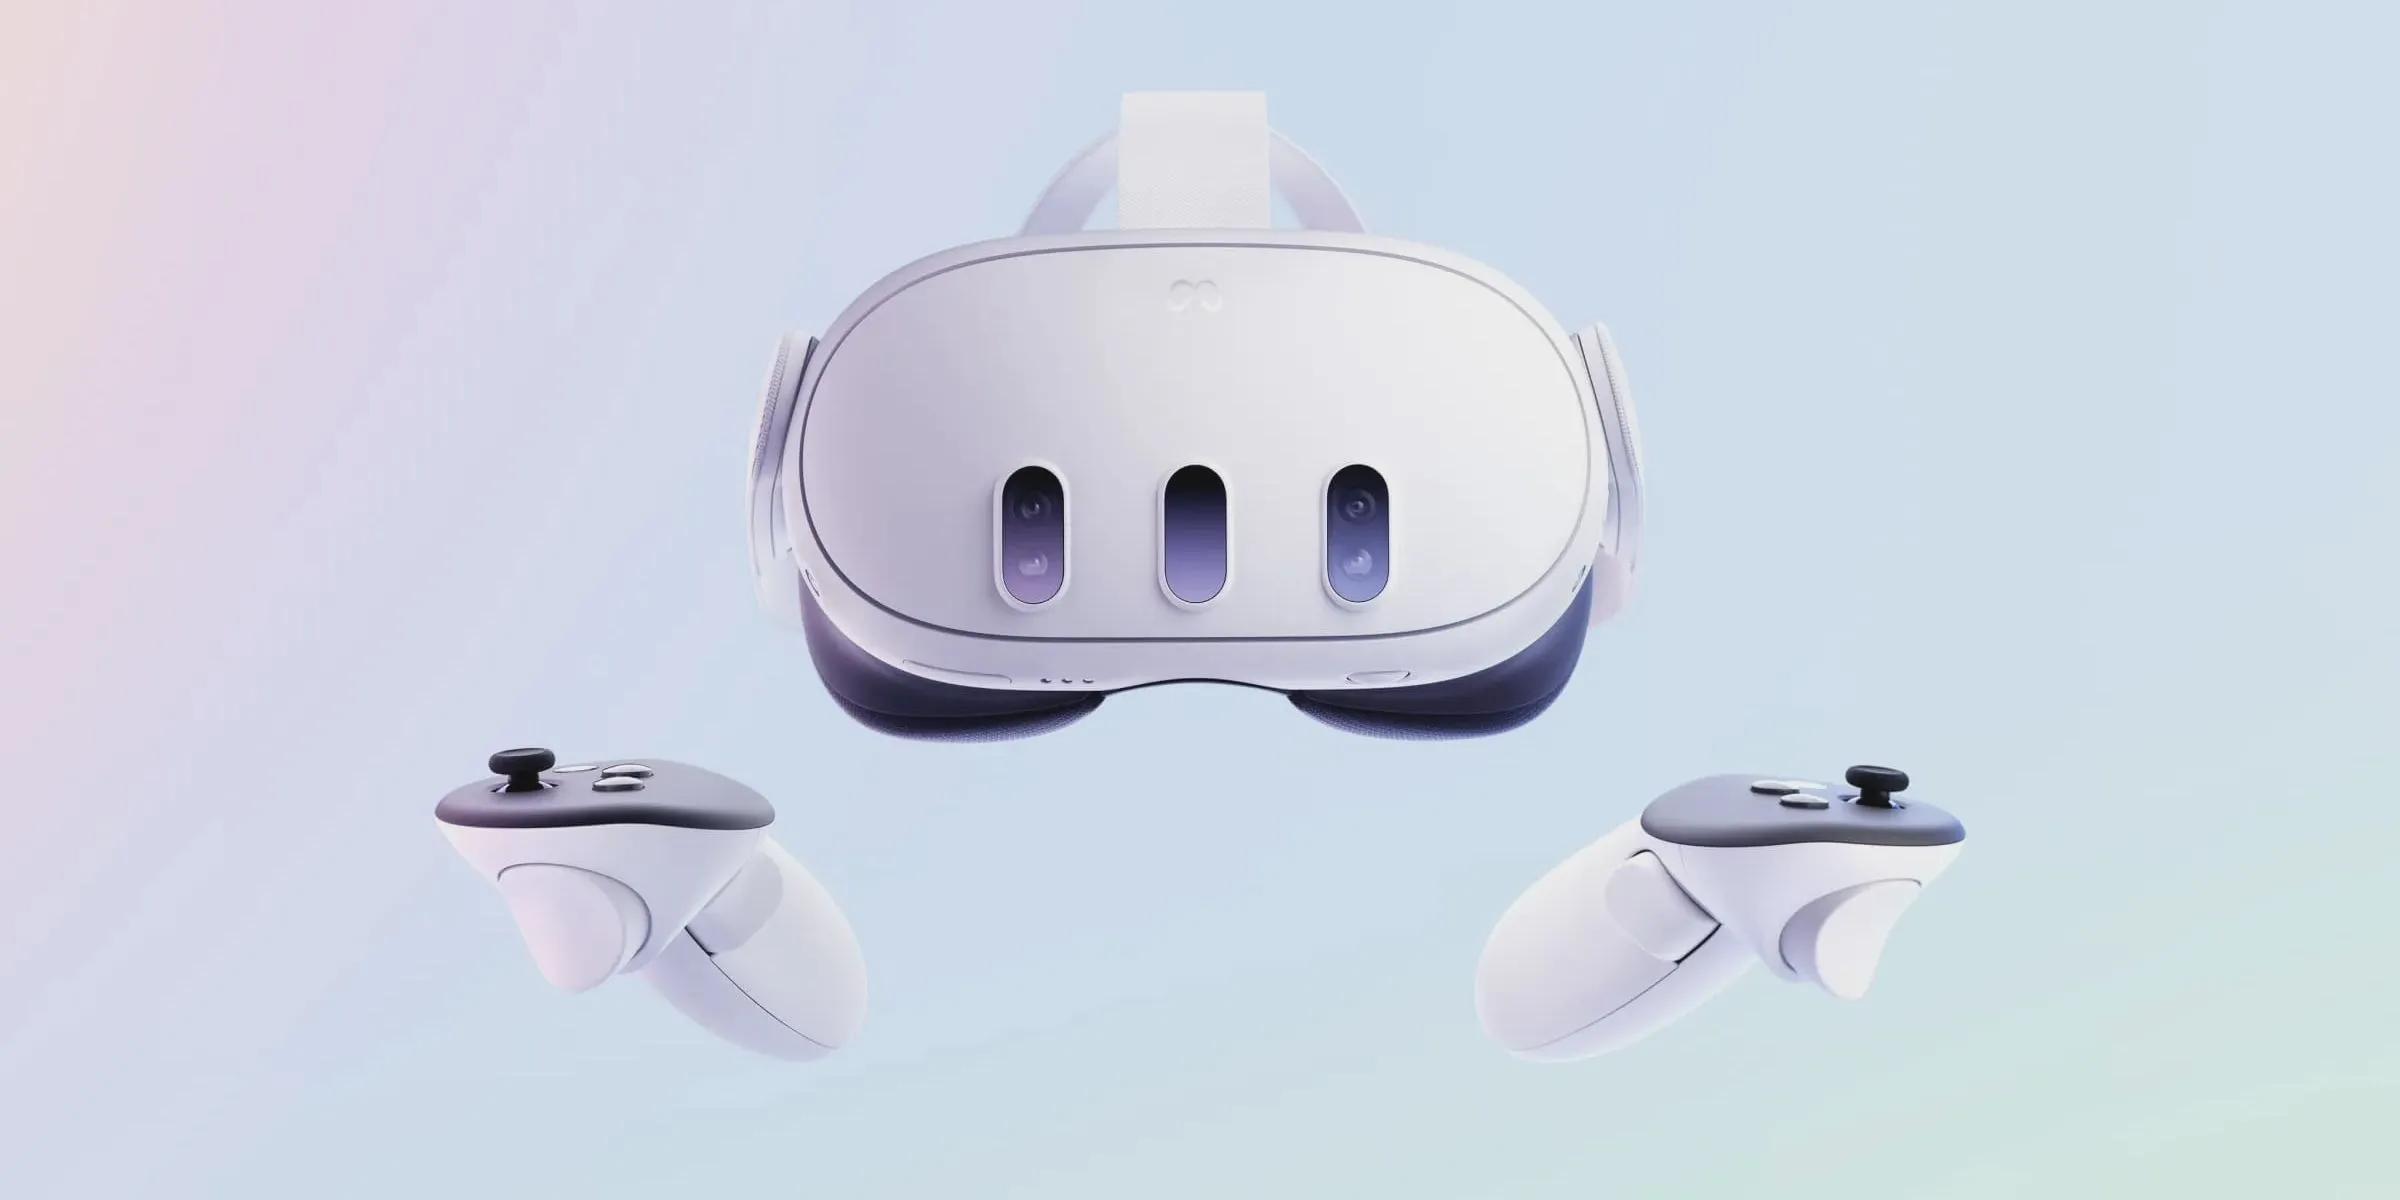
Meta Quest 3 offers an engaging virtual reality (VR) experience suitable for families. Its design allows multiple users to create personalized accounts, enhancing the overall enjoyment. However, the initial setup of a single account can be perplexing, which makes adding additional accounts even more complicated.
While it’s possible to incorporate more accounts into your Meta Quest 3 headset, it’s essential to note that you can only add up to three additional accounts, totaling four on the device. Additionally, the setup process requires the primary account to be activated first, preventing simultaneous setup with additional accounts.
Quick Navigation
- Setting Up Your Account on Meta Quest 3
- Installing the Meta Horizons App
- Adding Another Account on Meta Quest 3
Setting Up Your Account on Meta Quest 3
Installing the Meta Horizons App

Before you begin, be prepared for a potentially frustrating setup process; patience is crucial. Start by ensuring both your Meta Quest headset and controllers are fully charged. This step is vital to avoid interruptions during the setup.
After charging, put on the headset and adjust the straps for a comfortable fit. It should feel secure while allowing for movement. Once adjusted, power on your controllers. If this is your first time using the device, you may see prompts guiding you through adjusting the fit and lenses for comfort. Follow these on-screen instructions carefully.
The next step is to connect to a stable Wi-Fi network. After a successful connection, a prompt will appear asking you to download the Meta Horizon app on a mobile device. Take note of any pairing code displayed, as it may be required later for manual setup.
Your headset might need an update at this stage, allowing you to continue the setup through the app. The Meta Horizon app will prompt you to log in or create a new account. If you have an account from a previous Meta Quest 2 setup, you can log in using those credentials. If not, choose to create a new account using either your Facebook profile or your email address.
By transferring your Meta Quest 2 account, you retain access to all prior purchases, including VR games. To start from scratch, select “Continue with Email”and follow the instructions to complete your new account setup.
After successfully setting up your account, you’ll be taken to the app’s homepage. A pop-up will instruct you to set up a headset; select that option and choose your Meta Quest model.
If you do not see the setup prompt, navigate to your profile icon, click on the three-line menu at the top right, and select “Devices”in the Device Management section to connect to a new device.
The app will search for your headset and display a confirmation when pairing is complete. If the connection fails, you will need to enter a manual pairing code found on your headset’s screen. Enter this code into your phone, and the devices will pair successfully. If issues persist, try restarting the headset, ensuring Wi-Fi is connected, or, if necessary, perform a factory reset on the Meta Quest to begin anew.
Adding Another Account on Meta Quest 3
Adding Up to Three Accounts to Any Headset

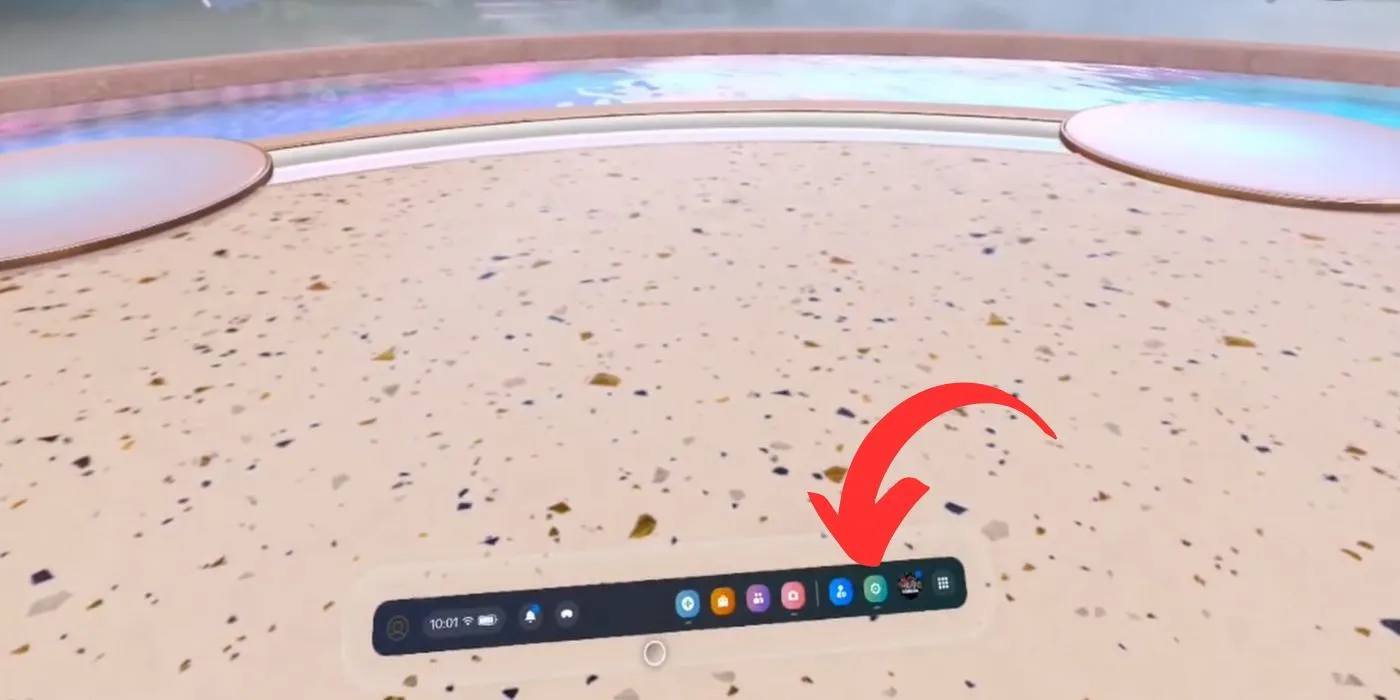
Once you have your initial account set up, you can easily add more accounts to your Meta Quest headset. To begin, navigate to the settings icon in the menu. If you’re unsure which icon it is, hover over the icons for clarification.
Upon accessing the settings screen, locate the “Accounts”tab, which displays the accounts currently linked to your headset. If you have only set up your initial account, it will be the only one visible. The screen will also indicate that you can add up to three additional accounts and highlight that administrators can manage settings for all accounts, making it convenient for families.
To add a new account, click the “Add Account”button located at the top right of the screen. A pop-up will ask if you wish to share apps across accounts—this option can also be skipped and adjusted later as needed.
App sharing can be enabled later from the Accounts tab within Settings. At the bottom of the account list, you will find the option to toggle App Sharing on or off whenever needed.
After making your app sharing preferences, ensure the headset is online. Hand the headset to the individual creating the new account, or you may assist them. Select “Continue”once the headset is on for the new user, and the new account setup process will closely mirror that of the initial account setup.
When the profile of the current user appears, look for the “Switch Accounts”option in the top right corner of the screen to select the different users operating the Meta Quest 3.


Leave a Reply