
Baldur’s Gate 3 offers players a choice of twelve distinct classes, including the versatile Druid Class. Within this class, players can select from three unique subclasses known as Circles: the Circle of the Moon, the Circle of the Land, and the Circle of Spores.
In Baldur’s Gate 3, many players lean towards builds that emphasize a specific subclass or mechanic. For Druids, the Circle of the Moon subclass significantly enhances the Wild Shape ability, allowing for transformative combat strategies.
Updated January 1, 2025 by Erik Petrovich: As we move into 2025, Baldur’s Gate 3 remains at the forefront of discussions as one of the most popular RPGs of all time. New players may find it challenging to grasp the mechanics behind an optimal BG3 Druid build, particularly if they are not acquainted with Dungeons and Dragons or turn-based CRPGs. Understanding the rationale behind each choice in your character’s progression is essential for mastering the Druid class. This guide has been refined to clarify the systems and mechanics surrounding the Druid build, incorporating a straightforward walkthrough for the key level-up decisions in the Circle of the Moon Druid build.
Druid Class Introduction & Overview
The Baldur’s Gate 3 Druid Class, Explained

Druid Playstyle & Signature Abilities
“Druids channel the elemental forces of nature and share a deep kinship with animals. Mastery of Wild Shape allows them to transform into beasts from all over the Realms.”
The Druid class stands out in Baldur’s Gate 3 due to its remarkable versatility and the plethora of options it provides. Players can effectively play as both ranged spellcasters and melee tanks, with optimal builds often focusing on augmenting the latter role.
A common feature across all Druid subclasses is the Wild Shape ability, empowering players to transform into various animals, which grants them unique abilities tailored to specific combat situations.
This class’s signature feature, Wild Shape, is pivotal to its functionality, while its robust spell list provides significant offensive and defensive capabilities. Even in a melee-focused build, spells play a vital role in enhancing a Druid’s effectiveness in battle.
Base Druid Class Proficiencies: Armor, Weapons, Saving Throws, & Skill Choices
Upon creating your Druid, automatic class proficiencies in armor and weapons are assigned, along with options to choose two skills from a specified list.
| Proficiency Type | Proficiencies Granted/Choices Offered |
|---|---|
| Druid Armor Proficiencies |
|
| Druid Weapon Proficiencies |
|
| Druid Saving Throws |
|
| Druid Skill Proficiency Choices |
|
All Druid Subclasses
Baldur’s Gate 3 features seven unique Druid Circles (subclasses), each emphasizing different class aspects and offering a selection of distinct skills. As players level up within their chosen circle, they unlock various subclass-specific abilities.
You may reselect your Druid subclass through conversation with Withers, but be aware this will reset your level back to 1, requiring a rebuild of your Druid character.
While all subclasses provide robust options, for maximizing Druid builds, the Circle of the Moon is often the preferred choice.
| Subclass Name | Base Spec Features | Special Spec Proficiencies | Spells & Abilities |
|---|---|---|---|
| Circle of the Land |
|
N/A |
|
| Circle of the Moon |
|
N/A |
|
| Circle of Spores |
|
N/A |
|
Druid Class Features – Level By Level
The maximum level achievable in Baldur’s Gate 3 is Level 12. Each level advancement typically grants new abilities, feats, spells, subclass characteristics, and enhancements to your Proficiency Bonus.
The following table details what players can expect at each level up as they progress through their Druid journey. Notably, the only level without additional Druid-specific rewards is the transition from Level 10 to Level 11.
| Class Feature | Proficiency Bonus | |
|---|---|---|
| Druid Lvl 1 |
|
+2 |
| Druid Lvl 2 |
|
+2 |
| Druid Lvl 3 |
|
+2 |
| Druid Lvl 4 |
|
+2 |
| Druid Lvl 5 |
|
+3 |
| Druid Lvl 6 |
|
+3 |
| Druid Lvl 7 |
|
+3 |
| Druid Lvl 8 |
|
+3 |
| Druid Lvl 9 |
|
+4 |
| Druid Lvl 10 |
|
+4 |
| Druid Lvl 11 | N/A | +4 |
| Druid Lvl 12 |
|
+4 |
Druid Spell Slots & Prepared Spells – Level By Level
| Prepared Spells | Cantrips Known | Lvl 1 Slots | Lvl 2 Slots | Lvl 3 Slots | Lvl 4 Slots | Lvl 5 Slots | Lvl 6 Slots | |
|---|---|---|---|---|---|---|---|---|
| Druid Lvl 1 | 1 + WIS modifier | 2 | 2 | – | – | – | – | – |
| Druid Lvl 2 | 2 + WIS modifier | 2 | 3 | – | – | – | – | – |
| Druid Lvl 3 | 3 + WIS modifier | 2 | 4 | 2 | – | – | – | – |
| Druid Lvl 4 | 4 + WIS modifier | 3 | 4 | 3 | – | – | – | – |
| Druid Lvl 5 | 5 + WIS modifier | 3 | 4 | 3 | 2 | – | – | – |
| Druid Lvl 6 | 6 + WIS modifier | 3 | 4 | 3 | 3 | – | – | – |
| Druid Lvl 7 | 7 + WIS modifier | 3 | 4 | 3 | 3 | 1 | – | – |
| Druid Lvl 8 | 8 + WIS modifier | 3 | 4 | 3 | 3 | 2 | – | – |
| Druid Lvl 9 | 9 + WIS modifier | 3 | 4 | 3 | 3 | 3 | 1 | – |
| Druid Lvl 10 | 10 + WIS modifier | 4 | 4 | 3 | 3 | 3 | 2 | – |
| Druid Lvl 11 | 11 + WIS modifier | 4 | 4 | 3 | 3 | 3 | 2 | 1 |
| Druid Lvl 12 | 12 + WIS modifier | 4 | 4 | 3 | 3 | 3 | 2 | 1 |
BG3 Druid Subclass Choice – Circle Of The Moon
Overview Of BG3 Druid Circle Of The Moon Subclass
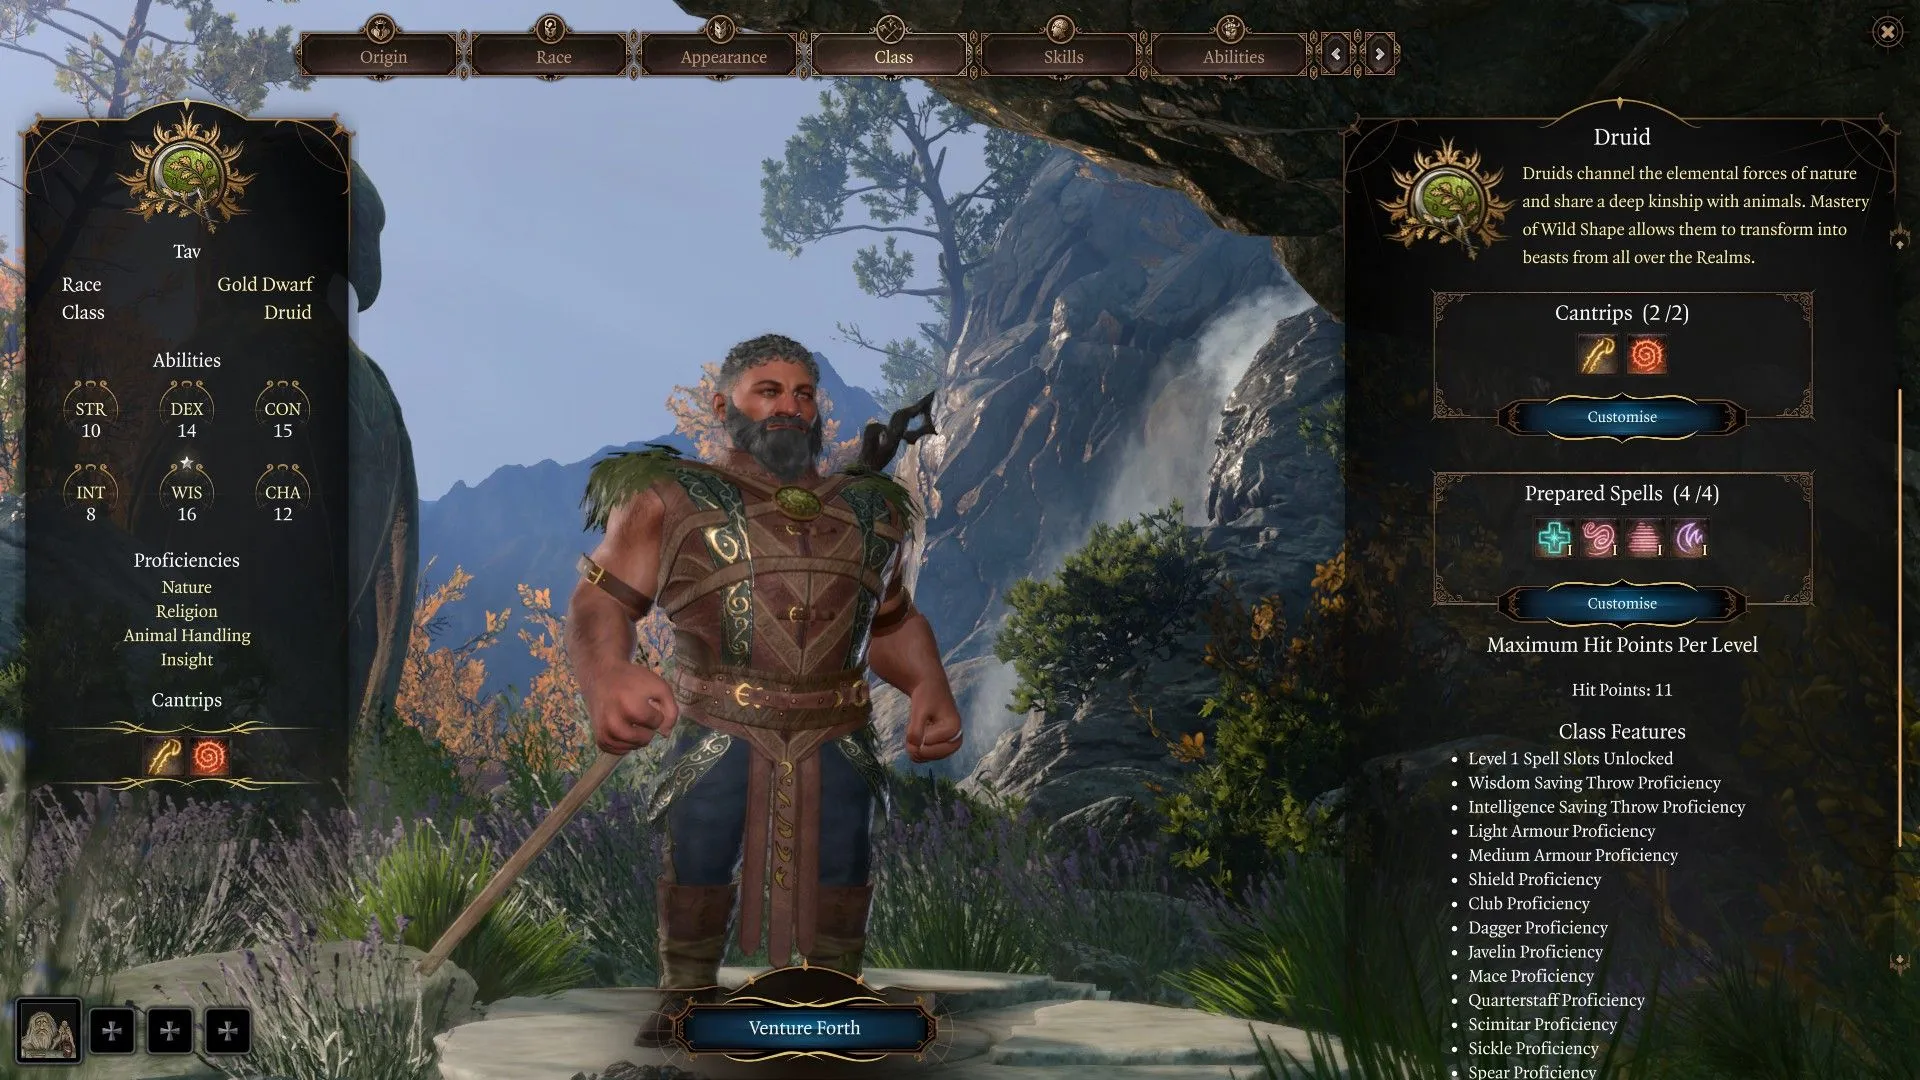
What Makes Circle of the Moon the Best BG3 Druid Subclass?
“Druids sworn to the moon draw on its mercurial nature to transform into massive creatures and primal elementals.”
The Druid class in Baldur’s Gate 3 offers a choice of three distinctive subclasses: Circle of the Land, Circle of the Moon, and Circle of Spores. Each one enhances different aspects of the Druid’s capabilities. While the Circle of the Land focuses on enhancing spellcasting, the Circle of Spores adds versatility in support and damage roles. However, the Circle of the Moon substantially boosts the Wild Shape mechanic, enabling melee-centric builds.
Circle of the Moon Druids generally function as melee tanks, leveraging the powerful Bear form to improve their combat capabilities through significant HP boosts, Taunt abilities, and melee attacks.
In combat, they excel in managing melee engagements, focusing on maximized damage when in Wild Shape. Outside of their transformations, they have access to potent spells such as Thorn Whip, Entangle, and Shillelagh, allowing continued effectiveness in close-quarters battles.
Circle of the Moon Subclass Features – Level By Level
In addition to the abilities earned through Druid leveling, your chosen subclass will provide unique enhancements at specific levels, making the Circle of the Moon a robust choice starting at Level 2.
| Circle of the Moon Druid Lvl 2 |
|
|---|---|
| Circle of the Moon Druid Lvl 4 |
|
| Circle of the Moon Druid Lvl 6 |
|
| Circle of the Moon Druid Lvl 8 |
|
| Circle of the Moon Druid Lvl 10 |
|
Best BG3 Druid Build Character Creation Choices
BG3 Druid Build Race, Background, Proficiency, Feats, & Stat Choices

Best BG3 Druid Race: Half-Orc
Half-Orcs emerge as one of the most advantageous choices for Druid builds focused on melee combat in Baldur’s Gate 3. Their racial abilities remain effective even when in Wild Shape, enabling Druids to deal greater damage through Critical Hits while benefiting from unique survivability features.
The main strengths of the Half-Orc race include Savage Attacks, which amplifies damage from Critical Hits, and Relentless Endurance, preventing them from falling unconscious once per Long Rest when reduced to 0 HP. These passives prove essential for a Circle of the Moon build that emphasizes close-combat proficiency.
Best Druid Backgrounds in BG3: Folk Hero or Outlander
The Folk Hero background provides proficiencies in Animal Handling and Survival, naturally granting Inspiration opportunities for good-aligned Druid behavior. This background offers the most engaging role-playing opportunities for Circle of the Moon Druids.
Conversely, the Outlander background offers Athletics and Survival abilities, which can be quite useful in combat. Although Folk Hero may generate more Inspiration chances, both backgrounds remain viable based on personal preference for gameplay style.
Best BG3 Druid Skill Proficiency Choices: Perception and Insight
With the options provided by the Folk Hero background, the Druid Class can explore skills not directly linked to proficiency, such as Perception or Insight, with Insight being particularly useful for social interactions.
For players selecting the Outlander background, Perception and Insight can still be relevant choices, aiding in role-play scenarios. Skills like Nature or Religion may also enhance the Druid’s character, though their utility is more situational.
Best Circle of the Moon Wild Shape: Owlbear
Through leveling, Druids acquire multiple Wild Shape forms, with Circle of the Moon builds unlocking additional transformations. While the early phases cover Bear and Raven forms, acquiring Owlbear form at Level 6 solidifies its status as the most formidable Wild Shape.
The Owlbear features a substantial HP pool and possesses the distinct ability to increase its own Strength and execute an area of effect attack, making it an ideal front-line attacker for full engagement in battles. It quickly becomes vital for the optimal BG3 Druid build.
Best BG3 Druid Feats: Alert, War Caster, and Savage Attacker
- Alert Effects: +5 to Initiative and immunity to being surprised
-
War Caster Effects: Grants two passive abilities:
- Concentration: Grants Advantage on Concentration Saving Throws
- Opportunity Spell: Lets you cast Shocking Grasp on a fleeing enemy instead of making a normal attack
- Savage Attacker Effects: Allows you to roll all damage dice twice for melee weapon attacks, using the higher result.
Best Druid Ability Scores & Stat Distribution
To optimize your BG3 Druid build effectively, prioritize Wisdom, followed by Constitution and Dexterity.
Wisdom is crucial for most Circle of the Moon Druid abilities, while Constitution and Dexterity will enhance durability and improve combat mechanics.
| STR | DEX | WITH | INT | ALREADY | NO | |
|---|---|---|---|---|---|---|
| Base | 10 | 14 | 16 | 10 | 16 | 8 |
| Modifier | 0 | +2 | +3 | 0 | +3 | -1 |
Best BG3 Druid Leveling Choices
Best Druid Spells, Feats, & Other Choices At Every Level
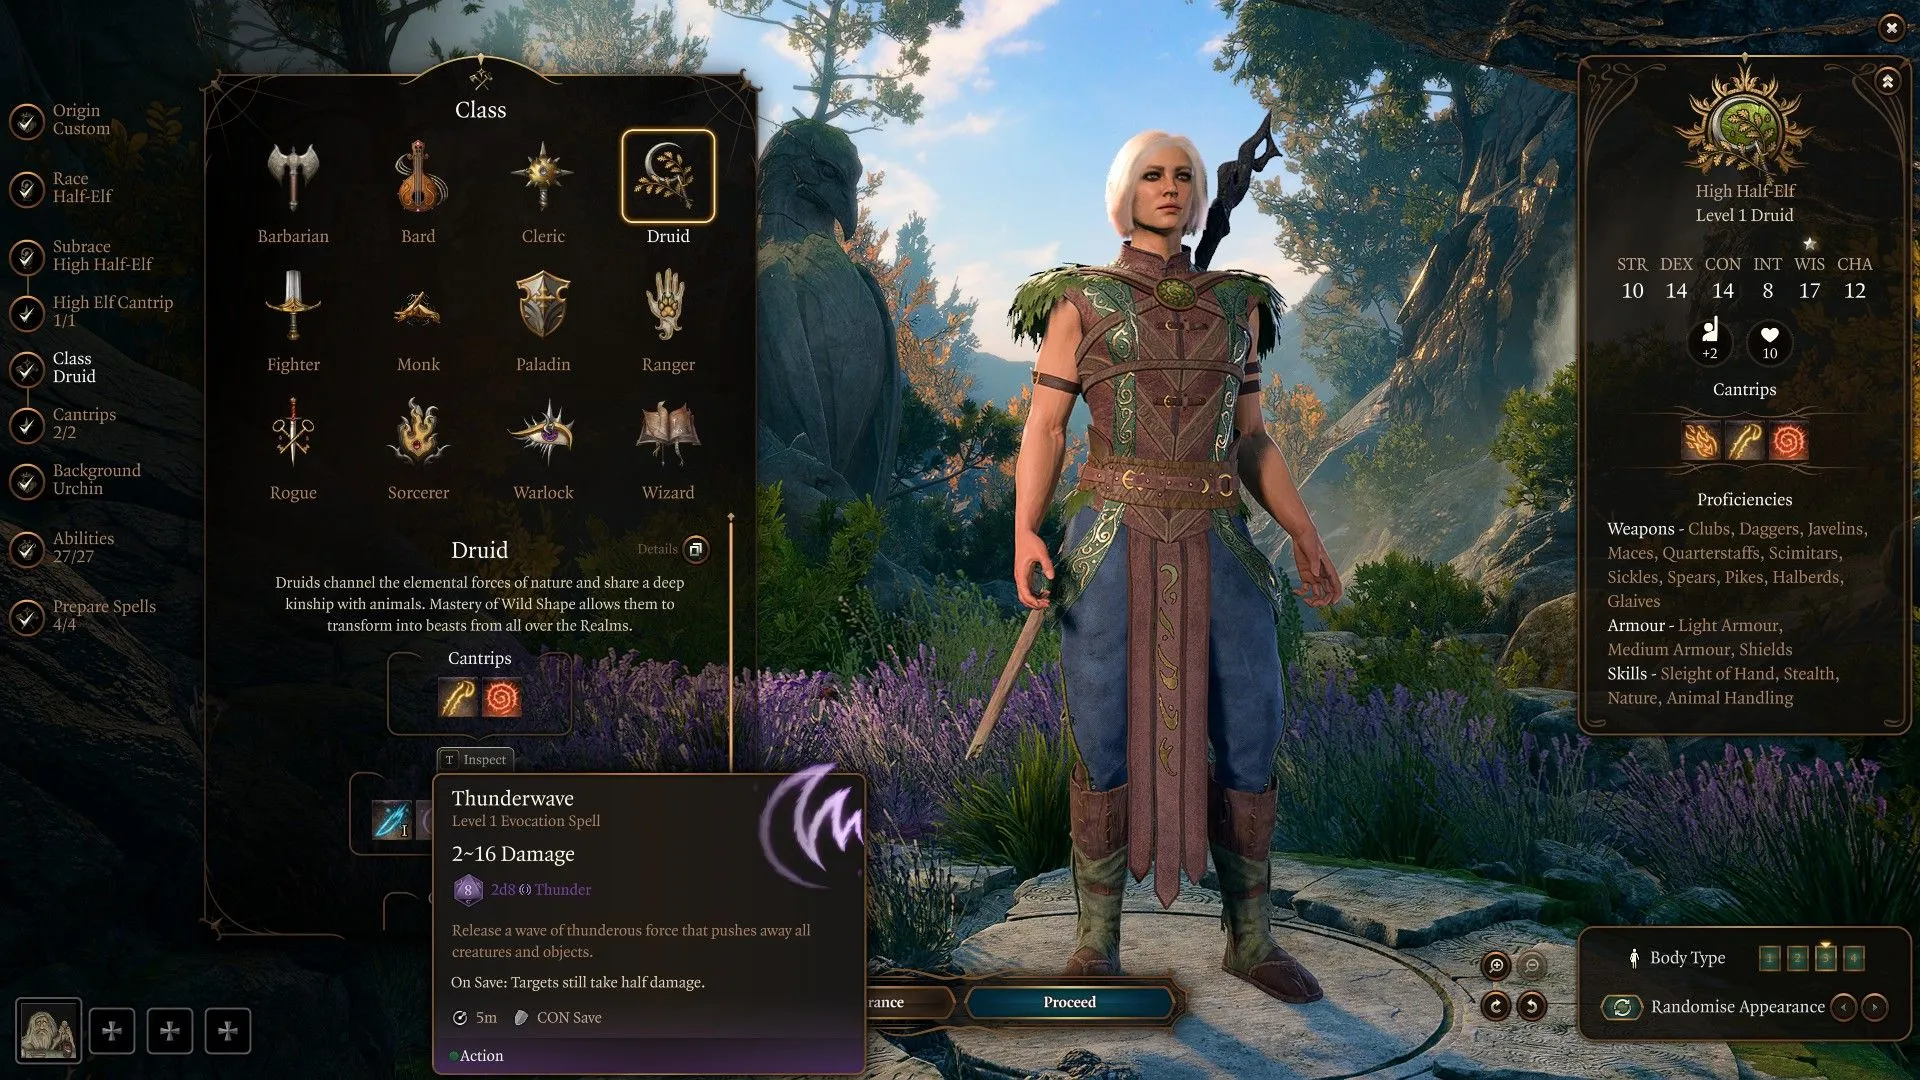
The maximum level for characters in Baldur’s Gate 3 is Level 12, providing players with numerous opportunities for selecting spells and features. Druids, being hybrid spellcasters and melee fighters, will discover several actionable choices at each leveling stage.
- Act 1: Reaching around Level 5, players choose their Druid Subclass (Circle of the Moon), various spells spanning Cantrips to Level 3, and a Feat.
- Act 2: Progressing to around Level 9, Druids gain access to Level 4 spells and select another Feat.
- Act 3: Approaching Level 12, they can select the premier Druid spells and a third Feat.
The following table outlines detailed recommendations for BG3 Druid build choices at each level, emphasizing those spells that synergize well with the Circle of the Moon Druid playstyle, covering both offensive and supportive capabilities.
| Class Level | Choices & Recommendations |
|---|---|
| Level 1 |
|
| Level 2 |
|
| Level 3 |
|
| Level 4 |
|
| Level 5 |
|
| Level 6 |
|
| Level 7 |
|
| Level 8 |
|
| Level 9 |
|
| Level 10 |
|
| Level 11 |
|
| Level 12 |
|
Best Druid Build Companions & Party Composition
Best Companions For Circle of the Moon Druid Builds

| Companion | Class | Role In Party | Unique Attributes |
|---|---|---|---|
| Shadowheart | Cleric | Support | Difficult to CC, hybrid Damage and Support spells. |
| Wild | Warlock | Ranged damage/CC | Short Rests restore Spell Slots, access to great CC spells. |
| Karlach | Barbarian | Melee damage | Buffed Rage, access to Soul Coin damage buffs. |
For the best Druid companions in BG3, consider including Shadowheart as your primary supporter, Wyll as your ranged damage dealer with crowd-control capabilities, and Karlach as your main melee damage dealer and tank.
Though you have the flexibility to adjust the class and specialization of any companions, these three provide strong class combinations that complement your Druid’s build effectively.
- Shadowheart: A Trickery Cleric who excels in supporting both through damage and healing, amplifying the Circle of the Moon’s playstyle.
- Wyll: A Fiend Warlock whose spell list, while limited, allows him to provide hybrid damage and control, enhancing overall group synergy.
- Karlach: Best played as a Berserker, she delivers powerful melee attacks, ensuring your party maintains high HP and strategic control.
If you’re keen on incorporating a specific character into your party, consider talking to Withers to reset their class to one of the optimal options listed above. This way, you’ll retain character-specific quests while ensuring your party remains balanced and effective.
Best Baldur’s Gate 3 Druid Build Equipment
Get The Best BG3 Druid Gear In All Three Acts
This section discusses the premier equipment options for Circle of the Moon Druids across all three Acts, noting that some items may retain their potency through later stages of the game.
- Bolded item names denote new additions suitable for each Act, with potential to replace older items.
- Unbolded item names are established items that can remain effective even in later Acts.
Best Circle of the Moon Druid Items & Equipment: Act 1
| Name | Effect | Location |
|---|---|---|
| Head | +1 to Nature checks | Found in the Underground Passage (with Animal Runes and traps) |
| Cloak | None Available (except Deathstalker Mantle) | N/A |
| Chest | +2 to DEX saving throws and Ability Checks, +1 to Nature checks | Purchased from Arron in the Emerald Grove |
| Gloves | Grants Advantage on Attack Rolls when surrounded by 2+ enemies, +2 to STR saving throws | Looted from a chest inside the Shattered Sanctum (near Dror Ragzlin) |
| Boots | Grants the Click Heels bonus action, reducing Opportunity Attacks’ efficacy and increasing Movement Speed | Purchased from Thulla in the Myconid Colony of the Underdark. |
| Neck | Grants the Pearlescent Restoration ability, restoring Spell Slots | Purchased from Omeluum in the Myconid Colony |
| Ring 1 | +1d4 to all checks while Shapeshifted | Drops from the Strange Ox in Acts 1, 2, or 3 |
| Ring 2 | +3m (10ft) Movement Speed | Drops from Novice Crusher in the Shattered Sanctum of the Goblin Camp |
| Main Weapon | Sets Base Strength to 19 | Break the stool at the top of the Arcane Tower in the Underdark |
| Offhand | N/A | N/A |
Best Circle of the Moon Druid Items & Equipment: Act 2
| Name | Effect | Location | |
|---|---|---|---|
| Head | +1 to Spell Save DC, +1 to Initiative | Purchased from Lann Tarv in Moonrise Towers | |
| Cloak | Cloak of Protection | +1 to AC and saving throws | Purchased from Quartermaster Talli at Last Light Inn |
| Chest | Barkskin Armor | AC 16, grants constant Barkskin effects, Advantage on CON saving throws and Ability Checks | Purchased from Quartermaster Talli at Last Light Inn |
| Gloves | Maintains Advantage on Attack Rolls when surrounded by 2+ enemies, +2 to STR saving throws | Looted from a chest inside the Shattered Sanctum (near Dror Ragzlin) (Act 1) | |
| Boots | Grants the Click Heels bonus action, increasing Movement Speed | Purchased from Thulla in the Myconid Colony (Act 1) | |
| Neck | Provides the Pearlescent Restoration ability for restoring Spell Slots | Purchased from Omeluum in the Myconid Colony (Act 1) | |
| Ring 1 | +1d4 to all checks when Shapeshifted | Drops from the Strange Ox in Acts 1, 2, or 3 | |
| Ring 2 | Next attack after killing a target is a Critical Hit (once per Long Rest) | Found after the Self-Same Trial in Gauntlet of Shar | |
| Main Weapon | Sets Base Strength to 19 | Breaks the stool at the top of the Arcane Tower in the Underdark (Act 1) | |
| Offhand | N/A | N/A |
Best Circle of the Moon Druid Items & Equipment: Act 3
| Name | Effect | Location | |
|---|---|---|---|
| Head | Adds 1 Wild Shape charge | Purchased from special stock at Helsik in the Devil’s Fee | |
| Cloak | Cloak of Displacement | Applies Disadvantage on incoming attacks until the wearer takes damage | Purchased from Entharl Danthelon in Wyrm’s Crossing |
| Chest | Armor of Moonbasking | Grants 22 Temporary HP upon Wild Shaping and lowers all damage by one while active; +2 Armor Class and Advantage on Spell Saving Throws | Purchased from Voiceless Penitent Bareki near the Undercity Ruins Waypoint |
| Gloves | Thunderpalm Strikers | Unarmed strikes deal +1d4 Thunder damage; grants the Thunderwave spell | Purchase from Wulbren in Act 1 after rescuing him |
| Boots | Grants the Click Heels bonus action, increasing Movement Speed | Purchased from Thulla in the Myconid Colony of the Underdark (Act 1) | |
| Neck | Corvid Token | Increases Jump and Fly distance by 1.5 meters; Feather Fall applies while Wild Shaped; grants Polymorph: Dire Raven | Buy from Mattis in Act 3 if kept alive in Acts 1 and 2 |
| Ring 1 | +1d4 to all checks while Shapeshifted | Drops from the Strange Ox in Acts 1, 2, or 3 | |
| Ring 2 | The next attack after killing a target is automatically a Critical Hit (once per Long Rest) | Found post-Self-Same Trial in the Gauntlet of Shar (Act 2) | |
| Main Weapon | Sets Base Strength to 19 | Breaks the stool at the Arcane Tower in the Underdark (Act 1) | |
| Offhand | N/A | N/A |
Best BG3 Druid Multiclass Choices
Maximize Your BG3 Druid Build With Complimentary Druid Multiclass Options

Players have the option to Multiclass beginning at Level 2. To initiate a multiclass, locate the “Add Class”button within the leveling overview menu, which enables you to allocate levels to any class in Baldur’s Gate 3.
Barbarian Multiclass – Druid 11/Barbarian 1
Choosing Barbarian as a multiclass allows access to the Rage feature, providing bonus action attacks and enhanced damage potential. This Rage mechanic continues while in Wild Shape.
A build comprising 11 levels of Druid and 1 level of Barbarian allows Druids to utilize their bonus action for an additional attack while shapeshifted. Note that the Unarmored Defense from Barbarian does not stack with the Druid’s AC while transformed.
Ranger Multiclass – Druid 9/Ranger 3
The Ranger multiclass provides unique gameplay through the Beast Master subclass, enabling an Animal Companion. Combining this with the Druid’s Wild Shape allows players to summon a Bear companion while also transforming into a Bear themselves.
This strategy creates additional frontline presence, as having multiple Bears offers tactical advantages. Overall, the Ranger 3 multiclass adds exciting dynamics to the Druid playstyle while enhancing combat effectiveness.


Leave a Reply