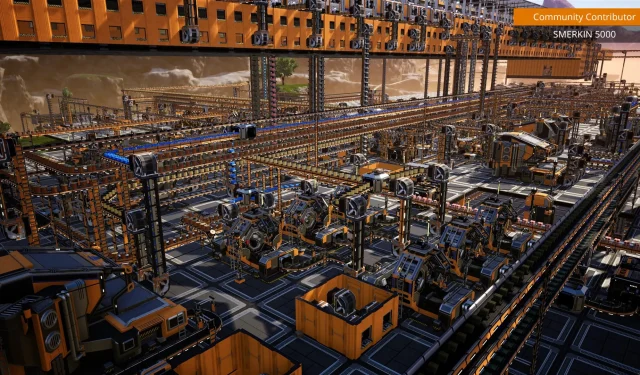
After more than five years in Early Access, the popular simulation game Satisfactory has finally launched its full release. With its intricate systems, Satisfactory can be overwhelming for new players, and even seasoned veterans may feel confused given the game’s evolution through a series of updates over the past years.
This comprehensive starter guide provides essential information for players embarking on their adventure in Satisfactory, covering everything from free starting materials to efficient map traversal techniques.
Do Not Skip the Intro
If you are a newcomer or returning after a lengthy hiatus, it is crucial to avoid the ‘Skip Intro’ option. The introduction offers invaluable insights into fundamental gameplay mechanics. Being an open-world sandbox game, it’s easy to become sidetracked and overlook key elements introduced early on.
Avoid Advanced Game Settings
Refrain from using Advanced Game Settings as it disables Achievements, similar to ‘Creative Mode’ in other simulation and survival games. While this mode can be activated during gameplay, it marks a point of no return. To revert to the default mode, players must load a save made before the switch.
Free Materials from Drop Pods
Each starting area features a drop pod containing a range of Reinforced Iron Plates. These can significantly speed up your progress in construction, allowing you to bypass some of the more arduous methods of obtaining Reinforced Plates. Typically, drop pods are located near your initial landing site.
Using Peaceful Mode
As you explore the world and gather resources, you will encounter hostile alien creatures that may attack. For a more tranquil experience, navigate to the Pause menu, then Options -> Gameplay -> Creature Hostility and select ‘Passive’ from the drop-down. Alternatively, you can choose ‘Retaliate’, which causes creatures to attack only if you instigate combat.
Key and Button Prompts
Many actions in the game have corresponding key and button prompts, allowing you to perform tasks such as rotating buildings for optimal placement and automating crafting at the Bench. Be mindful that these prompts appear at the bottom of the screen and may be easily overlooked.
Hotbar Customization
Nearly all menu functions can be assigned to a key in the hotbar. Simply hover over the desired menu button, such as Power Line, and press a hotbar key (default is ‘1′ through ‘0′) to bind it. To use the bound function, simply hit the corresponding key, streamlining your gameplay by reducing menu navigation.
HUB Placement
Initially, place your HUB as close to an Iron Node as possible, or even between multiple clusters of Iron Nodes, for optimal efficiency.
Resource Storage Tips
If you find yourself low on inventory space, make it a habit to store excess resources in designated storage areas.
Efficient Stack Movement
Given the menu-heavy nature of Satisfactory, you will frequently transfer resources. To speed up this process, use Double Left Click or Shift + Left Click to move entire stacks into the appropriate slot quickly, such as loading ore into a Smelter for ingot production.
Understanding Node Purity
The speed of resource extraction is dependent on the Node’s purity rating, which is displayed as a tooltip when you examine the ore site. The purities are ranked from Impure (slowest) to Normal and Pure (fastest). You can enhance ore production by deploying multiple Portable Miners on the same deposit.
Using the Flashlight
Nights in Satisfactory can be quite dark, especially before setting up a power grid for lighting. Use your flashlight (default ‘B’) to illuminate your surroundings until you can install a proper lighting system.
Snap Mode for Building
Initially, you will manually transport resources between production buildings. Eventually, you’ll want to construct Conveyor Belts for automated production. Utilize Snap Mode (default: Left Ctrl) to easily align buildings during construction by ensuring a green and orange dashed line appears between connected structures.
Rapid Biomass Gathering
Before you can fully automate ore refining, you’ll need to set up relevant facilities powered by a Biomass Generator, which requires collecting biomass manually. As you gather leaves and wood, hold the collection key (default ‘E’) to scoop up biomass efficiently without needing to click repeatedly on each item.
Using Power Poles
Instead of disconnecting and reconnecting power cables between several buildings, construct Power Poles that feature four distribution points. Remember to keep at least one free for connecting to another Power Pole as your grid expands.
Second Biomass Generator Installation
You may need to reorganize some connections on existing Power Poles to facilitate the installation of a second Biomass Generator.
Placing Miners Correctly
At this juncture, you’ll have the ability to produce Miners, which can be installed on ore Nodes for automated mining. If you encounter difficulties placing a Miner on a Node, ensure that the ore heap above it has been mined and cleared manually.
Quick Map Traversal Techniques
Although you can sprint in Satisfactory, utilizing a combination of sliding and jumping allows you to traverse larger distances much more quickly.
These tips and tricks cover the essentials for thriving in the early stages of Satisfactory.


Leave a Reply