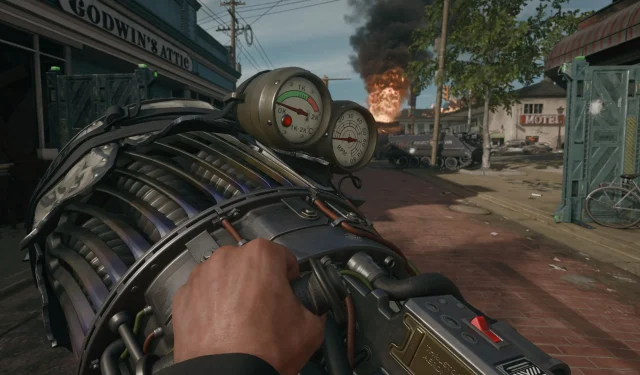
The latest map in Black Ops 6, titled Liberty Falls, presents players with the opportunity to uncover a unique Wonder Weapon. This edition allows gamers to construct the Jet Gun, a returning feature from Black Ops 2’s Tranzit, but with improved functionality and power, recognized as the Thrustodyne M23 in BO6. Players are required to gather three essential components scattered throughout the map to craft this formidable weapon.
As you begin your adventure in Liberty Falls, you’ll find that the locations for each component remain consistent across matches, simplifying the process of acquiring the Thrustodyne M23 Jet Gun. Below, we outline the steps to efficiently collect these items and create this powerful weapon.
Step 1: Get the Water Pressure Gauge
Your quest begins at Washington Avenue, positioned on the right side of the map, near the Motor Lodge or the Savings & Loans Bank. Look for Lily’s Flowerpot shop adjacent to Speed Cola, where you will find the Water Valve just inside the front door, which is notably covered in blood. Simply approach it and press the interaction button to obtain it.
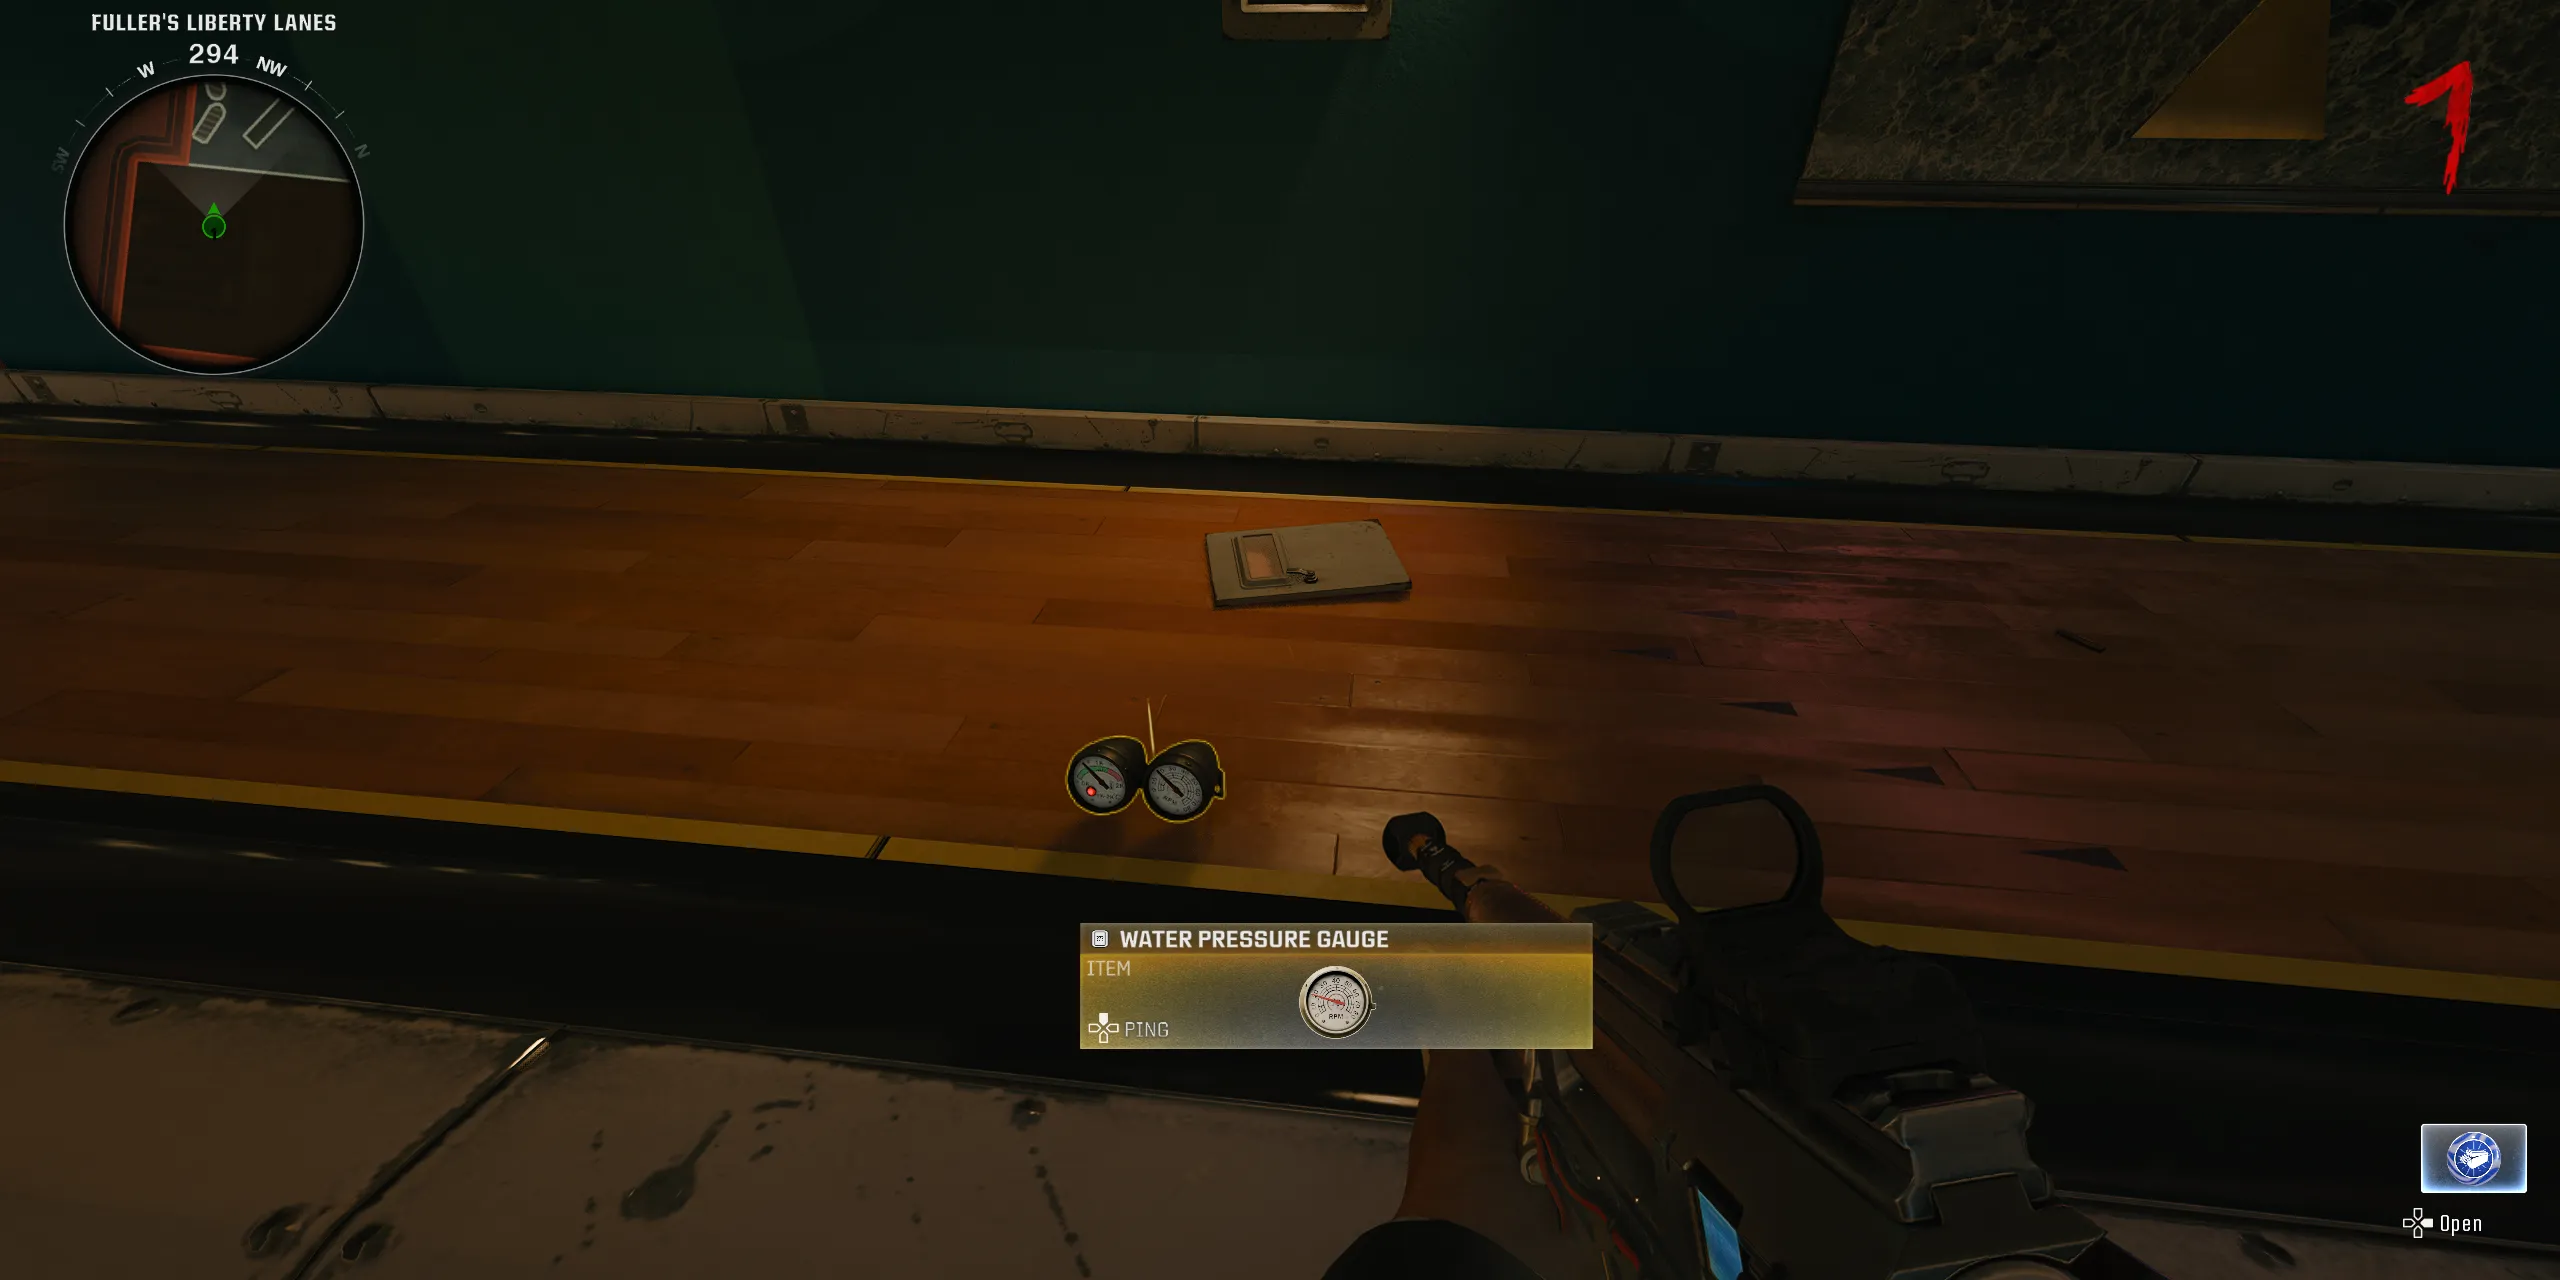
Next, proceed to the bowling alley at Fuller’s Liberty Lanes. Inside, locate a box situated against the west wall of the lanes. You can either shoot or melee the box to open it and place the newly acquired Water Valve. However, be cautious as this action summons purple-eyed zombies and vermin; doing this early in the match is advisable due to their weaker state.
To successfully raise the Water Pressure, hold the interact button at the Water Valve for approximately 40 seconds. Stay within Fuller’s Liberty Lanes to prevent the meter from resetting, as leaving the area will lose progress. A recommended strategy is to distract zombies using Monkey Bombs or Decoys while you work on the Valve. Upon completion, a bright light will eliminate any remaining zombies, allowing you to collect the Water Pressure Gauge from the ground.
Note that the first three steps can be completed in any order, but they are listed here for convenience.
Step 2: Obtain the Handbrake
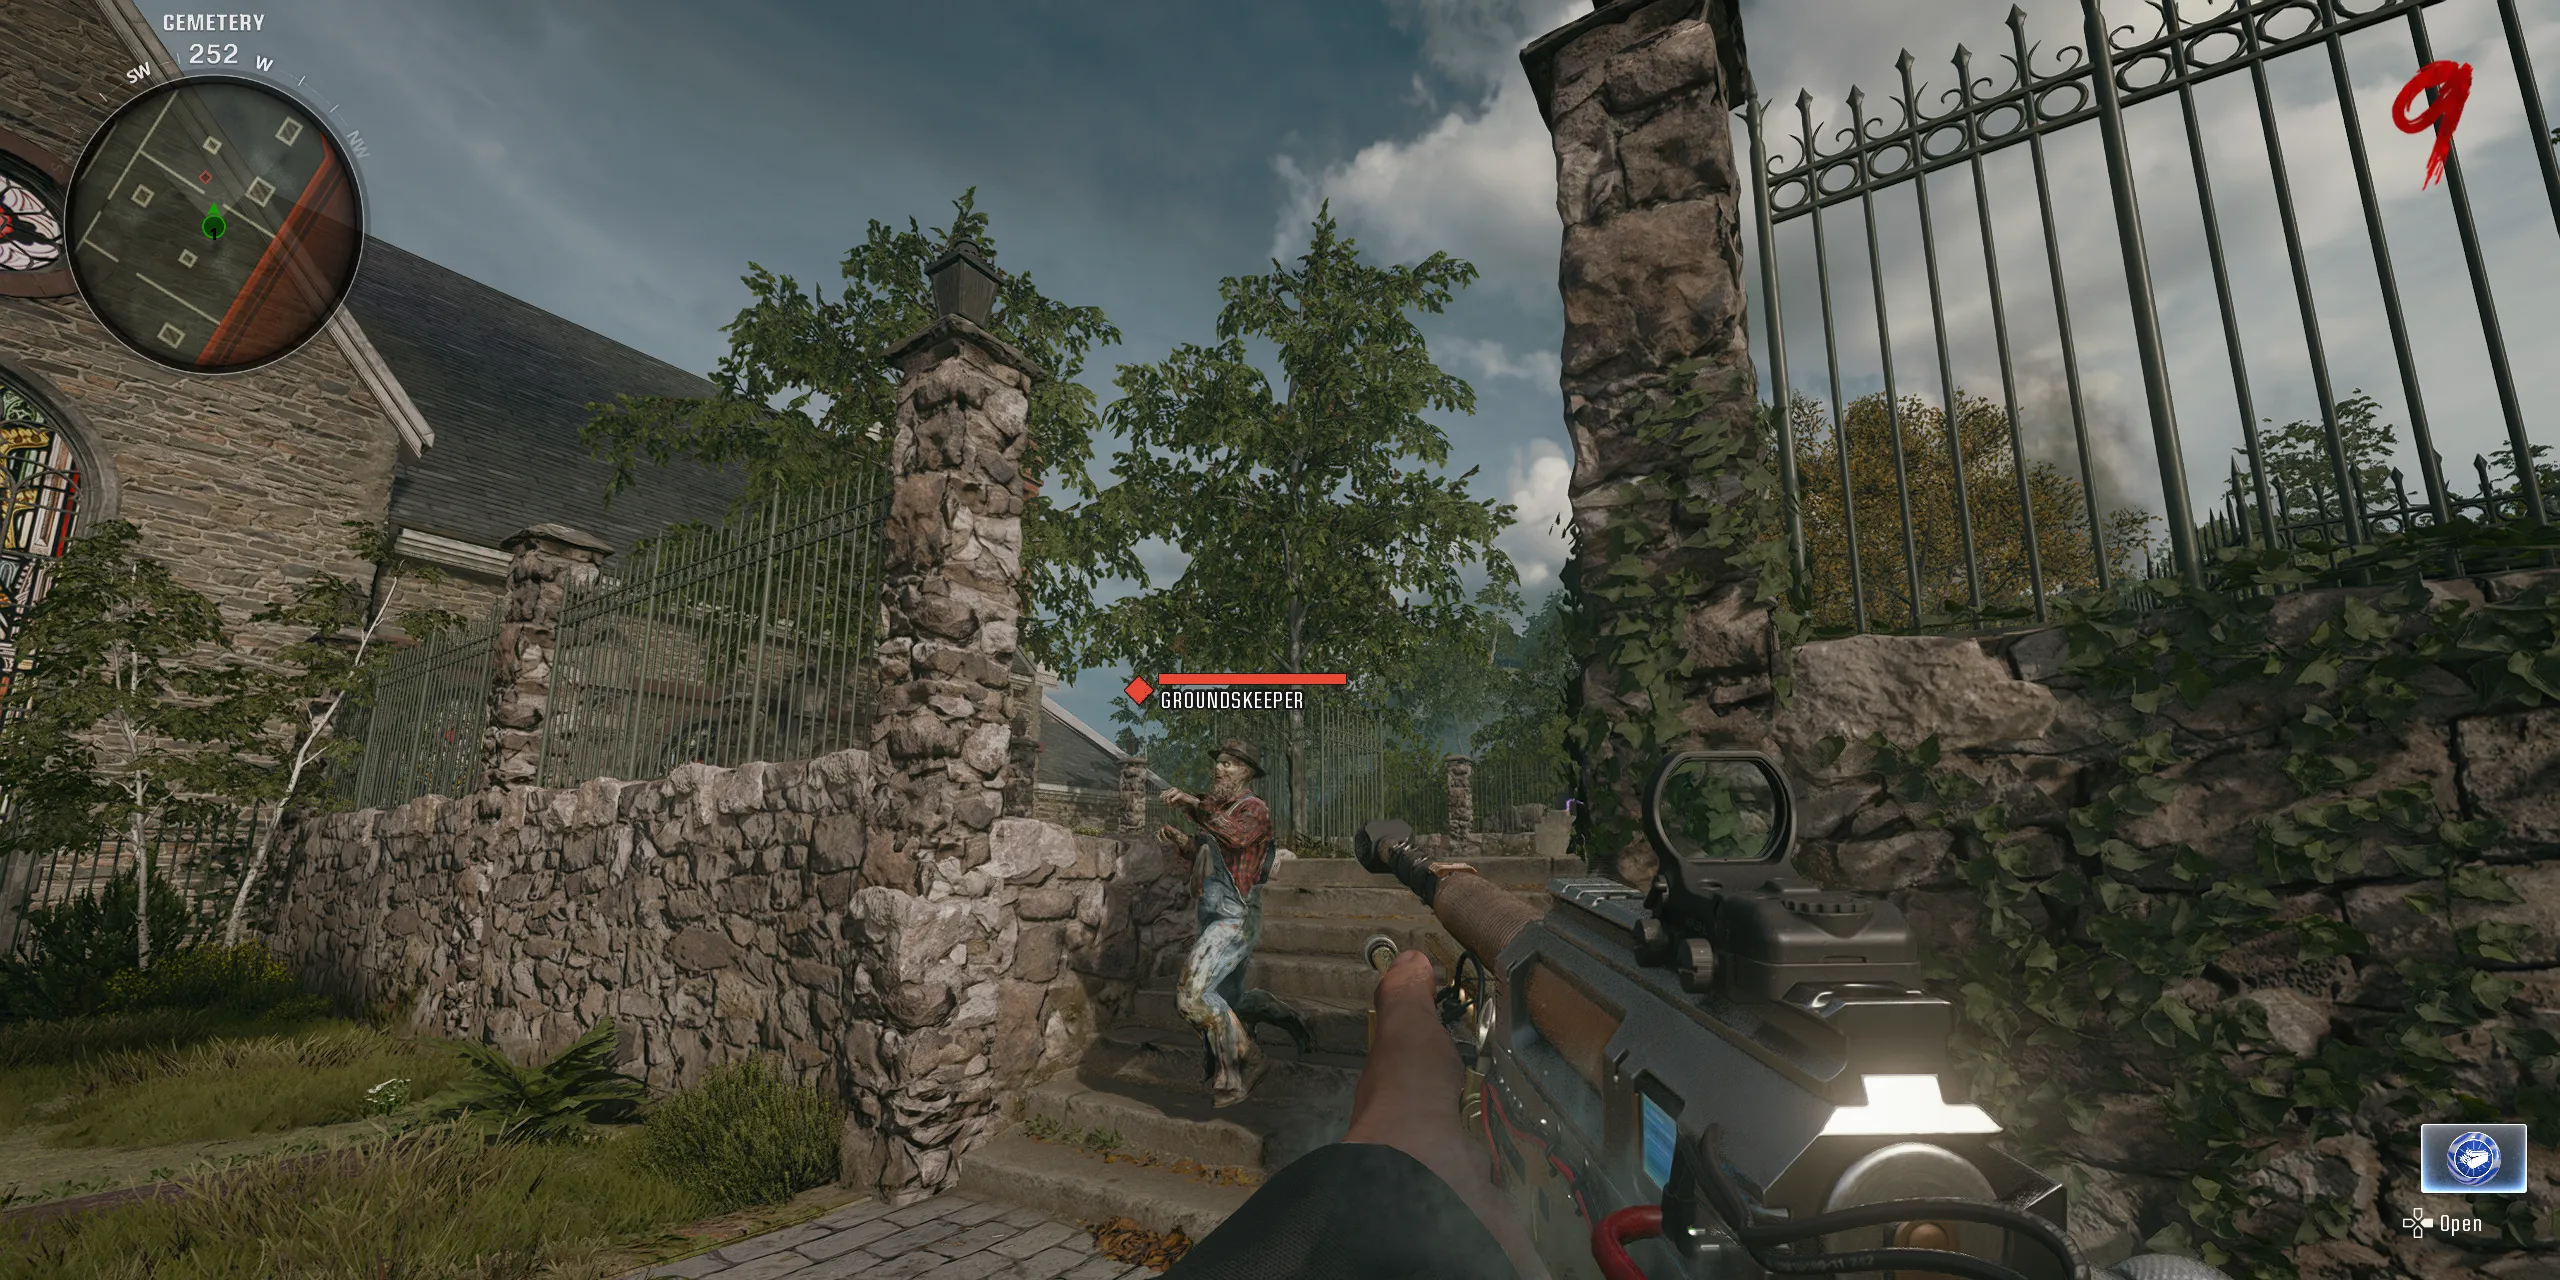
After successfully navigating through the map, make your way to the Church and enter the Cemetery to search for the Groundskeeper, a unique zombie whose appearance is random. Look for this enemy marked by his distinct health bar, overalls, and an inclination to flee. If you fail to defeat him, he may teleport away, but he will reappear in the following round. Quickly eliminate him to retrieve the Toolshed Key he drops.
With the Toolshed Key secured, head to the Groundskeeper’s Yard, which can be found along Hilltop and Washington Avenue. When facing north, interact with the small shed beside the Crafting Table to gain access to it. Inside, you will find the Handbrake, the second component needed for crafting the Jet Gun.
Step 3: Acquire the Electrical Wires
Your next objective is to wait for a Mangler to enter the map, typically around Round 11. These Special Zombies possess an arm cannon that you need to destroy. Make sure to shoot the arm cannon before killing the Mangler to obtain the Mangler Cannon. Alternatively, you can craft the Mangler Cannon at the Crafting Table after reaching Level 20 and paying 1,250 Salvage.
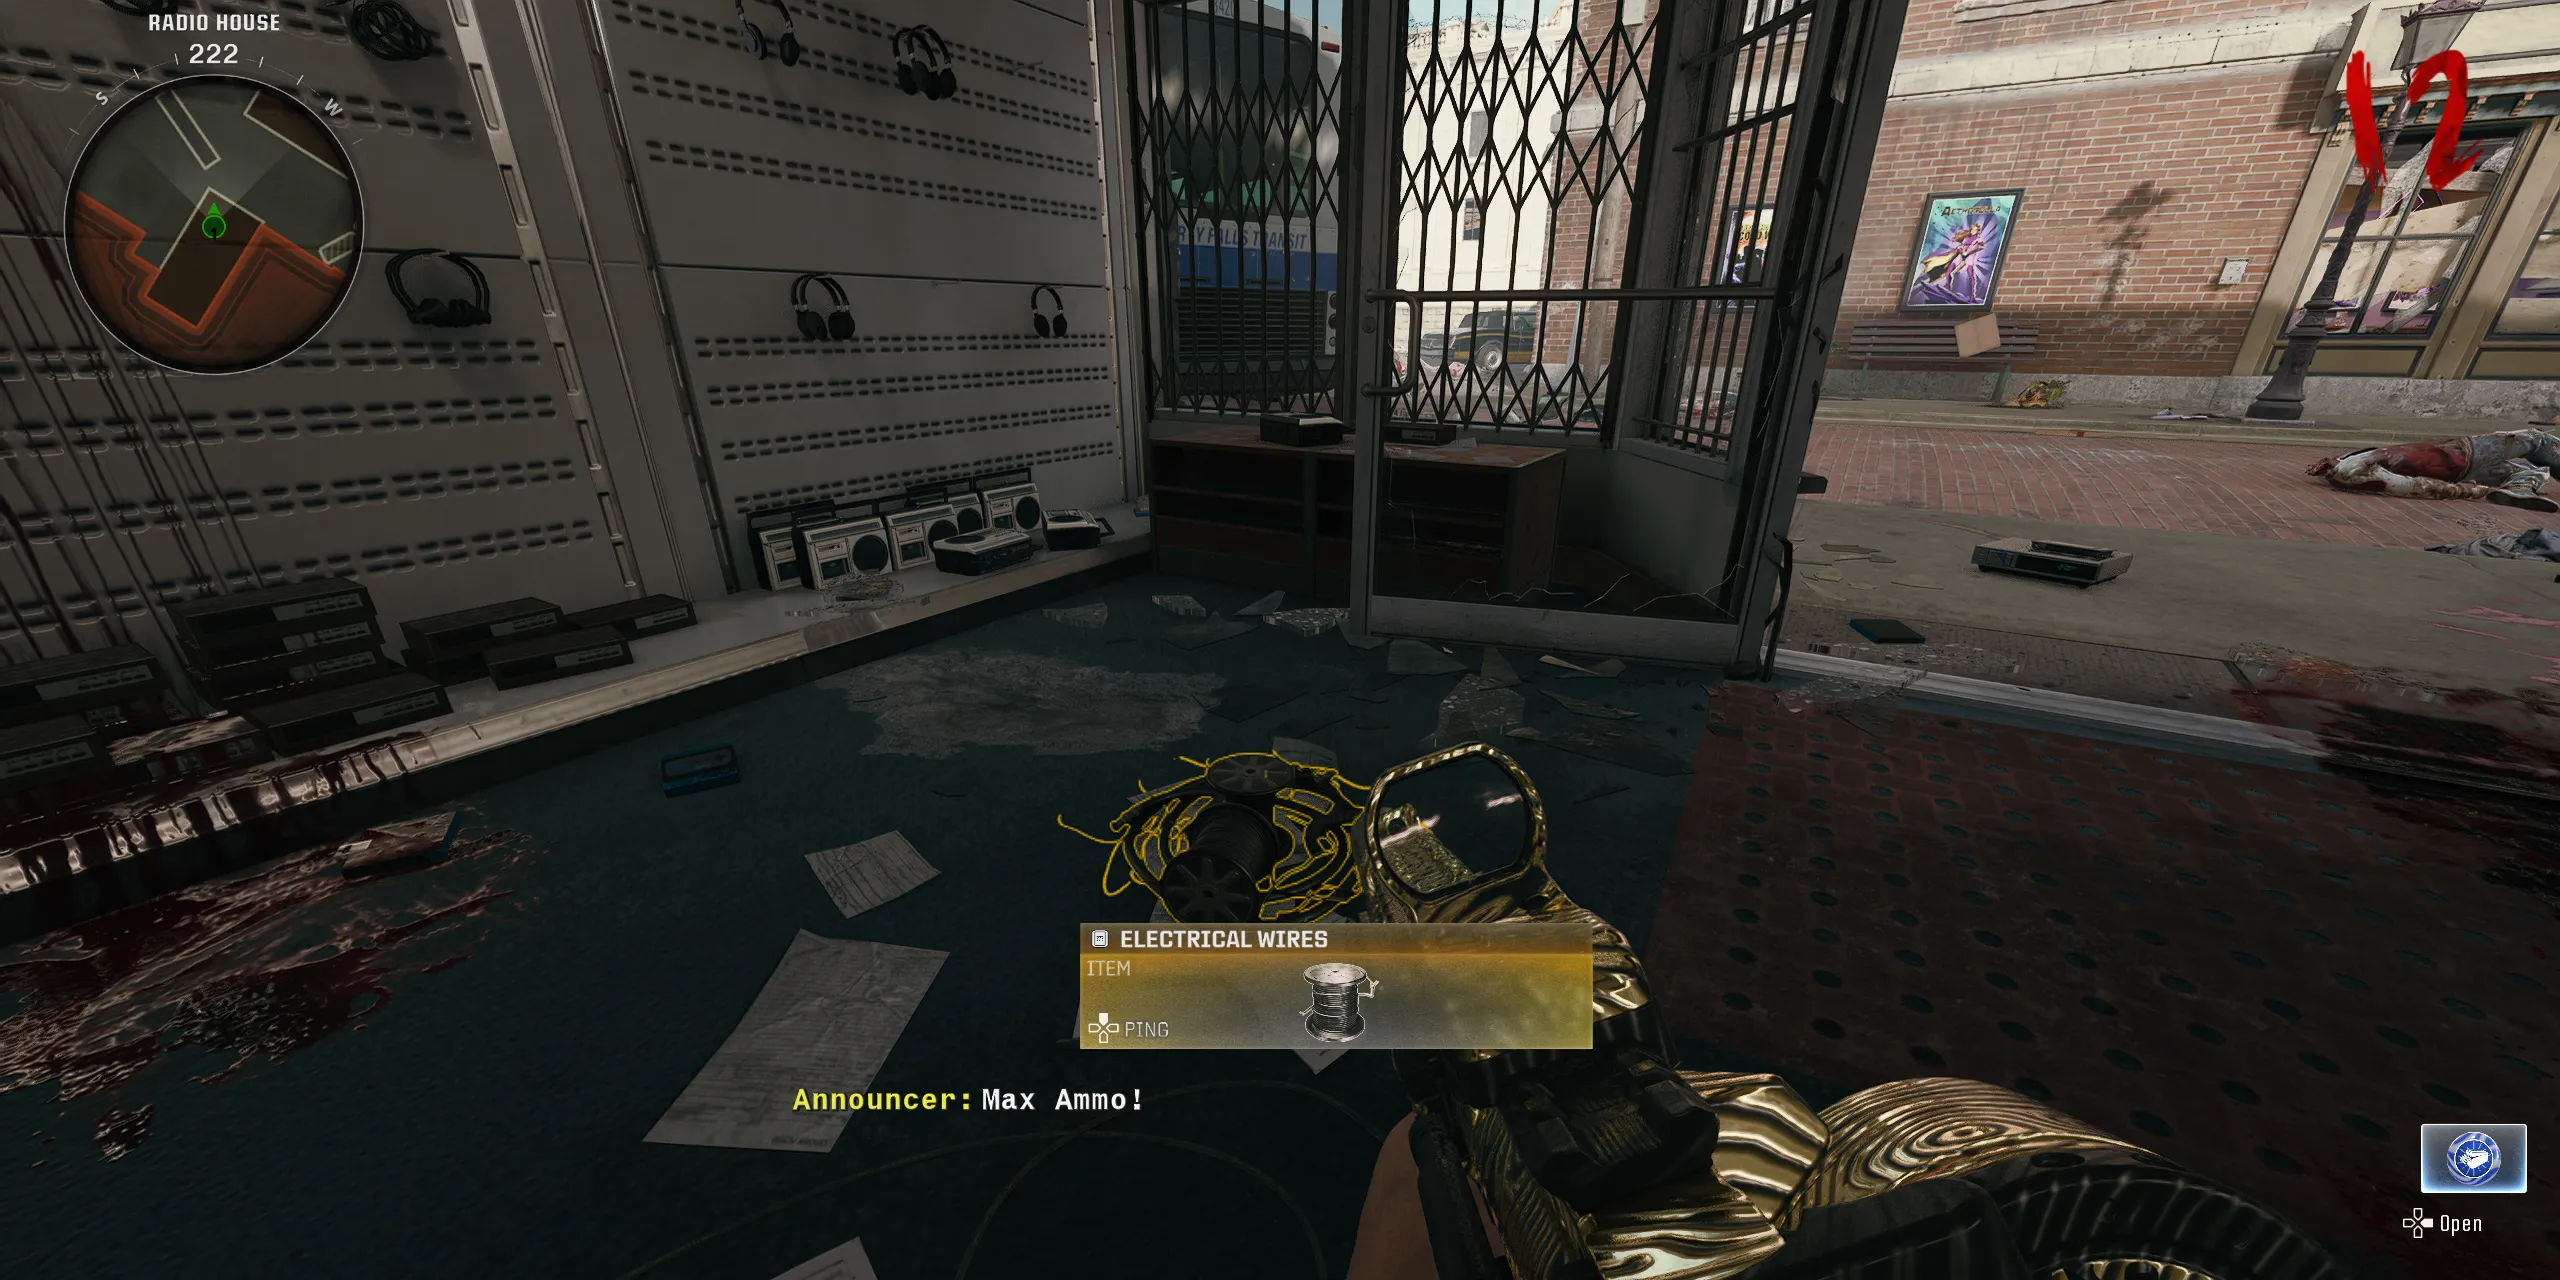
After acquiring the Mangler Cannon, make your way to Riverside, opposite Olly’s Comics, where the Radio House Electronics Superstore is located. Use the D-Pad to activate the Mangler Cannon and fire it at the locked gate to access the Radio House. Inside, interact with the piles of wires and electronics scattered on the floor until you successfully retrieve the Electrical Wires.
Step 4: Assemble the Thrustodyne Model 23
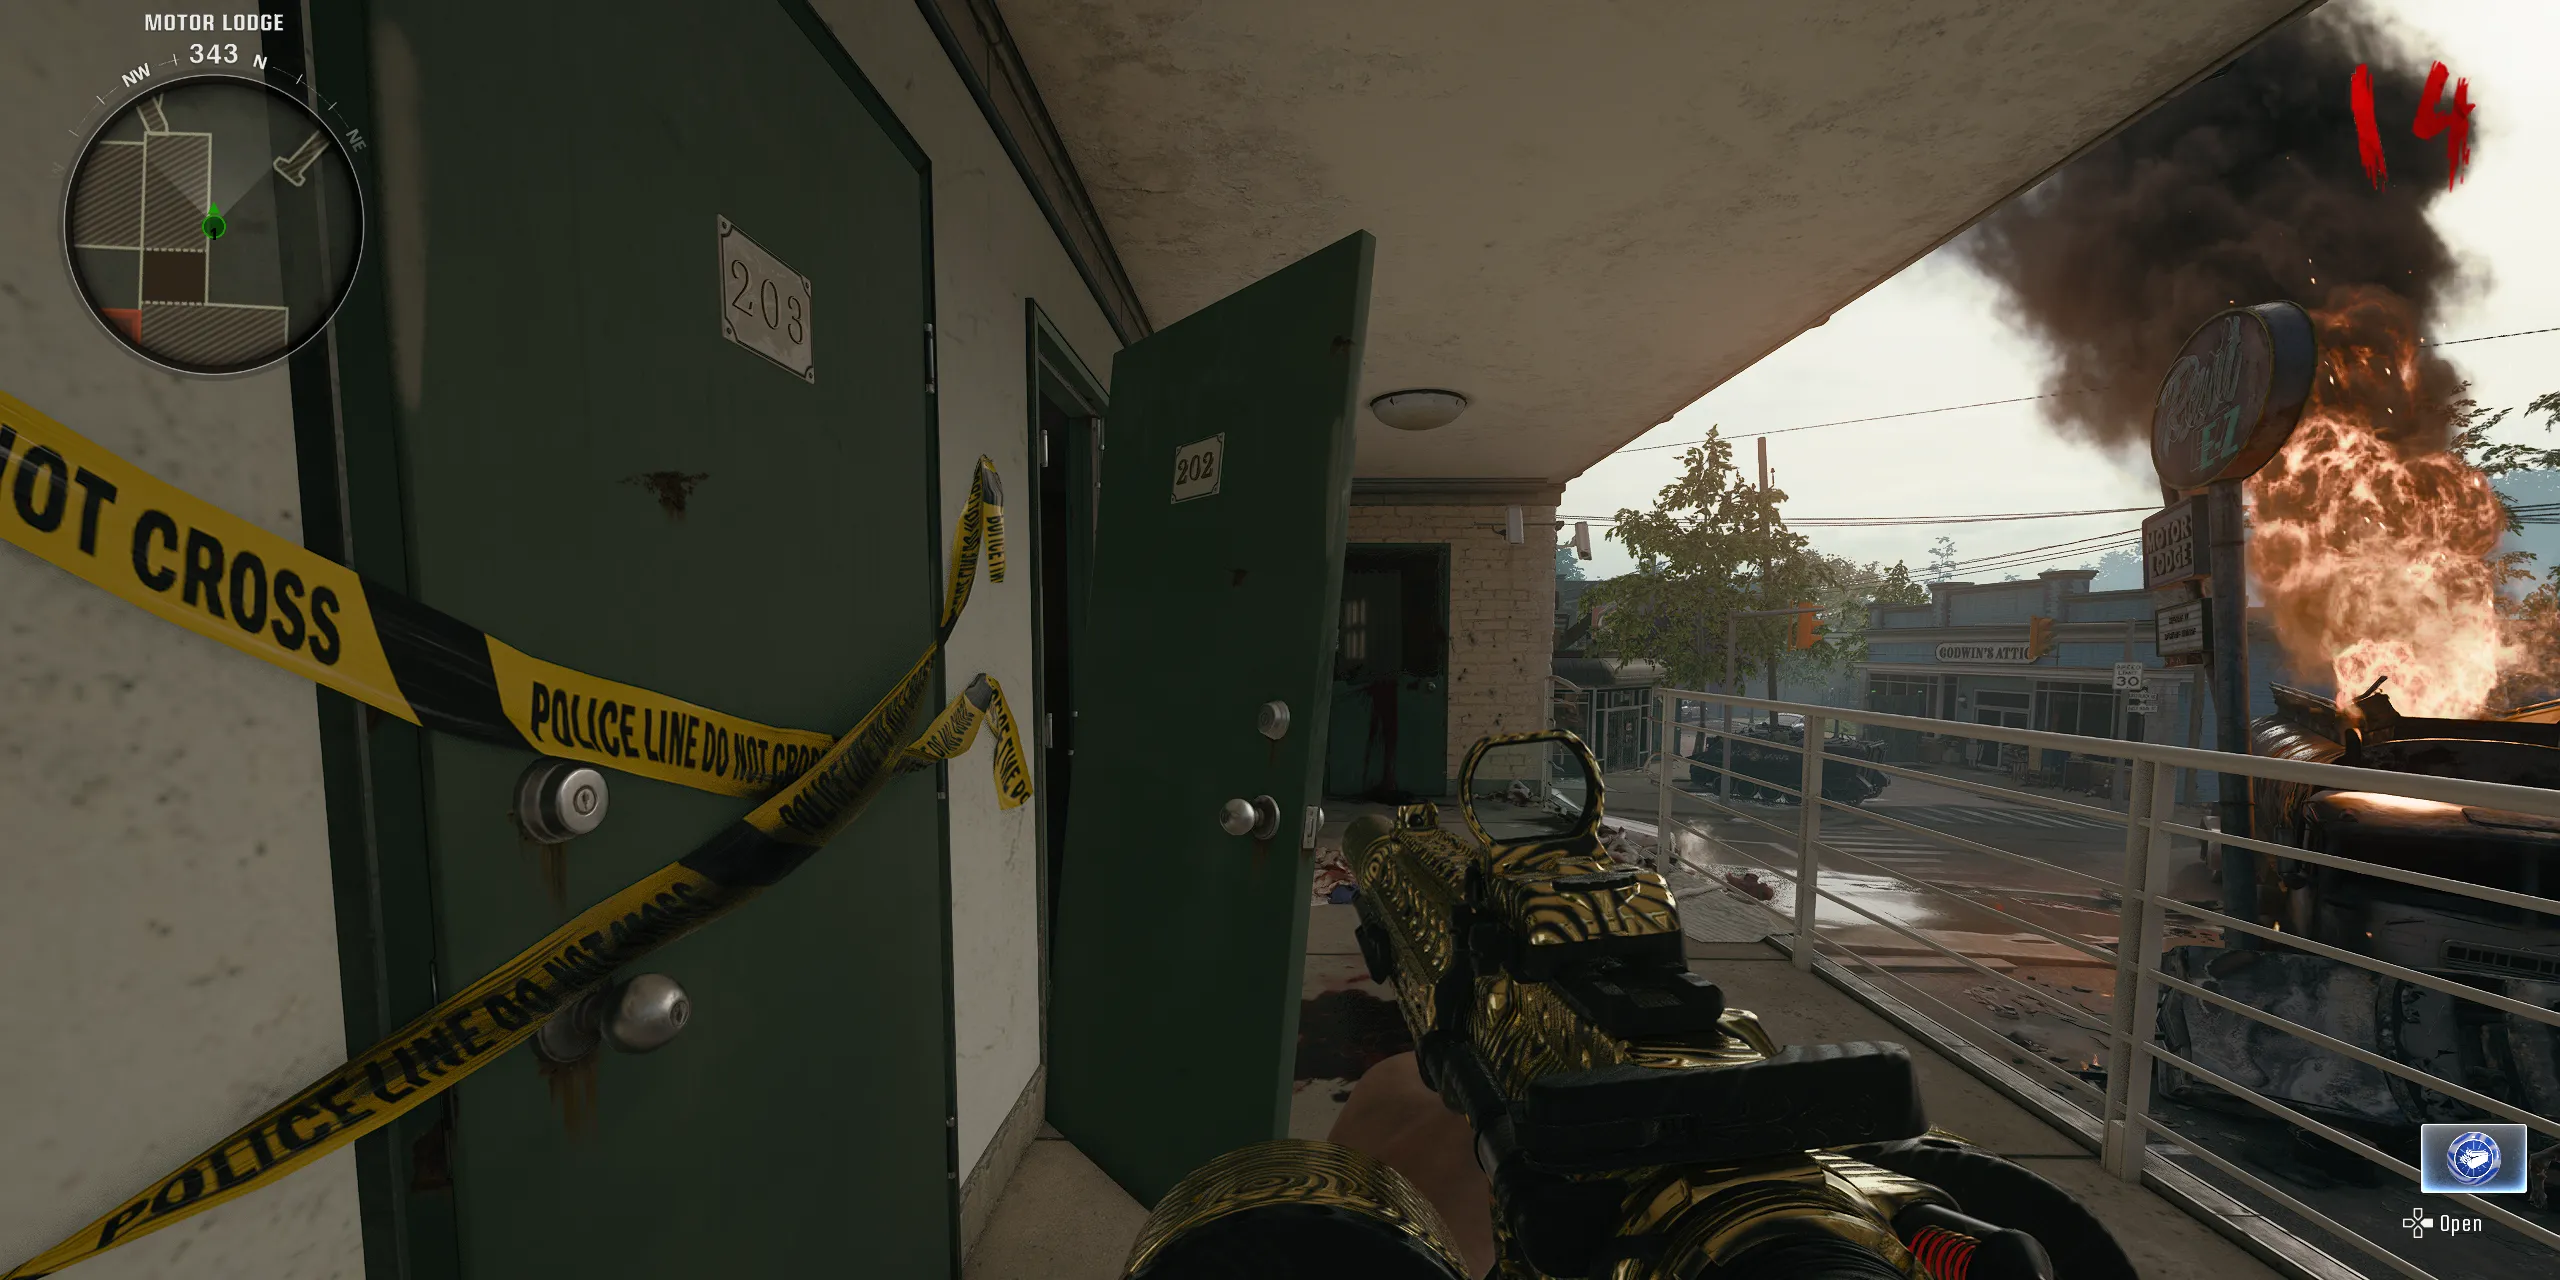
With all three components in hand, head to the second floor of the Motor Lodge, moving past Room 203 and into Room 202. Be prepared, as a horde of zombies will break through as soon as you attempt to enter. Inside Room 202, you’ll encounter a crafting bench where you can create the Thrustodyne Model 23.
The crafting process is quick, but it is advisable to do this either at the end of a round or when the zombies are distracted, as the room is a confined space. Once successfully crafted, you can equip the Jet Gun into one of your two weapon slots for use against the undead.
Is the Thrustodyne M23 Worth It?
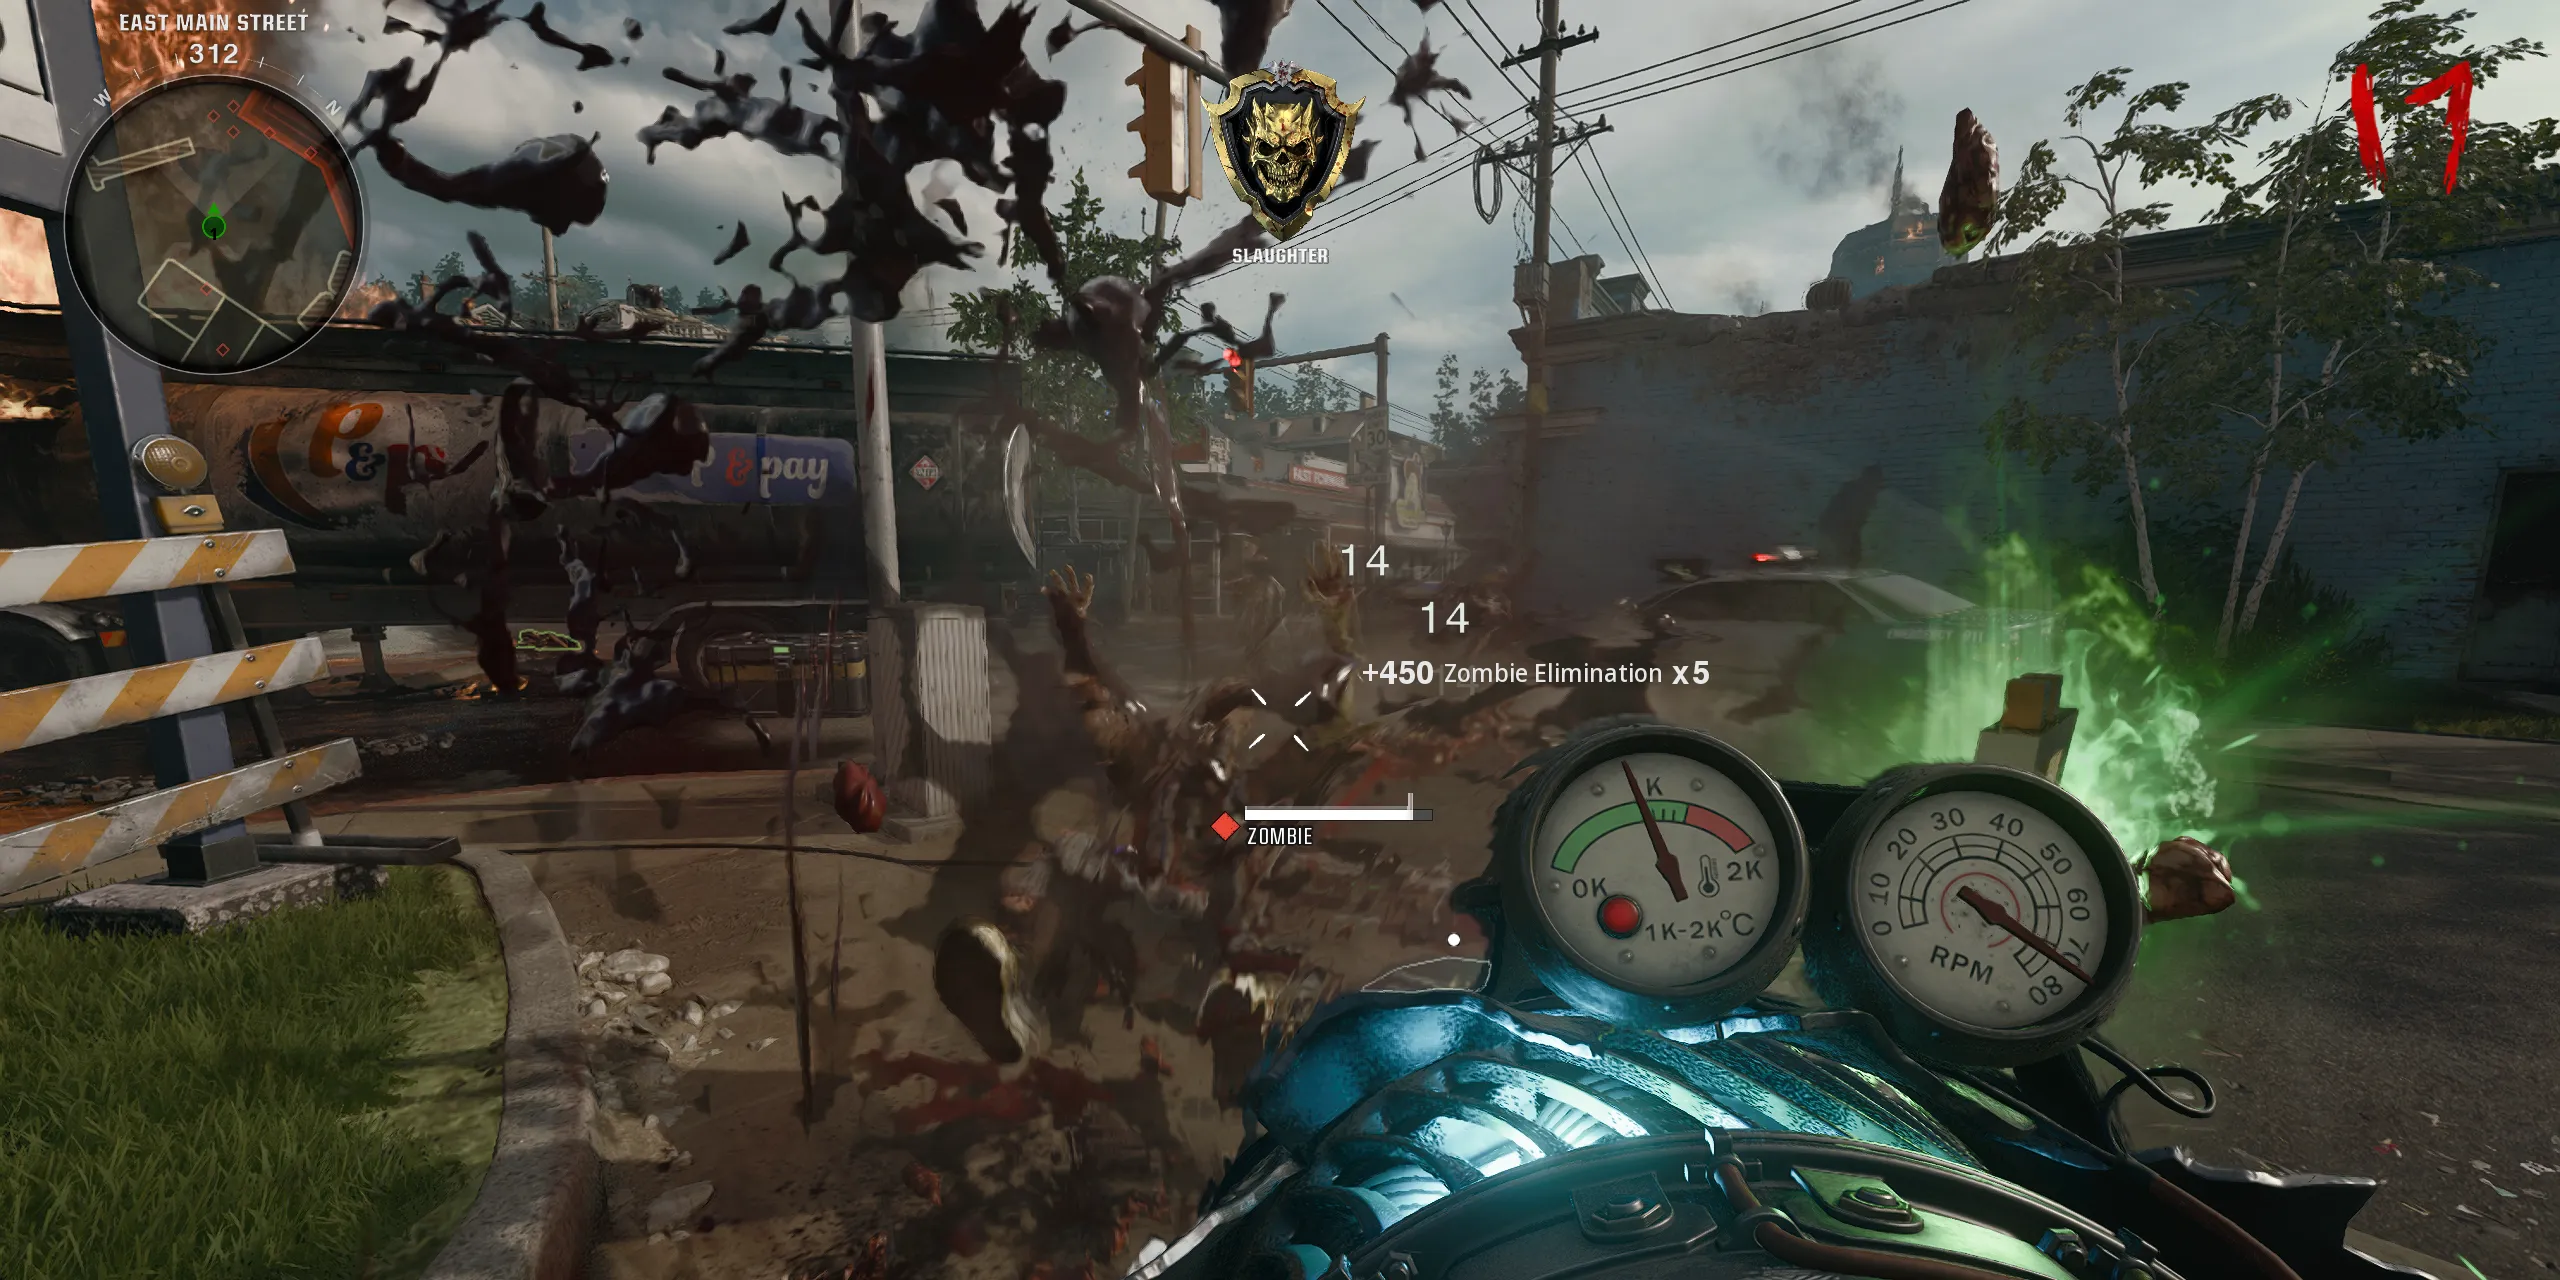
The Thrustodyne M23 proves to be an invaluable addition in Liberty Falls, significantly outperforming its predecessor from Black Ops 2. Not only is it essential for completing the Liberty Falls Main Quest, but it also boasts enhanced capabilities, allowing players to effortlessly eliminate zombies with its powerful jet turbine that consumes and devastates standard undead enemies. While it may struggle against Manglers and Abominations, its full charge can efficiently obliterate waves of regular zombies.
Additionally, players should note that the Thrustodyne M23 will periodically recharge its ammunition. If you press L2 or allow the Jet Gun to fully deplete its ammo, a Napalm Burst will be released to stun and eliminate nearby zombies, providing a brief respite during intense moments. However, you must wait around 30 to 40 seconds for the weapon’s ammunition to regenerate.
For those looking for alternative means to obtain the Thrustodyne M23, it is also available through the Mystery Box and with the Wonderbar! Ultra GobbleGum.


Leave a Reply